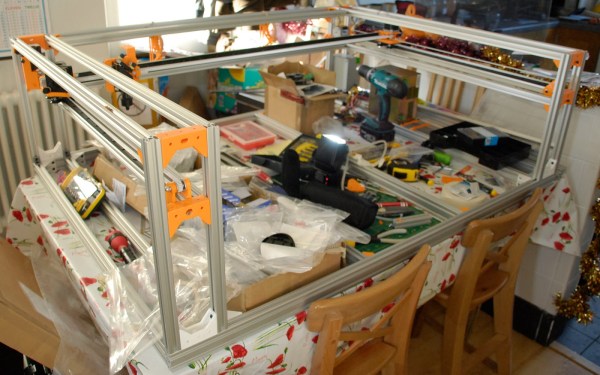
If you’ve always wanted a laser cutter and you have £1500 lying around (approx. $2500 as of today) — and you have access to a 3D printer — then you’ll want to take a look at [Damian’s] open source laser cutter: axCut. The project has evolved over the last few months from some mockups in OpenSCAD to a working prototype.
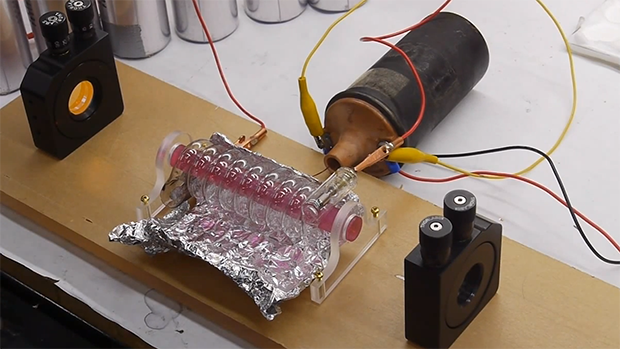
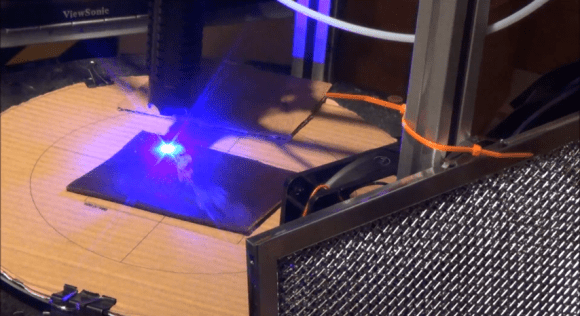
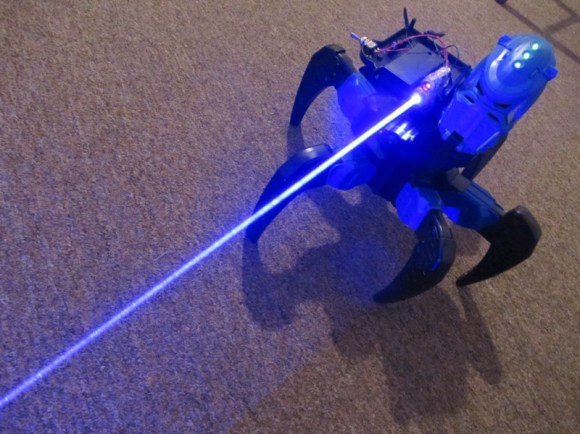
You’ll want to dig through his blog posts as well as his YouTube channel for all the juicy details, but from what we can gather, [Damian] is on the home stretch. The current implementation includes a 40W CO2 laser with functioning laser control and an impressively quiet watercooling system. Although the build’s wiring remains a bit of a tangle, the prototype cuts (almost) as expected. His next hurdle is ironing out the air assist, which should prevent some fire hazard issues and keep the lens free of debris.
Check out a couple of videos after the break, and if you’re interested in getting into laser cutting but want to start smaller, have a look at the MicroSlice from a few months ago.