 If you’re looking to do something awesome with a graphing calculator, [Chris] is the guy to go to. He’s literally written the book on the subject. His PartyMode project, however, has absolutely nothing to do with calculators. It’s a fantastic display of lights, colors, and sounds that has been rebuilt again and again over the years, and something [Chris] has finally gotten around to documenting.
The idea for [Chris]’ PartyMode is a single button that will transform a room from a boring computer lab or dorm room into a disco with 22.4 channel sound, and computer displays used as panels of color. The first version began in the lab in his school’s EE department that included ten CRT monitors. There were a few VUFans featured on the good ‘ol Hackaday, but a few problems with regulations and politics brought this version of PartyMode to a premature end.
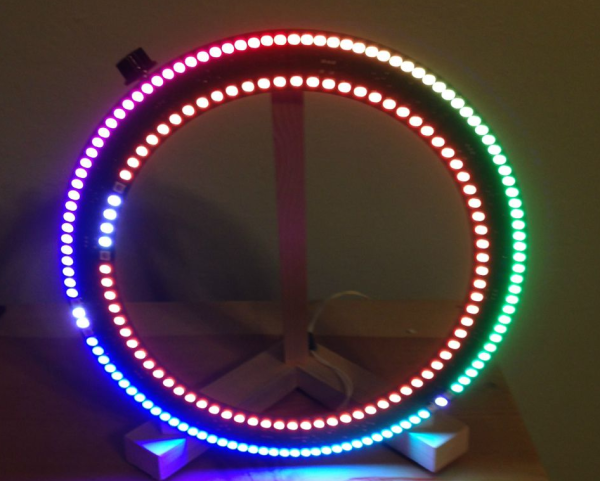
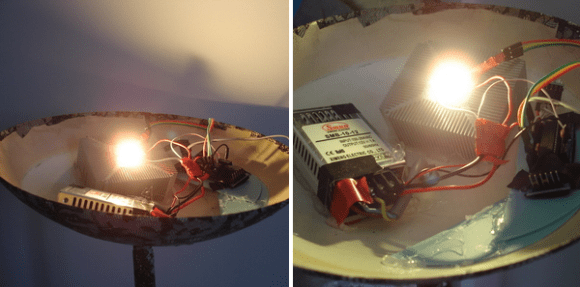
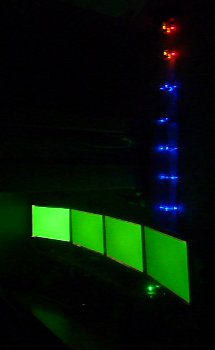
The second version is a miniaturized, ‘press a button, get a party’ setup with a crazy number of RGB LEDs, a few more of those computer fan VU meters, and a Bluetooth app to control everything. Unlike the first version, the PartyMode 2.0 is fully independent from a computer, instead relying on an ATMega to do the audio processing and handling the Bluetooth interface. Judging from the videos below, it’s quite the site, and if you need an instant party, you could do much worse.