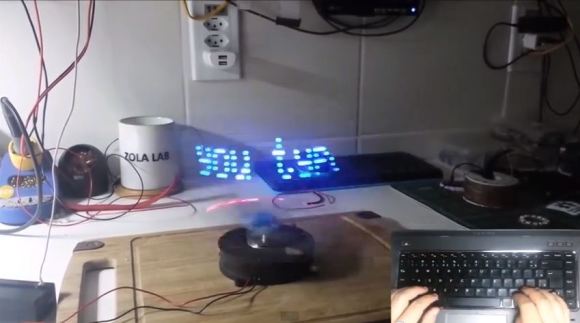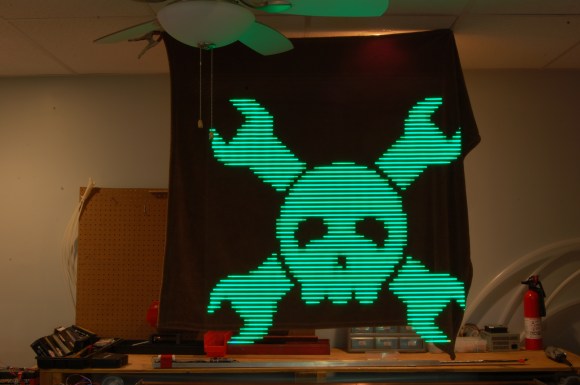
What can we say — we’re a sucker for projects that feature our favorite logo. This is the Parallax Propeller Automated Light Painting Machine — and no, it’s not a persistence of vision setup.
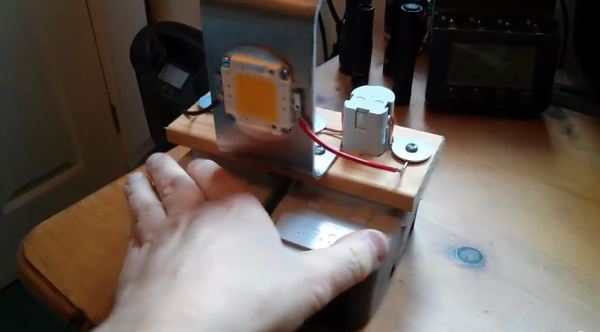
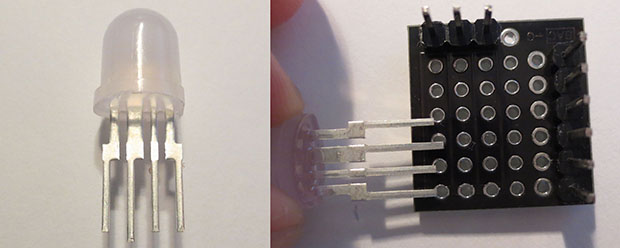
[Daniel], [Nathan], and the folks over at Embedded Aesthetics are big fans of Hack a Day and are very excited to share their new project. It’s a fully automated light painting setup that features an X-axis slide, a strip of RGB LEDs, a Parallax Propeller (microcontroller), and a DSLR — all you have to do is choose an image, and press start.
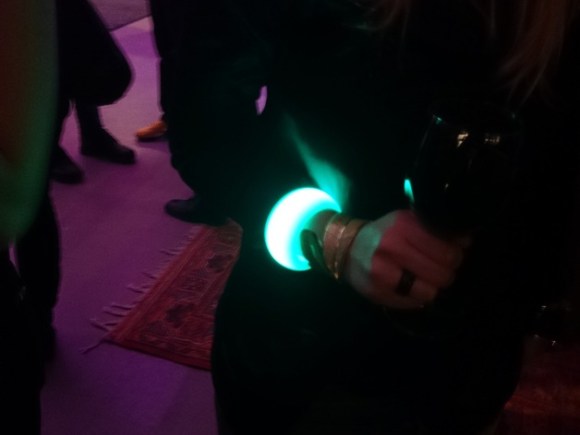
They first started light painting with their LED Paint Brush, an equally awesome, but slightly less automated tool. They’ve created this one to be a bit more interactive — in fact, you can actually go on their website, upload an image, and it will paint you a picture! But… it’s not available right now.