[George] just finished his first project: an 8×8 matrix “Board of Many Ping-Pong Balls” with 64 RGB LEDs. He started this project when he was 14 years old and finished the build over this last Christmas break. We won’t make any presumptions about [George]’s age, but we couldn’t think of a better project to start out on.
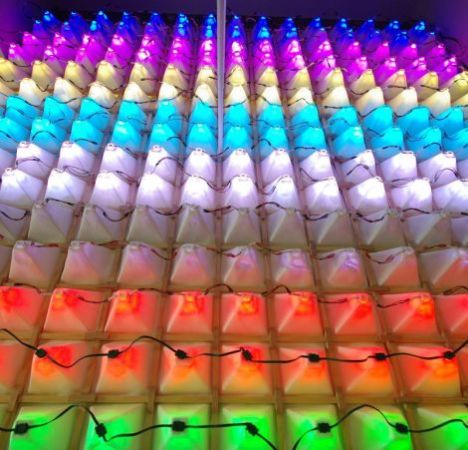
For the build, [George] used a Colorduino LED driver shield for his Arduino. This made the wiring simple, but the finished product is where this project really shines. For the base, [George] got a board laser cut at his school and used ping-pong balls to diffuse the LEDs. We’ve seen this many times but with this build there’s a neat way to drill a hole in a ping-pong ball; simply put the drill into reverse. The friction is enough to open the ball up, and the chips of plastic come outside instead of remaining in.
We’re really impressed with [George] and his winter break project. He’s lucky enough to have access to a laser cutter at school, and from a look at his monitor, he’s reading the right websites. You can check out his demo rainbow pattern after the break.