Radio-controlled LED Light Show

HL1606_radio_controlled_light_show

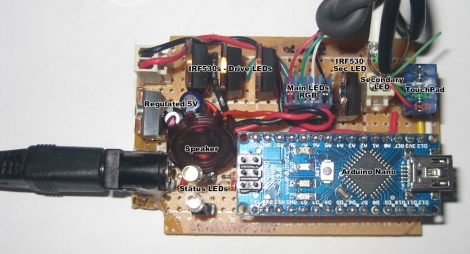
[Alan] was commissioned to make some wearable, radio-controlled LED strips for the Travelling Light Circus. It has taken some time, but he has recently finished some prototypes, and thought it was a good time to do a writeup on the project. The system is managed by a single controller unit, which communicates with any number of LED driver units, each controlling 4 HL1606 LED strips. The light displays are synchronized across all of the LED driver units via a 2.4 GHz radio, with each driver falling into synch almost immediately after being powered on. While some might be turned off to the fact that he uses Arduino Pro Minis to control the LEDs, this is far from a simple project.

[Alan’s] blog contains several posts about this project, with everything documented in detail. He spends quite a bit of time talking about the project’s software, as well as hardware issues he ran into along the way.

His blog is a must read, but even more so, it is a must see. The lighting effects are mesmerizing, as there are a ton of different light patterns these units can generate, so be sure to check out the following video of the lights in action.

Continue reading “Radio-controlled LED Light Show”

LED Dog Collar, Christmas Edition

[Aaron] says in our comments that he also made an LED dog collar. This Christmas themed dog collar uses an ATTiny13a and a hand full of red and green LEDs (28?). While the animations aren’t as complex as the collar we posted earlier today, we though you might enjoy this one as well. From the description, we think that the LEDs simply fade back and forth between red and green.  We think that [Aaron] did a great job. He has included the source code and schematic on his site, but sadly there’s no video of this collar in action.

LED Dog Collar

LEDs make everything better, right? What about your dog? [Ken] tries it out on one of his frisky dogs who loves to run whenever she gets out with a LED dog collar. It’s an off the shelf dog collar sporting 5 blue LEDs, and is powered by an attiny2313 micro controller, which makes adding / changing light sequences quick, easy, and also allows for future upgrades. Small PCB’s are made and to help keep minor amounts of the wild from frying. the electronics parts are encased in hot glue, and the whole thing is powered by 3 AAA batteries.

While it’s an early test of the device, and there is more to come, like an automatic trigger as [Sunshine] bolts for the door, but it seems like a great help while chasing after a runaway dog in the dark.

Join us after the break for a quick video.

Continue reading “LED Dog Collar”

RGB “Tilty Cube”

[Ben’s] introduction to microcontrollers was this fun little gift he calls the “tilty cube”. It is an acrylic box with 3 LEDs mounted inside that changes color based off of how you tilt it. Sounds like a fun toy, and a good project to learn with. [Ben] chose the PIC12F615 as the brains and laid it all out on a perfboard.  Since this was his first microcontroller experience he had to learn how to blink the LEDs, then figure out PWM etc. Though there is no video of the project in its finished state, since it was given away as a gift, we assume he figured it out pretty well.  He does state that the LEDs are dimmer than he had hoped and offers some thoughts on how he would do the entire project better next time.

Backlit Buttons And Panels

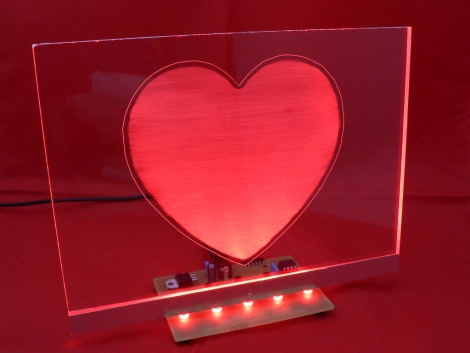
“Kick the tyres & light the fires” is a blog by [Ruscool Electronics] that is focused on building a cockpit simulator from scratch, and while the blog is loaded with all sorts of nifty information, reader [Brian] pointed out one entry which explains how to make back-lit control panels out of acrylic sheet, and a CNC machine.

The parts start off as clear acrylic, and cut to shape and size. Next up is a thick, but uniform coat of paint so the panels are opaque , then its back off into the CNC machine for engraving. What is engraved is now a frosty white, ready for leds behind.

The end result looks fantastic and professional, though, we are left thinking of how to pull off the same look, sans CNC.

Ideas?

Daft Punk Module – Just Add Table

This is just an 8×8 LED matrix, but the size and execution make it look marvelous. [Michu] built this module using foam board dividers to separate the cells, a foam board back to host the 64 RGB LEDs, and a sheet of heavy frost diffusion gel that is a stage lighting product. The display is driven by a Rainbowduino with input from a processing sketch. The effects seen in the video after the break are quite pleasing, and are just begging to be installed in your next coffee table project.

Continue reading “Daft Punk Module – Just Add Table”

Pong Clocks Using LED Matrix Modules

We love Pong clocks because they’re showpieces. This particular offering, called the Wise Clock, is the third hardware revision of the project. The LED display is dead simple since they’re using a 32×16 bi-color module from Sure Electronics. If you don’t want to design and build your own multiplexing display this is a somewhat inexpensive and high-performance alternative.

After the break you can see that the paddle movements look very realistic. They move like a human player might, which is quite often not the case with these clocks. If you want to see how that’s done, check out the code which was originally developed by [123led] for a different project.

Continue reading “Pong Clocks Using LED Matrix Modules”