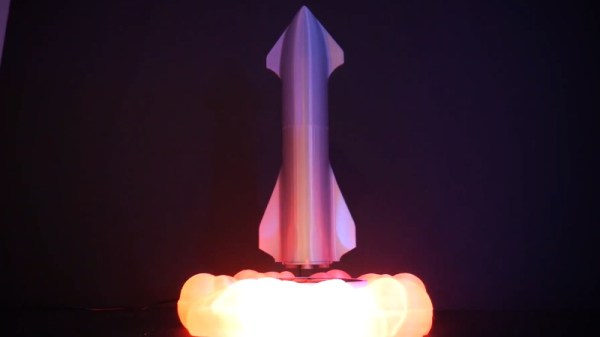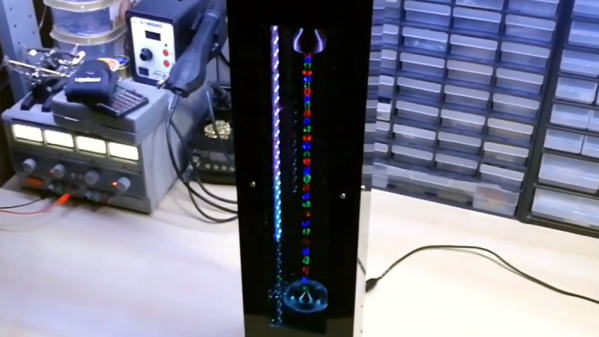
When we last saw [isaac879]’s levitating RGB time fountain, it was made of wood which meant that it would absorb water and didn’t really show off the effect very well. His new version solves this problem with an acrylic case, new PCB and an updated circuit.
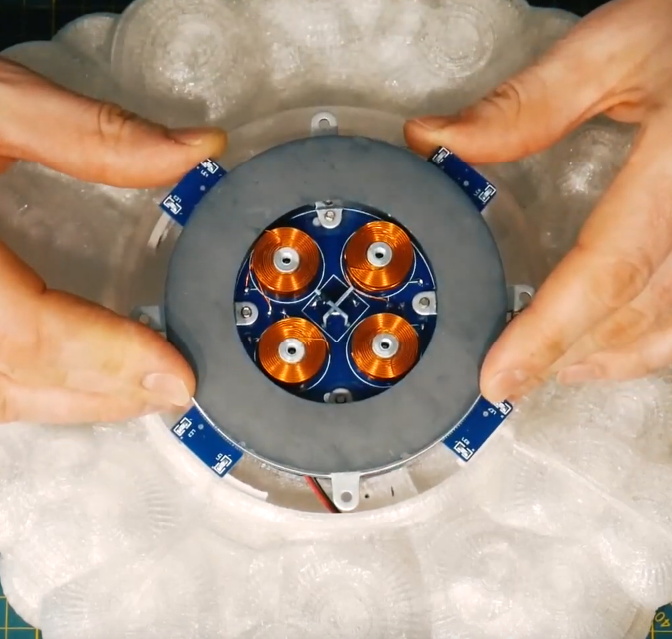
Like the original, this project drops water past strobing RGB LEDs creating an illusion of levitating, undulating colored water droplets. The pump at the top creates the droplets, but the timing has a tendency to drift over time. He thus implemented a PID controller to manage the pump’s drip rate, which was done by having the droplets pass by an infrared diode connected to an ATTiny85. The ’85 used the diode and PWM to control the pump motor speed and communicated to the Arduino over I2C.
The video shown below shows the whole process of designing and building the new time fountain. Everything from circuit and PCB design to 3D printing to assembly is shown along with narration describing what’s going on in case you want to build one yourself. If you do, all the files and components required are listed in the info section of the video.
There’s more that [isaac879] wants to do to improve the time fountain, but V2 looks great. It’s sleeker and smaller than the original and solves some of the design issues of the first. For more inspiration, check out some of the other levitating water fountain projects that have been posted over the years.
Continue reading “Gravity-Defying Water Droplet Fountain Gets An Upgrade”