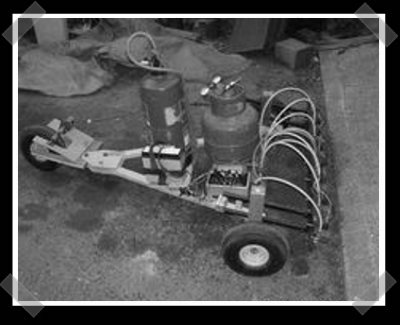
Most people make LEDs light up for their first microcontroller project. [Alex] built a “large scale dot matrix printer.” This beast is a PIC controlled ground graffiti machine. As it rolls across the ground it deposits strategically located bits of spray paint. Rather than use actual spray paint, he opted for a set of solenoid controlled nozzles that shoot the paint downward.
Misc Hacks4161 Articles

Real Life Power Suits
There was a time when the notion of powered armor like the set Ironman wears was just science fiction, but that time is gone. So, while the geeks at io9 are still dreaming of the future we’re very much in tune with the work that is being done right now. We’ll go through some of the most impressive powered suits out there after the break.
Lumenlab’s New Kit: Open Source CNC

Imagine our surprise when we stumbled on the latest Lumenlab project: gantry style CNC. Until now the only time we ever invoked their name was for DIY projectors. The kit looks pretty interesting, and they’re taking pre-orders right now. It’s designed for a full sized router and you should be able to cut a 4′ by 8′ sheet with a feed roll. Even without, the cutting area is a large 26″ by 50″ and features 8″ of Z movement. Between their kit and an order from Online Metals, they’re projecting that you can build your own for around $1000. We’re definitely in when the final kit is released in June.
Projector Hacks Roundup
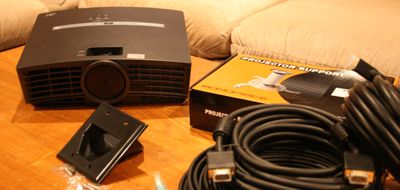
Projectors have long been a favorite toy of hardware hackers. From reactive displays to cheap home theater, there are plenty of reasons to play with photons. Seeing some cheap projector repair put us in the mood to cover some of our favorite projector projects – check em out after the break.
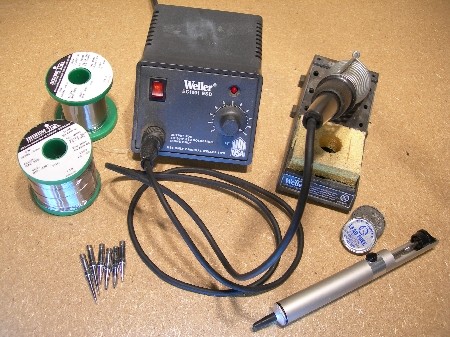
How-To: Go Green With Lead Free Solder
We covered many of [Jason Rollette]’s personal projects in the past and are happy to welcome him as our newest Hack-A-Day contributor.
The electronics industry has shifted to lead free compliance, but most hobbyists haven’t even considered the personal impact of using lead. Today’s How-To will cover what it takes to switch from tin/lead solder to completely lead free. Our previous posts Introduction to soldering and the follow-up still apply to lead free. You may have never considered switching to lead free before, but we hope to help you make an informed decision.
FPGA Projects Roundup
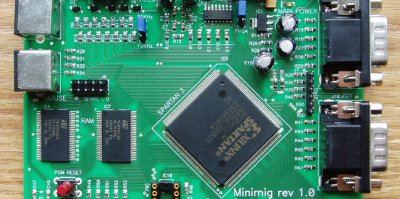
FPGA’s have become especially useful to the hacker community of late. Once upon a time, these lovely pieces of dedicated hardware were fabled to only be within reach of deep pocketed graphics card producers working to up their shader and vertex counts. Today they’re often found in the bowels of high end network gear. As reprogrammable arrays of logic gates, FPGAs represent a happy middle ground between general purpose CPUs and dedicated silicon. After the break, we’ll recount some of the more interesting FPGA projects we’ve seen, like the open source graphics card we featured yesterday.
Bump Key Experiments
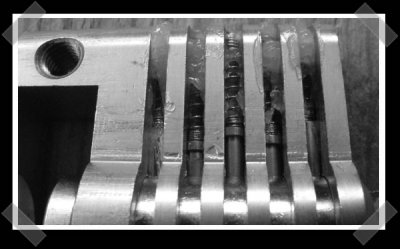
[Barry] took one of his blog readers comments to heart and started wondering just what happens when you bump a lock. As suggested, he made a cut away lock core and started experimenting. [Barry] doesn’t have a high speed camera, so he tried some alternatives like filling the chambers with grease to indicate pin movement. Master Lock put together a nice video demo of lock bumping (in order to sell their new bump stop gear).


