A flag is a great tool to show your loyalty to a country, a sports team or even a philosophical movement. But there’s not so much you can actually do with a flag: you can either hang it somewhere, or wave it around to attact others to your cause. [Mellow] found that waving quickly becomes tiresome, and decided to design a machine that automates this task for him.
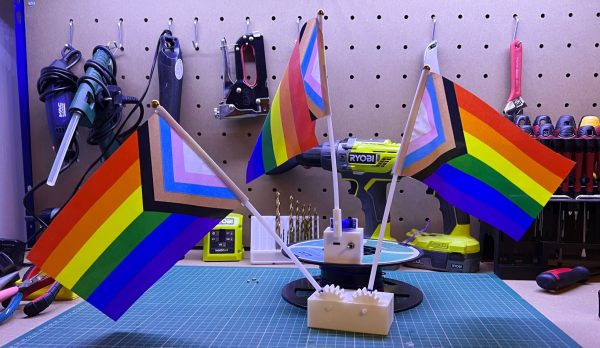
 Now there’s a bit more involved in designing a proper flag-waver than simply moving the flag back and forth. Ideally, the fabric should flow smoothly from side to side and show both sides equally, in the same way a human would do when waving a big flag around. After a bit of research [Mellow] decided on a design that generates a rather complex motion using just a single servo: the mast is tilted from left to right, while gravity ensures the flag rotates around its axis. It’s probably best demonstrated visually, as [Mellow] does in the video embedded below.
The flag-waving mechanism is designed in Fusion 360 and 3D printed using white filament. Inside a little square box is a Wemos D1 Mini, powered by a lithium battery scavenged from a vape pen, as well as a battery management system and a power switch. The servo sits on top of the box and holds the flag in a little socket that allows the mast to rotate freely. [Mellow] also went one step further and built a two-flag waver, which still uses only one servo but creates two opposite motions through a set of spur gears. Both waver types bring a lively atmosphere to their surroundings, and we can actually imagine them being useful in places like sports bars.
Automatic flag-wavers are still rare devices, and as far as we can tell this is only the second one we’ve seen, after this hat-mounted example. That is, if you don’t count the automatic “flag” on this mailbox.
Continue reading “Automatic Flag Waver Lets You Show Your Loyalty Without Getting Tired”