[Mario] wrote us with his synthesizer project that’s currently up on Kickstarter. It looks like a good amount of fun to play with, as you can see in the video on the Kickstarter page. But it’s also built to be easily hackable.
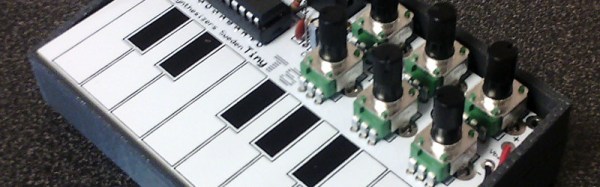
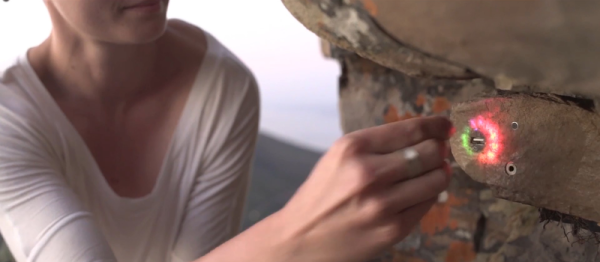
On the hardware front, it’s a tiny four-layer board that’s crammed with parts. At the core is an STM32F4 microcontroller and a DAC. Indeed, the build was inspired by other folks’ work on the STM32F4 Discovery dev kit that has been used to make some pretty interesting synthesizer devices. [Mario]’s version adds two stereo headphone outputs, two microphone inputs, two IR reflective distance sensors used as control inputs, some buttons, and a ton of LEDs. And then it makes good use of all of them.
The firmware isn’t open source yet (poke! poke!) but it looks like it’s going to be. On his blog, [Mario] works through an example of adding a drum machine into the existing firmware, so it looks like it’ll be hackable.
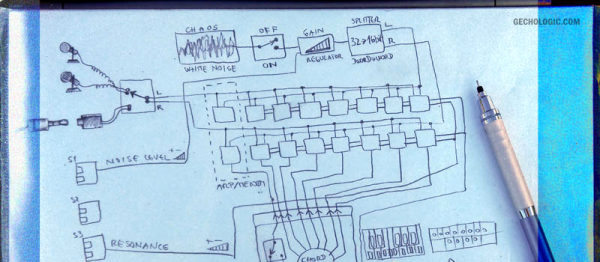
Squeezing a lot of DSP functionality out of a single microcontroller is a feat. On a similar chip from a different manufacturer, [Paul Stoffregen]’s Teensy Audio Library could also be made to do a lot of the same things. But the real beauty of the Gecho project is that it has some interesting hardware features already built in and ready to go. It wouldn’t be a bad launching pad for your own musical or audio explorations.