Music is a mystery to some of us. Sure, we know what we like when we hear it, but the idea of actually being able to make it baffles us. And the idea of being able to build new instruments to create it, like this paper-tape programmable music box (YouTube, embedded below), is beyond impressive.
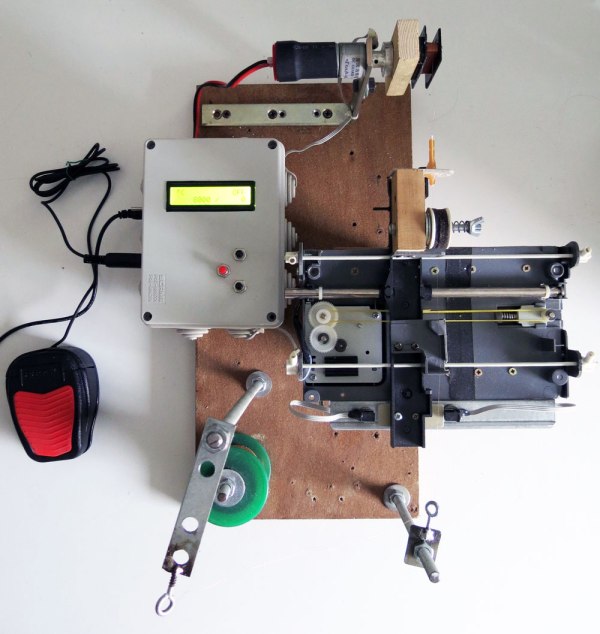
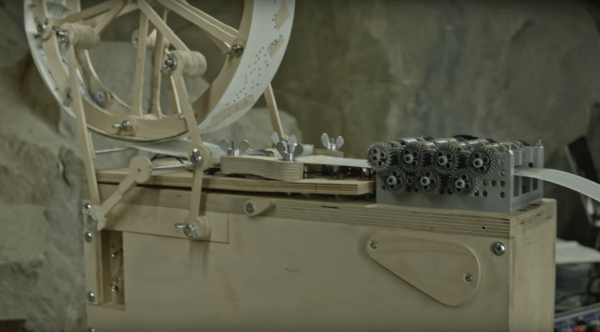
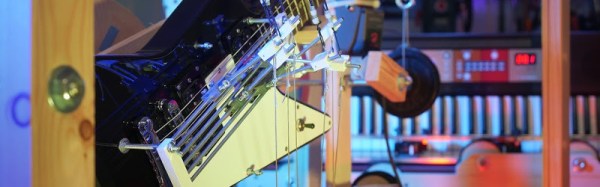
You’ll no doubt remember [Martin Molin] of the group “Wintergatan” and his astounding marble madness music machine. This instrument is on a much more modest scale and is centered around an off-the-shelf paper tape music box. But the cheap plastic drive gears kept failing under performance conditions, so [Martin] headed to what appears to be his cave-based workshop and started grinding. He prototyped a new paper drive from Lego Technics, and while it worked, it needed help to pull the paper. What followed was an iterative design process that culminated in a hybrid of plastic and metal Technic parts that drive the paper reliably, and a musical instrument that’s much more than just a tinny wind-up music box. Hear it in action below with another new instrument, the Modulin, which sounds a little like a Theremin but looks like – ah, just watch the video.
The build video hints at more details to come, and we’re hoping for a complete series like that for the marble machine. We’d also love to see details on the Modulin too – if there ever was a hacked musical instrument, that’s it.
Continue reading “Paper Tape Drive For A Live Performance Music Box”
 [Niklas Roy] however has a different vision when it comes to mechanical music. He’s created