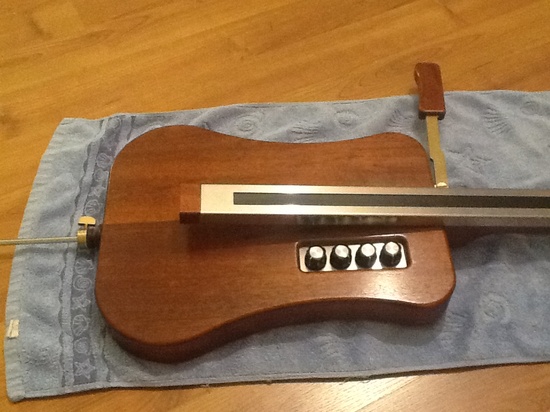
We totally missed the ball on this project. It should have been run on April Fools’ day and you would have no idea if it were real or a hoax. That’s because the very serious performance given after the break is hard to watch without a least a bit of a chuckle. The instrument shown above is a Theremincello. It’s an instrument in the shape of a cello which functions in a similar way to a Theremin.
The instrument being played in that video clip is the first generation and the one pictured above is its successor. The creator wanted to refine the electronics so that the resulting sound wasn’t so ‘flutey’. The result can be heard on the video embedded in this Theremin World article and we think they’ve accomplished the goal; it sounds much better! In the clip [Thierry Frenkel] demonstrates changing notes on the fingerboard with the left hand. The right hand which would normally bow the strings operates the lever to adjust the volume of the note being played back.
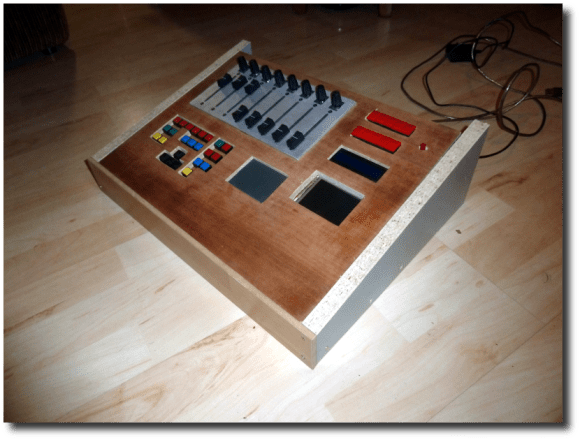
If a single fingerboard isn’t enough for your needs you may consider building this four-track design instead.