Diving Deep Into The Game Boy LCD Protocol

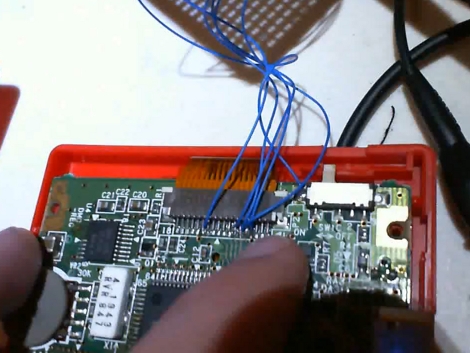
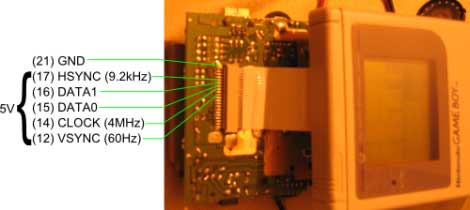
[Craig] wanted to make the original Game Boy LCD screen do his bidding so he sniffed out the data protocol that it uses. We were amused when he mentions that there’s an army of people out there looking to build pointless crap as part of a hobby. Guilty. And he goes on to outline why this LCD screen is a great resource for hobbiests.

As you can see in the pinout above, it uses 5V logic, with a 4 MHz data clock. These traits are both very friendly to a wide range if inexpensive microcontrollers. If you know how to address the display it should be very easy to use. Furthermore, the low pin count is thanks the to a 4-shade grayscale screen, limiting the data pins to just two. [Craig] hooked up his Saleae Logic probe to capture communications and walks us through what he discovered. During this process he proved to himself that he had figured out the protocol by exporting captured data from the logic probe and reassembling it into an image on his computer.

Game Boy Printer USB Cable And Software

[Furrtek] hooked up his Game Boy printer for use with a PC (translated). The two-part hack started with a cable to attach the device via USB. A Nokia interface cable was used as a base to translate the USB signals into serial, and an ATtiny45 microcontroller added to talk to the printer. He did a great job of free-forming the circuit alterations and fitting it back into the plastic USB plug housing.The next step was to write some software. Using VB6 he coded an application that loads in an image, scales it to fit, and allows you to adjust the contrast that the thermal printer produces. For testing purposes he’s reusing old receipts. See it in action after the break.

Continue reading “Game Boy Printer USB Cable And Software”

GameBoy Advance Rapid Fire Hack

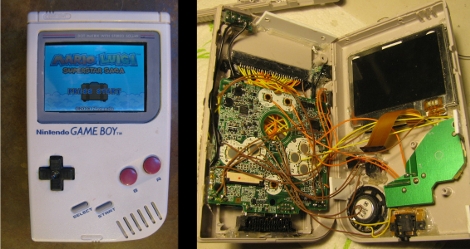
Ever find yourself in the middle of a Game Boy game and your hand cramps up?  Save that sore wrist for something else because now you can hack the Game Boy Advance to add Rapid Fire for the B button.  [William] has developed a way to do this by creating a simple circuit that generates a square wave on the B button when it is pressed.  To do this hack all that was needed was a short shopping list of:

  • A Couple NAND Gate ICs
  • 2n2222 NPN Transistor
  • 0.1uF ceramic capacitor
  • A Switch
  • 1M ohm resistor
  • Some Thin Wire

After that you’re off to the races as [William] documents how he goes about transforming the Game Boy Advance and includes a ton of great pictures and a schematic.  This operation ends with [William] placing the switch for Rapid Fire excellence next to the Right Bumper where it is inconspicuous and yet easy enough to access.

Via [HackedGadgets]

GameBoy Analog Meter

Boring game.

Here’s an interesting setup using a GameBoy Advance as an interface and power supply for a PIC microprocessor. He’s got the PIC connected to the serial port of the GameBoy Advance and is able to pass and retrieve data for display on the screen. You can see above that he is showing two analog values from the pic. You can download the schematic and source code and see a few more pictures, but that’s about it.

[via HackedGadgets]

GBA Emulator Ported To Didj

Tired of messing with the hardware of the Didj you picked up? Now you can use it for gaming on that last road trip of the summer. A Game Boy Advanced emulator has been ported for use on both the Didj and the Explorer. You’ll have to dig up a copy of the original bios for a GBA as well as some ROMs, but the rest seems pretty straight forward. We are still holding out hope for Doom or Quake on the Didj, but this will help us wait a bit longer.

[Thanks Nirvous via Rosincore]

Programmable Game Boy Cartridge Walk Through

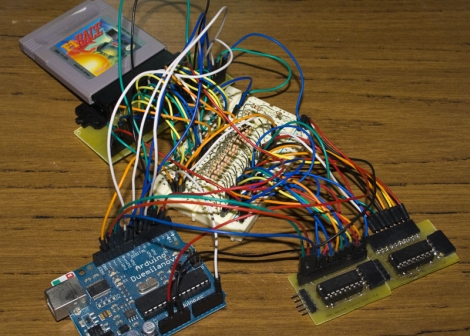
We looked at [Gerry’s] PLCC based programmable Game Boy cartridge back in May and mentioned that he was working on a how-to video. He did quite a bit more than that. He’s made a PDF version of the instructions but went into deep detail with a collection of four videos on his YouTube channel. We’ve embedded all four after the break. They include an introduction and background about the cartridges, desoldering the ROM chip, preparing sockets and wire, and making the solder connections. Whether you’re interested in this particular hack or not, seeing [Gerry’s] soldering practices make the videos worth watching.

Continue reading “Programmable Game Boy Cartridge Walk Through”

PLCC Replaces Game Boy Cartridge ROM

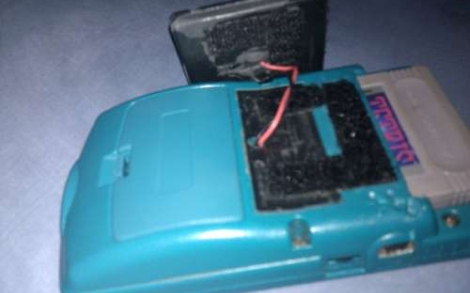
[Gerry] sent us pictures and a few details on replacing the Game Boy cartridge chip with a flash chip. For the prototype he used a PLCC and a little wire porn to interface a flash chip with the cartridge’s PCB while still having access to it for programming. In retrospect he plans to use a 32-pin ZIF socket on the next version to make things easier. It does work and he’s had some success loading his own code and getting it to run. There are other cartridge hacks that let you load code onto a cartridge but if you have the knowhow and the parts this makes for a fun weekend project. We’ve posted the rest of the photos that [Gerry] sent us after the break.

Update: Gerry is working on a video and a pinout. We’ll post info once we get a hold of it.

Continue reading “PLCC Replaces Game Boy Cartridge ROM”