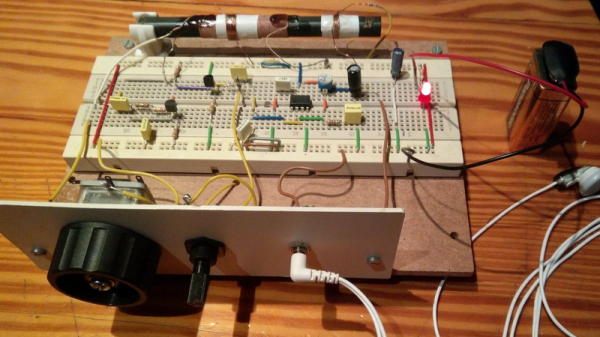
Anyone can hack a radio, but that doesn’t mean it’s easy: there’s a lot of mechanics that go into formatting a signal before you can decode the ones and zeros.
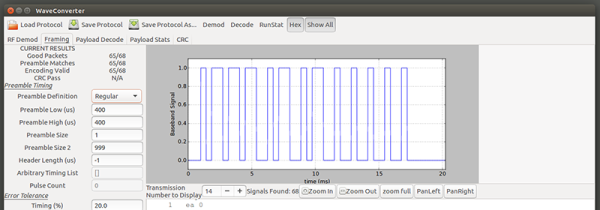
At his Shmoocon talk, [Paul Clark] introduced a great new tool for RF Reverse Engineering. It’s called WaveConverter, and it is possibly the single most interesting tool we’ve seen in radio in a long time.
If you wanted to hack an RF system — read the data from a tire pressure monitor, a car’s key fob, a garage door opener, or a signal from a home security system’s sensor — you’ll be doing the same thing for each attack. The first is to capture the signal, probably with a software defined radio. Take this data into GNU Radio, and you’ll have to figure out the modulation, the framing, the encoding, extract the data, and finally figure out what the ones and zeros mean. Only that last part, figuring out what the ones and zeros actually do, is the real hack. Everything before that is just a highly advanced form of data entry and manipulation.
[Paul]’s WaveConverter is the tool built for this data manipulation. Take WaveConverter, input an IQ file of the relevant radio sample you’d like to reverse engineer, and you have all the tools to turn a radio signal into ones and zeros at your disposal. Everything from determining the preamble of a signal, figuring out the encoding, to determining CRC checksums is right there.
All of this is great for reverse engineering a single radio protocol, but it gets even better. Once you’re able to decode a signal in WaveConverter, it’s set up to decode every other signal from that device. You can save your settings, too, which means this might be the beginnings of an open source library of protocol analyzers. If someone on the Internet has already decoded the signals from the keyfob of a 1995 Ford Taurus, they could share those settings to allow you to decode the same keyfob. This is the very beginnings of something very, very cool.
The Github repo for WaveConverter includes a few sample IQ files, and you can try it out for yourself right now. [Paul] admits there are a few problems with the app, but most of those are UI changes he has in mind. If you know your way around programming GUIs, [Paul] would appreciate your input.