Sometimes it makes sense to go with plain old batteries and off-the-shelf PVC pipe. That’s the thinking behind [Bertrand Selva]’s clever LoRaTube project.
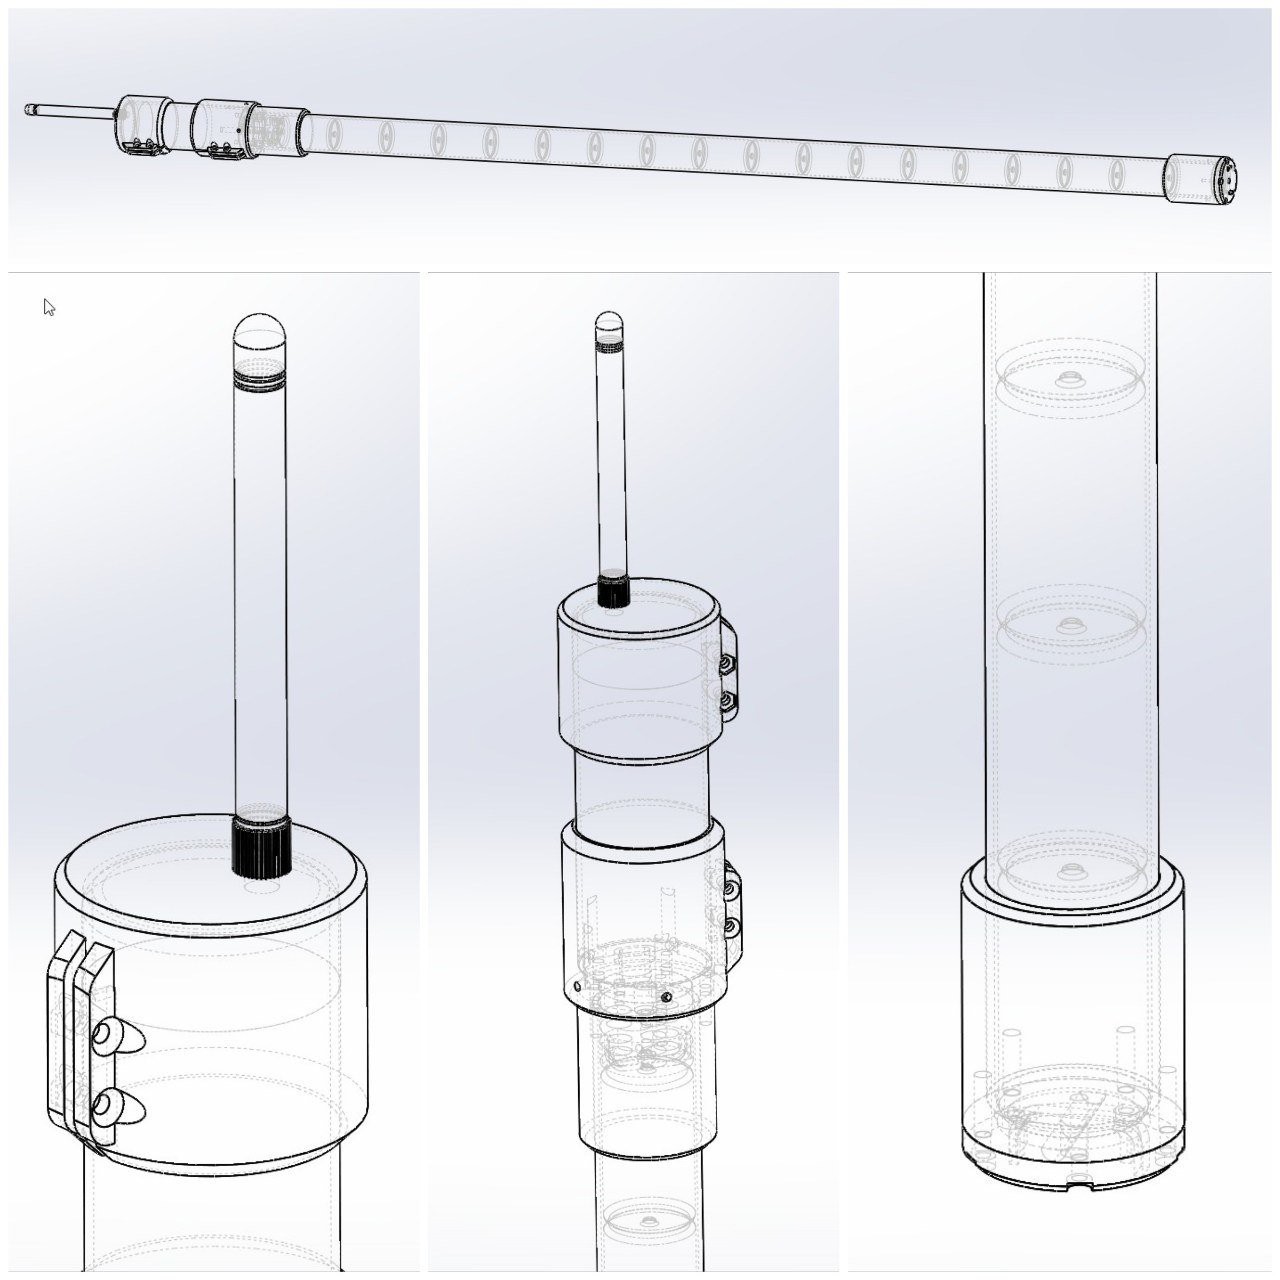
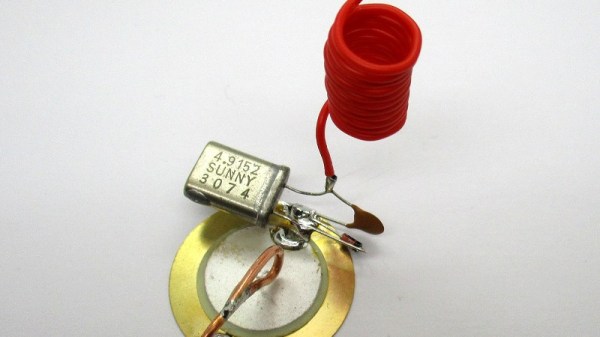
LoRa is a fantastic solution for long-range and low-power wireless communication (and popular, judging by the number of projects built around it) and LoRaTube provides an autonomous repeater, contained entirely in a length of PVC pipe. Out the top comes the antenna and inside is all the necessary hardware, along with a stack of good old D-sized alkaline cells feeding a supercap-buffered power supply of his own design. It’s weatherproof, inexpensive, self-contained, and thanks to extremely low standby current should last a good five years by [Bertrand]’s reckoning.
One can make a quick LoRa repeater in about an hour but while the core hardware can be inexpensive, supporting electronics and components (not to mention enclosure) for off-grid deployment can quickly add significant cost. Solar panels, charge controllers, and a rechargeable power supply also add potential points of failure. Sometimes it makes more sense to go cheap, simple, and rugged. Eighteen D-sized alkaline cells stacked in a PVC tube is as rugged as it is affordable, especially if one gets several years’ worth of operation out of it.
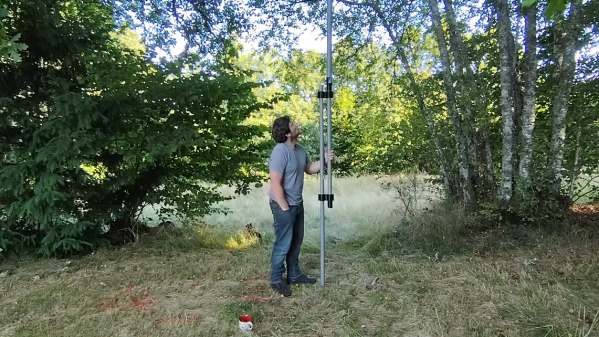
You can watch [Bertrand] raise a LoRaTube repeater and do a range test in the video (French), embedded below. Source code and CAD files are on the project page. Black outdoor helper cat not included.
Continue reading “LoRa Repeater Lasts 5 Years On PVC Pipe And D Cells”