If you’re anything like us, your complete shoe collection consists of a pair of work boots and a pair of ratty sneakers that need to wait until the next household haz-mat day to be retired. But some people have a thing for shoes, and knowing which pair is suitable for the weather on any given day is such a bother. And that’s the rationale behind this Raspberry Pi-driven weather-enabled shoe rack.
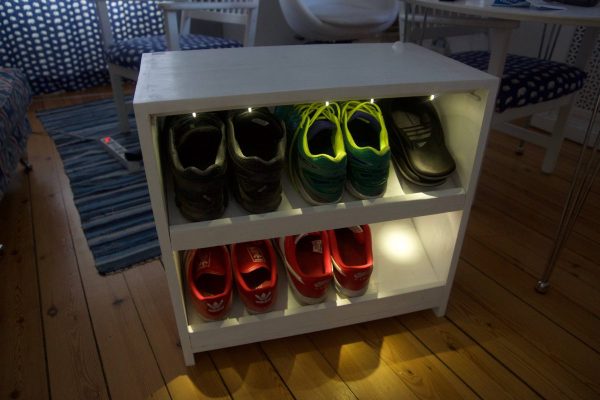
The rack itself is [zealen]’s first woodworking project, and for a serious shoeaholic it’s probably too small by an order of magnitude. But for proof of principle it does just fine. The rack holds six pairs, each with an LED to light it up. A PIR sensor on the top triggers the Raspberry Pi to light up a particular pair based on the weather, which we assume is scraped off the web somehow. [zealen] admits that the fit and finish leave a bit to be desired, but for a first Rasp Pi project, it’s pretty accomplished. There’s plenty of room for improvement, of course – RFID tags in the shoes to allow them to be placed anywhere in the rack springs to mind.
[via r/raspberry_pi]