Which SD Card To Use In A Pi?

There is surprising variation in the performance of SD cards. They are not all created equal and the differences can impact the running of your Raspberry Pi, no matter which model. [Jeff Geerling] wondered exactly how different cards would affect system performance. He ran a number of tests on cards ranging from cheap no-names to well-known brand names. The no-name cards fared pretty badly but even among the brand names there is considerable variation.
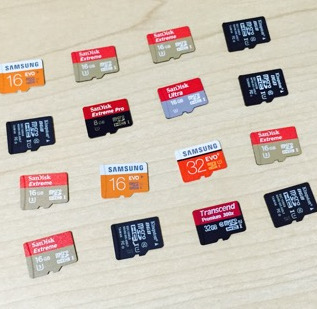
microsd-cards-all-tested-raspberry-pi

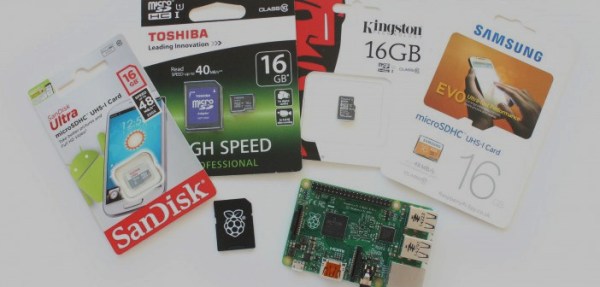
[Matt] over at Raspberry Pi Spy also tested SD cards and found similar differences. Both tested microSD cards. [Jeff’s] tests were solely on the Pi while [Matt’s] were on Windows 7, Ubuntu, and a Pi.

The discussions in the blog about what to measure were as interesting as the actual results. That lead to determining which software tools to use for the measurement. For example, a system doing a lot of small database reads and writes might work better with one SD card while a system storing and then streaming videos might work better with another card. Another interesting result is that the Pi’s data bus greatly limits the access speeds. [Jeff] measured much higher speeds running the same tests using a Mac with a USB dongle. The cards are capable of much more than the Pi can deliver.

[Matt] also checked the capacity of the SD cards. There are a lot of fakes floating around marked with higher capacities than they actually support. Even getting a brand name card may not help since some are counterfeit. So beware: if the price it too good to be true, it very well may be.

Audio Streaming On The Cheap With An RPi Zero

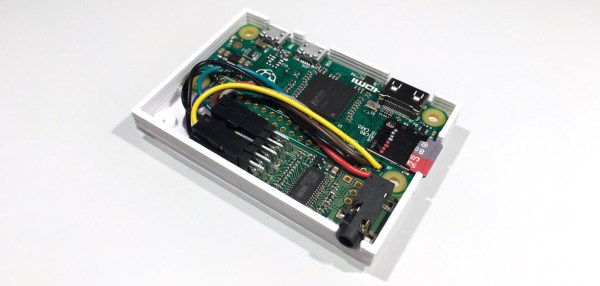
The minuscule size of the Raspberry Pi Zero makes it perfect for hacks where size is a factor. For example, a small, standalone device for getting streaming audio into your speakers. The RPi Zero doesn’t have an audio output on board, so PolyVection paired it up with their PlainDAC to build a minimal audio streaming device.

Their build uses a few lines from the GPIO header to drive an I2S digital to analog converter. The DAC is a PCM5142 from Texas Instruments that provides high quality sound output, and contains a built in programmable DSP.

The hardware fits into a 3D printed case, coming in at 68 mm by 48 mm. There’s no WiFi inside, but this can be added with an external USB device for wireless streaming. The DAC used is supported by the Linux kernel, so a simple configuration is all that’s needed to pipe audio out.

Once you have a device like this assembled, you can install a server like Music Player Daemon to remotely control the device and cue up internet radio channels.

Retro TV Breathes New Life With A Raspberry Pi

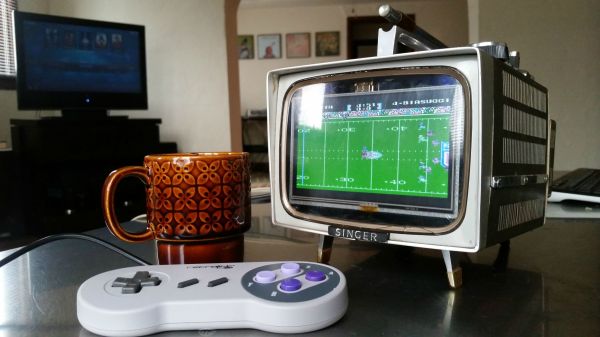
There’s just something so satisfying about industrial design from the years past. [Kenneth] found an old “portable” tube TV and decided to give it a little upgrade so he could keep it around the house.

It was a black and white Singer TV, with a whopping 6″ tube display. Using his trusty screwdriver set he took the whole thing apart, keeping only the frame and outer casing. Inside he jammed a 5″ LCD display, a Raspberry Pi and a power supply — with some room to spare. He also replaced the speakers with some upgraded baby woofers and an audio amp for the Pi.

The end result is a pretty snazzy little device capable of playing movies, games, or hypothetically, even as an all-in-one computer — but who actually uses a Raspberry Pi as their daily driver? Especially one with only a 5″ display…

But it’s a cutie, and sits nicely on the coffee table. For a larger retro TV rework, we’re quite partial to this conversion of a Philco TV (a sub-brand of Phillips) with a flat panel LCD.

[via r/Raspberry_Pi]

Raspberry Pi $2 WiFi Through Epic SDIO Hack

These are the times that we live in: the Raspberry Pi Zero comes out — a full freaking Linux computer on a chip for $5 — and people complain that it doesn’t have this or that. Top place on the list of desiderata is probably a tie between audio out and WiFi connectivity. USB is a solution for both of these, but with one USB port it’s going to be a scarce commodity, so any help is welcome.

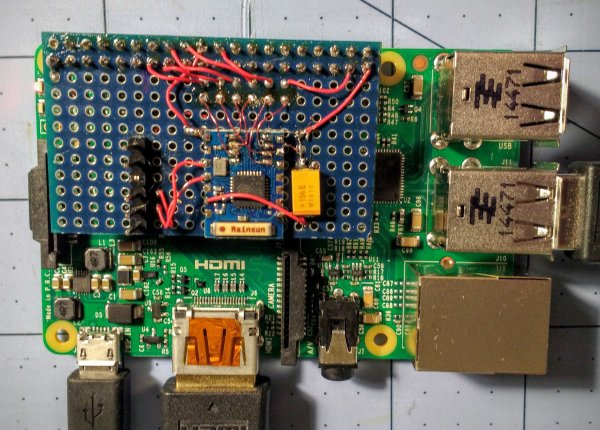
Hackaday.io hacker [ajlitt] is looking for a way out of the WiFi bind. His solution? The Raspberry Pi series of chips has a special function on a bunch of the GPIO pins that make it easier to talk to SDIO devices. SDIO is an extension of the SPI-like protocol that’s used with SD memory cards. The idea with SDIO was that you could plug a GPS or something into your PDA’s SD card slot. We don’t have PDAs anymore, but the SDIO spec remains.

[ajlitt] dug up an SDIO driver for the ESP8089 chip, and found that you can liberate the ESP8266’s SPI bus by removing a flash memory chip that’s taking up the SPI lines. Connect the SPI lines on the ESP8266 to the SDIO lines on the Raspberry Pi, and the rest is taken care of by the drivers. “The rest”, by the way, includes bringing the ESP’s processor up, dumping new firmware into it over the SPI/SDIO lines to convince it to act as an SDIO WiFi adapter, and all the rest of the hardware communication stuff that drivers do.

The result is WiFi connectivity without USB, requiring only some reasonably fine-pitch soldering, and unlike this hack you don’t have to worry about USB bus contention. So now you can add a $2 WiFi board to you $5 computer and you’ve still got the USB free. It’s not as fast as a dedicated WiFi dongle, but it gets the job done. Take that, Hackaday’s own [Rud Merriam]!

Thanks [J0z0r] for the tip!

Pi Zero Ethernet The Hard Way

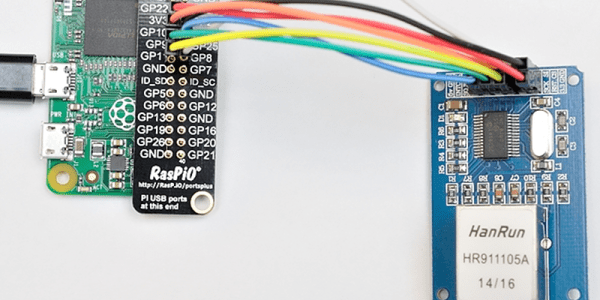
[Alex@Raspi.tv] had the misfortune of blowing the USB hub and Ethernet port on a Raspberry Pi B+. He thought about using a cheap SPI to Ethernet board to rescue it, and while he bought the board, he never got around to interfacing it to the broken Pi. However, when he saw the Raspberry Pi Zero arrive and noticed that everyone wanted to connect it to the network, he remembered the SPI board, rescued it from his junk box, and a few hours later had Ethernet via Raspberry Pi GPIO working.

Continue reading “Pi Zero Ethernet The Hard Way”

A Sound And LED-tastic Tricycle Shopping Cart

What do you get when you take a massive number of LEDs and combine them with a shopping cart and a bicycle? An awesome rave-mobile created by [kramerr]. He’s even taking it one step further by making the electronics solar powered.

[Kramerr] controls the LEDs with multiple WS2803 LED drivers. Three PIC18F4550s control the WS2803s over SPI. He devised a neat way of exciting the LEDs from music by using a pair of graphic equalizer display filter chips, MSGEQ7s, to drive the PICs to create patterns. A USB input also allows the PICs to display song titles or other information.

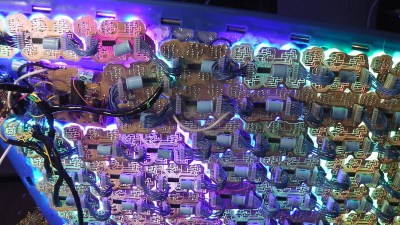
leds and boards

The mechanical design is as impressive as the electronics. The rear half of a bicycle is welded to the frame of the shopping cart with the cart’s handle used for steering. The shopping cart’s rear wheels are replaced by small bicycle wheels.

But [Kramerr] wasn’t done. He built his own solar panel since he couldn’t find one to fit the size requirements. The panel consists of 26 cells connected in series to provide 1A at 13V on a sunny day. A solar charge controller keeps a standard 12v lead acid battery ready to power the tricycle cart.

And there is still more! There is a sound system driven by a Raspberry Pi. The Pi also drives the USB inputs when [Krameer] wants to display song titles or artists instead of the audio patterns.

There are at least four hacks in this project each worthy of applause. [Karmeer] deserves an ovation for doing all of them in one project. If you are looking for less bling and less pedaling may we direct you to this powered, riding shopping cart.

Some rave music and lights via video after the break.

Continue reading “A Sound And LED-tastic Tricycle Shopping Cart”

Experiences In Developing An Electronics Kit

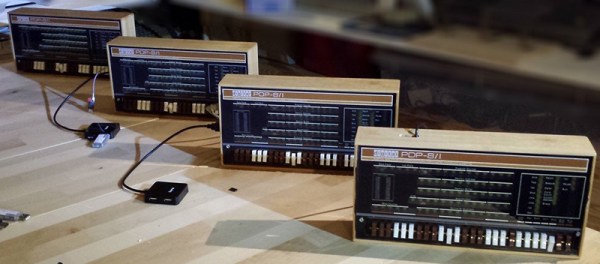
This year’s Hackaday Prize included a category for the Best Product, and there is perhaps no project that has inspired more people to throw money at their computer screens than [Oscar Vermeulen]’s PiDP-8/I. It’s a replica of the PDP-8/I from 1968. Instead of discrete electronics driving the blinkenlights and switches on the front of this computer, [Oscar]’s version uses a Raspberry Pi and the incredible SIMH emulator for dozens of old mainframes and minicomputers. It is, for all intents and purposes, a miniaturized version of a 50 year old computer that will fit on your desk and is powered by a phone charger.

Check out the video of [Oscar]’s talk below then join us after the break for more discussion of his work.

Continue reading “Experiences In Developing An Electronics Kit”