Those of us have been dual booting Linux, Windows, and OS X operating systems for a while will be familiar with bootloaders such as GRUB and its ilk. Surprisingly, though, we haven’t seen a bootloader for the most popular computer of the last year – the Raspberry Pi. It makes sense to have a bootloader for the Raspberry Pi; with dozens of different distributions from Raspbian, Occidentalis, and a bunch of more esoteric distros, we’re surprised we’re only just now seeing a proper bootloader for the Raspi.
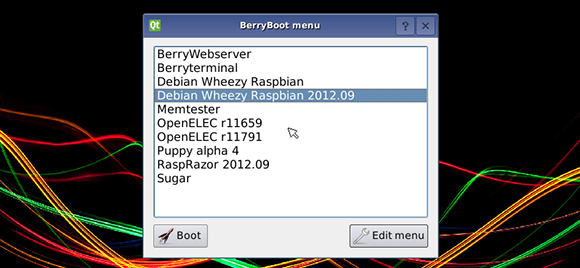
Berryboot is extremely simple to install – just copy it onto a FAT formatted SD card and you can install multiple OSes on your Raspberry Pi. On booting, Berryboot shows a dialog box of all the installed operating systems, with new ones able to be installed over the internet from a Berryboot menu.
You can grab Berryboot over on the gits. Berryboot also works with those Allwinner A10 single board computers, but the Hackaday tip line hasn’t seen hide nor hair of those boards.