Water Flow Meter Knows Tank Level

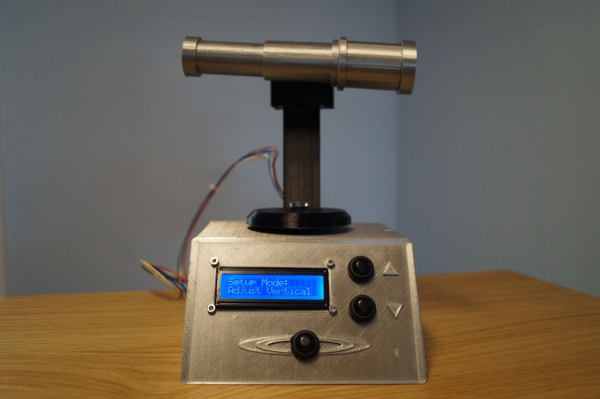
There’s almost always more than one way to get any particular job done. Suppose for instance you have a tank you fill up from a well, and you’d like to know when the time is right to refill the tank. The obvious answer is to measure the level of the tank, and there are plenty of ways to do that. However, [Liam Hanninen] has a different approach. Using a flow meter, he measures how much water leaves the tank. Assuming that you know it was once full, you can deduce how much water is left.

Using a YF-S201 flowmeter on a Raspberry Pi, the code uses Python to populate a database. The meter will need to be calibrated to get an exact volume measurement.

Continue reading “Water Flow Meter Knows Tank Level”

A Mobile Terminal For The End Of The World

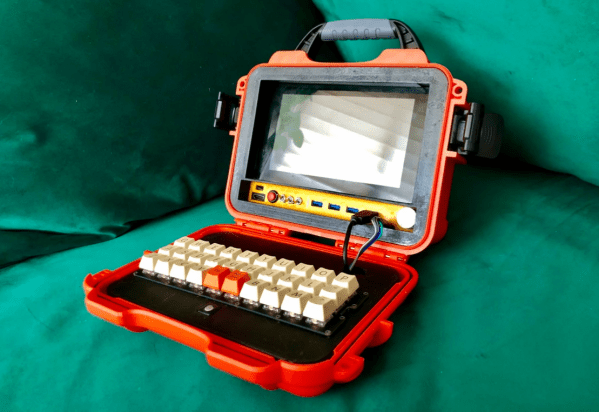
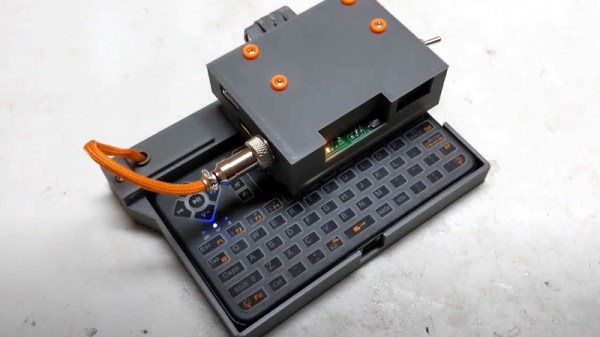
If civilization goes sideways and you need to survive, what are the bare essentials that should go in your bunker? Food and fresh water, sure. Maybe something to barter with in case things go full on The Postman. That’s all sensible enough, but how’s that stuff going to help you get a LAN party going? If you’re anything like [Jay Doscher], you’ll make sure there’s a ruggedized Raspberry Pi system with a self-contained network with you when the bombs drop.

Or at least, it certainly looks the part. He’s managed to design the entire project so it doesn’t require drilling holes through the Pelican case that serves as the enclosure, meaning it’s about as well sealed up as a piece of electronics can possibly be. The whole system could be fully submerged in water and come out bone dry on the inside, and with no internal moving parts, it should be largely immune to drops and shocks.

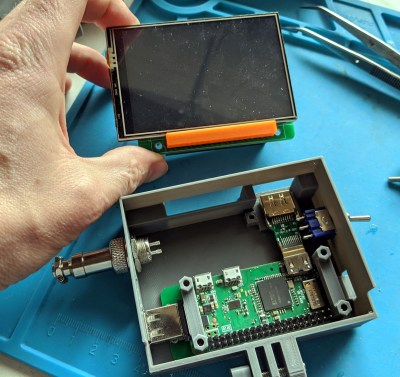
But we imagine [Jay] won’t actually need to wait for nuclear winter before he gets some use out of this gorgeous mobile setup. With the Pi’s GPIO broken out to dual military-style panel mount connectors on the front, a real mechanical keyboard, and an integrated five port Ethernet switch, you won’t have any trouble getting legitimate work done with this machine; even if the closest you ever get to a post-apocalyptic hellscape is the garage with the heat off. We especially like the 3D printed front panel with integrated labels, which is a great tip that frankly we don’t see nearly enough of.

This is actually an evolved version of the Raspberry Pi Field Unit (RPFU) that [Jay] built back in 2015. He tells us that he wanted to update the design to demonstrate his personal growth as a hacker and maker over the last few years, and judging by the final product, we think it’s safe to say he’s on the right path.

Network Booting The Pi 4

We’ve talked about PXE booting the Raspberry Pi 3B+, and then looked at the Raspberry Pi 4 as a desktop replacement. But there’s more! The Pi 4 sports a very useful new feature, the flashable bootloader. Just recently a beta version of that bootloader was released that supports PXE  — booting up over the network — which has become a must-have for those of us who have had consistently bad experiences with root filesystems on SD cards.

Pi with no SD CardWhat are the downsides, I hear you ask? You might see slower speeds going across the network compared to a high quality SD card, particularly with the Pi 4 and its improved SD card slot. PXE does require an Ethernet cable; WiFi is not enough, so you have that restriction to contend with. And finally, this isn’t a portable option — you are tethered to that network cable while running, and tethered to your network to boot at all.

On the other hand, if you’re doing a permanent or semi-permanent install of a Pi, PXE is absolutely a winner. There are few things worse than dragging a ladder out to access a Pi that’s cooked its SD card, not to mention the possibility that you firewalled yourself out of it. Need to start over with a fresh Raspbian image? Easy, just rebuild it on the PXE server and reboot the Pi remotely.

Convinced PXE is for you? Let’s get started! Continue reading “Network Booting The Pi 4”

The Open Source Smart Home

[Tijmen Schep] sends in his project, Candle Smart Home, which is an exhibit of 12 smart home devices which are designed around the concepts of ownership, open source, and privacy.

The central controller runs on a Raspberry Pi which is running Mozilla’s new smart home operating system. Each individual device is Arduino based, and when you click through on the site you get a well designed graphic explaining how to build each device.

It’s also fun to see how many people worked together on this project and added their own flair. Whether it’s a unique covering for the devices or a toggle switch that can toggle itself there’s quite a few personal touches.

As anyone who’s had the sneaking suspicion that Jeff Bezos was listening in to their conversations, we get the need for this. We also love how approachable it makes hacking your own hardware. What are your thoughts?

Robotics Controller For The Pi Boasts An Impressive Feature List

[Michael Horne] recently shared his thoughts on the RedBoard+, a motor controller board for the Raspberry Pi aimed at robotic applications. His short version for busy people is: if you’re at all into robotics, get one because it’s fantastic.

At heart the RedBoard+ is a motor controller, but it’s packed with I/O and features that set it above the usual fare. It can drive two DC motors and up to twelve servos, but what is extra useful is the wide input range of 7-24 V and its ability to power and control the underlying Raspberry Pi. A user-programmable button defaults to either doing a reboot or safe shutdown, depending on how long the button is held. Another neat feature is the ability to blink out the IP address of the Pi using the onboard RGB LED, which is always handy in a pinch.

The RedBoard+ has a GitHub repository which provides a variety of test scripts and an easy to use library, as well as a variety of hookup guides and quickstart guides. There’s even a pre-configured SD image for those who prefer to simply dive in.

A brief demo video showing the board in operation is embedded below. If you’re interested in one, Creator [Neil] of RedRobotics has made it available for sale on Tindie.

Continue reading “Robotics Controller For The Pi Boasts An Impressive Feature List”

Traffic Updates On The Seven Seas: Open Source Chart Plotter Using A Raspberry Pi

As the Raspberry Pi in its various forms continues to flow into the wild by the thousands, it’s interesting to see its user base expand outside beyond the hacker communities. One group of people who’ve also started taking a liking to it is sailing enthusiasts. [James Conger] is one such sailor, and he built his own AIS enabled chart plotter for a fraction of the price of comparable commercial units.

AIS transponders in the Mediterranean. VesselFinder

Automatic Identification System (AIS) is a GPS tracking system that uses transponders to transmit a ship’s position data to other ships or receiver stations in an area. This is used for collision avoidance and by authorities (and hobbyists) to keep an eye on shipping traffic, and allow for stricken vessels to be found easily. [James]’ DIY chart plotter overlays the received AIS data over marine charts on a nice big display. A Raspberry Pi 3B+, AIS Receiver Hat, USB GPS dongle and a makes up the core of the system. The entire setup cost about $350. The Pi runs OpenCPN, an open source chart plotter and navigation software package that [John] says is rivals most commercial software. As most Pi users will know the SD card is often a weak link, so it’s probably worth having a backup SD card with all the software already installed just in case it fails during a voyage.

We’ve seen AIS receiver stations built using the RTL-SDR, as well as a number of projects around the AIS equivalent in aviation, ADS-B. Check out [John]’s video after the break. Continue reading “Traffic Updates On The Seven Seas: Open Source Chart Plotter Using A Raspberry Pi”

Atari Tape Drive Turned Security DVR

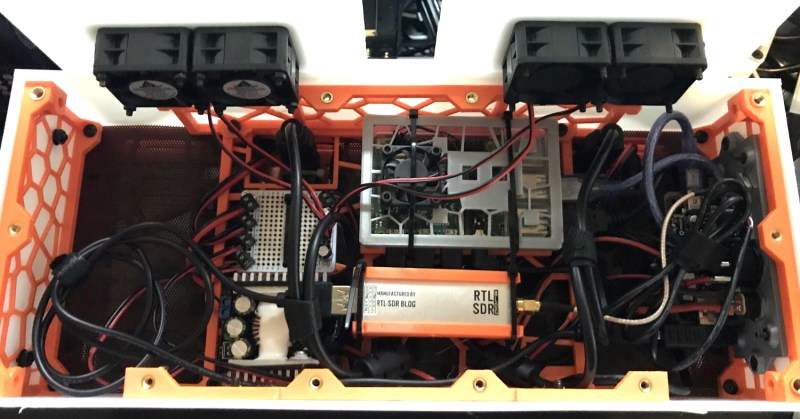
We know that a lot of our beloved readers don’t take kindly to abuse of vintage hardware, so the Atari fans in the audience may want to avert their eyes for this one. Especially if they’re particularly keen on spinning up their Jawbreaker cassette on authentic hardware, as [iot4c] has gutted an Atari XC12 Program Recorder to turn it into an enclosure for a Raspberry Pi video storage device.

Step one of this conversion was, as you might expect, removing all the original hardware from the cassette recorder case. From there, [iot4c] fitted the Raspberry Pi, a USB hard drive, and a YDS-5A DC-DC converter to power them. Depending on what the drive setup looks like, it might also make sense to add a USB powered hub. A length of Ethernet cable was left hanging out the back of the Atari XC12 so it could be plugged into the network, but a panel mount RJ45 connector could spruce things up a bit.

Of course, gutting an old piece of hardware and sticking a Pi into it isn’t exactly breaking any new ground at this point. But we did appreciate that [iot4c] went the extra mile to wire it up so the “Save” LED now doubles as a network activity indicator. Which pretty much brings it full circle in terms of functionality for a network-attached video recorder.

Earlier in the year [iot4c] converted a 65XE into a USB keyboard with the help of an Arduino Leonardo, but the vintage Atari aficionados will be happy to note that at least in that case the donor machine remained fully functional.