It’s an entertaining pastime when browsing the array of wonders available from the other side of the world at the click of the mouse, to scour the listings of the unusual, the interesting, or the inexpensive. Sometimes when you find something unexpected you are rewarded with a diamond in the rough, while at other moments your bargain basement purchase is revealed as a hilariously useless paperweight. This is a game in which the stake is relatively low and the reward can be significant, so rarely does an order for some parts or sundries go by without a speculative purchase.
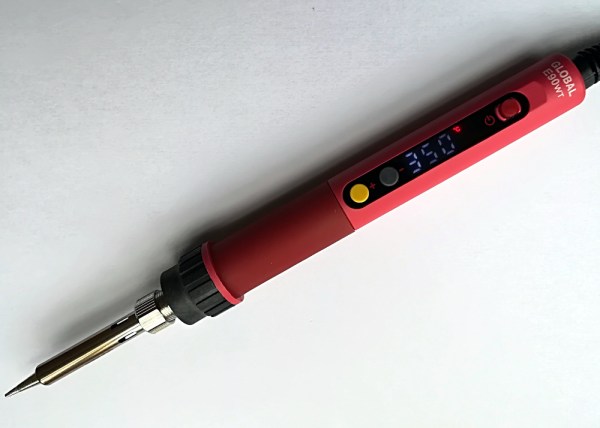
The latest to arrive is a soldering iron. The CXG E90W is a 90W mains-powered temperature controlled iron with its control electronics built into its handle. Such irons are by no means unusual, what makes this one different is that it has a low price tag.
The Miniware TS100, an iron I quite like and the current darling of the pack, is priced at nearly £50 ($71). Just how can this iron priced at just under £15 ($21) be any good? I placed one on the order, and waited for delivery.
Continue reading “Review: CXG E90W Temperature-Controlled Soldering Iron”