Laser cutters, 3D printers, CNC routers — they’re all great technology in the right hands, but unfortunately the learning curve sometimes puts would-be makers at a distance. [Anirudh] from MIT’s Media Lab is attempting to break down at least one of those barriers with his augmented laser cutter system called, Clearcut.
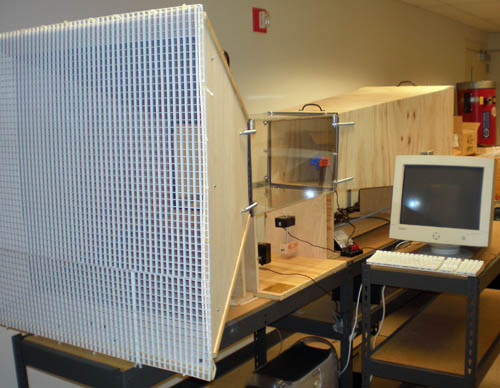
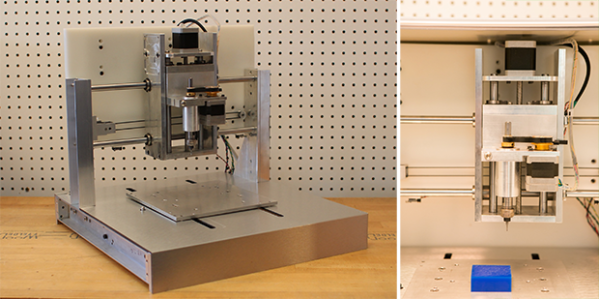
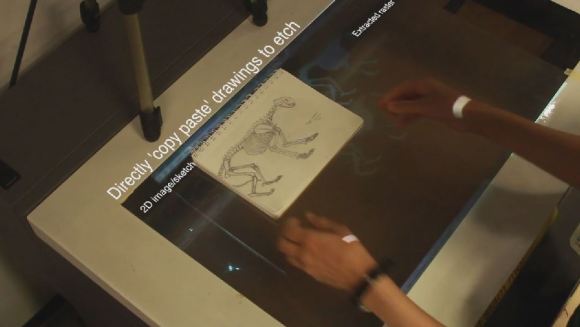
The system consists of a webcam, a projector, and a semi transparent work space on top of the laser cutter. By placing objects on the surface, the webcam can identify them, duplicate them with the projector, and then laser engrave them. In addition to the “copy and paste” idea of this, you can also use infrared emitting pens to physically draw your design on the work surface to be engraved. It starts to bridge the gap between complex CAD and pencil and paper, something anyone is capable of.
Continue reading “Augmented Laser Cutter Removes Design Technology Barriers”