Clearing brush is no fun. Sure, swinging a machete on a hot, humid day sounds great, but when you’re sitting in an oatmeal bath the next day because you didn’t see the poison ivy, you’ll be looking for a better way. [RoboMonkey] did just that with a field-expedient brush trimmer that’s sure to help with his chores.
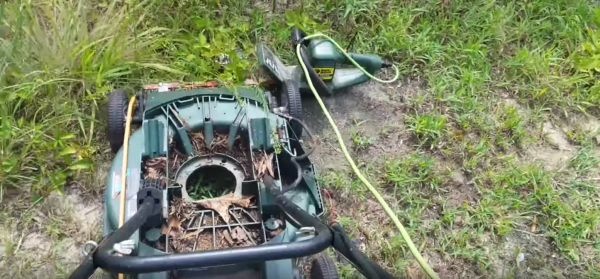
This is a hack in the true Junkyard Wars sense of the word. A cast-off electric push mower deck caught [RoboMonkey]’s eye, and a few spare brackets and bolts later his electric hedge trimmer was attached across the front of the mower. With a long extension cord trailing behind, he was able to complete in 10 minutes what would normally take him an hour to accomplish, without spending a dime on either a specialized brush cutter or a landscaping service. The video after the break reveals that it may not be the most powerful tool in the shed, and it won’t likely stand up to daily use, but for this twice a year chore, it’s more than sufficient. And since the hedge trimmer wasn’t modified, it’s still available for its original purpose. Reduce, reuse, recycle – and repurpose.
While we haven’t seen many brush cutters before, we seen plenty of mower mods. From LiPo electrics to a gas-powered RC unit, the common push-mower seems to be a great platform for all kinds of hacking.