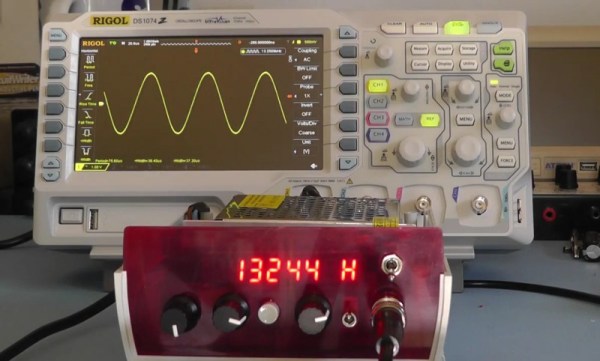
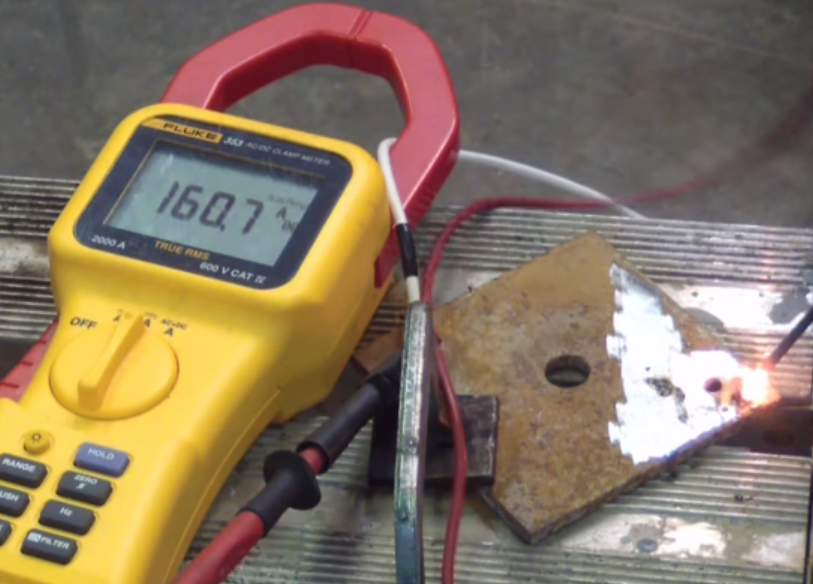
[Scullcom] has posted the second part of his function generator build tutorial. [Scullcom] previously posted the first part of this build which covered the XR2206 monolithic function generator IC on which his design is based. In this part [Scullcom] covers the output stages and final assembly.
We’ve covered digital and analog function generator builds before. [Scullcom]’s design complements these well by providing a detailed description of the design he used, and has provided full schematics and code from the Arduino Nano used in this project. The design covers audio frequencies (~40Hz to 30KHz) with square, sine and triangle wave outputs. While the XR2206 can’t compete with modern DDS function generators, if you’re a hacker on a budget and looking for a fun project this may be just the thing for you. And even if you don’t decide to build the one, you might find [Scullcom]’s description of the output stage interesting.
Great project [Scullcom] and we look forward to your next build!
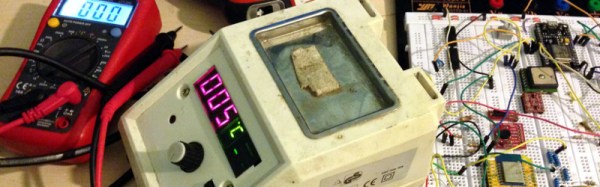
 The data pushes out to the Thingspeak server which handles pushing data out to the bigger network, and data representation (like the cool Google gauge in the picture). The best part: [Vegard] gets a phone notification when he accidentally leaves his soldering iron on. How perfect is that?