Leveraging The GPU To Accelerate The Linux Kernel

Powerful graphics cards are pretty affordable these days. Even though we rarely do high-end gaming on our daily machine we still have a GeForce 9800 GT. That goes to waste on a machine used mainly to publish posts and write code for microcontrollers. But perhaps we can put the GPU to good use when it comes compile time. The KGPU package enlists your graphics card to help the kernel do some heavy lifting.

This won’t work for just any GPU. The technique uses CUDA, which is a parallel computing package for NVIDIA hardware. But don’t let lack of hardware keep you from checking it out. [Weibin Sun] is one of the researchers behind the technique. He posted a whitepaper (PDF) on the topic over at his website.

Add this to the growing list of non-graphic applications for today graphics hardware.

UPDATE: Looks like we won’t be trying this out after all. Your GPU must support CUDA 2.0 or higher. We found ours on this list and it’s only capable of CUDA 1.0.

[Thanks John]

Simulating CRT Or Vector Displays For More Realistic Emulation

simulated-crt-monitor-for-emulatorsScaled down it’s not as obvious that this image isn’t a crystal clear rendering of Mortal Kombat gameplay. But we’ve linked it to the full size version (just click on the image) so that you can get a better look. Notice the scan lines? This is the result of an effort to more accurately mimic the original hardware displays used in classic games. [Jason Scott] takes a look at the initiative by describing what he thinks is missing with the picture perfect quality of modern emulators.

One such effort is being mounted for MAME (Multiple Arcade Machine Emulator). There is a series of filters available — each with their own collection of settings — that will make your modern LCD display look like it’s a run-of-the-mill CRT. This is a novelty if you’re a casual gamer who dusts off the coin-op favorites twice a year. But if you’re building a standalone game cabinet this may be a suitable alternative to sourcing a working display that’s already decades old.

Dithering In Processing

dithering-experiments

To be honest, we’ve heard of dithering but that’s the extent of our knowledge on the topic. After looking through [Windell’s] post about using Dithering in Processing we can now say we’ve got a base of knowledge on the topic.

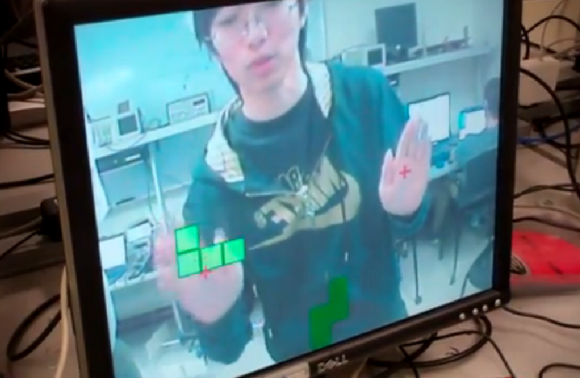
Dithering is used to produce an image out of two colors that our eyes can put together into something meaningful. The history of the algorithms goes back to monochrome displays. But now the hobby electronics we work with for fun have comparable computing power and perhaps it’s time to rediscover these techniques. [Windell’s] project implements the Atkinson dithering algorithm in real-time on your webcam. He’s doing this in Processing, which should make it pretty easy to port for your own purposes.

So why might you want to use dithering in your own projects? Because if it can be used to make very cool milled artwork there must be other undiscovered uses lurking around your workshop.


Adding A SCART Input To A Console VGA Converter

If you’re working with a CGA, EGA, or RGB gaming system this inexpensive board does a great job of converting the signal to VGA so that you can play using a modern display. But what if you have a SCART connector as an output? That’s the situation in which [EverestX] found himself so he hacked in SCART support.

The first step is to source a female SCART connector. He grabbed a coupler off of eBay and cracked it open, yielding two connectors. Now comes the wiring and you may have already noticed that there’s a lot more going on here than the color channels, sync signal, and ground. Technically that’s all you really need to make this happen, but the results will not be good. First off, the sync signal for SCART tends to be rather awful. That’s where the blue breakout board comes into play. [EverestX] used an LM1881 to grab the composite sync (yes, composite sync, not component sync) signal as a feed for the VGA converter. He also added in an audio jack for the sound that is coming through the connector.

Demystifying Camcorder CRT Viewfinders

Every smartphone (and most dumb phones) has a video camera built into it these days. Some of them are even capable of recording respectable HD video. So we’d bet that the decades old camcorder you’ve got kicking around isn’t getting any use at all anymore. [John] wants to encourage you to hack that hardware. He published a post showing just how easy it is to salvage and use a camcorder CRT.

The gist is that you simply need to hook up power and feed it video. The board that is attached to the CRT has its own voltage hardware to drive the tube. He demonstrates a 9V battery as a power supply, but also mentions that it should be pretty easy to power the thing from a USB port. As for video, all it takes is a composite signal. Of course you’ve got to determine the pinout for your particular CRT module. The method he chose was to use a continuity tester to find the path from a capacitor’s negative leg to the appropriate pin header. Next he used a bench supply to inject a current-limited low voltage until he saw response when probing the pins. Finding the composite-in is a similar trial and error process.

So what can you use this for? Why not make it the display for a simple video game?

Gyrocam Keeps The Horizon Level Even When The Camera Isn’t

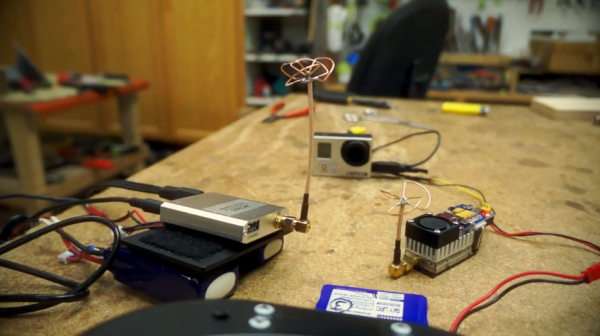
[Derek] likes to get a little bit of drivers-eye footage when racing his motorcycle, but there’s an inherent problem with mounting a camera to a moving and tilting platform. When he leans into turns, the camera can’t keep the horizon level. Cinematography and electronics go well together. so [Derek] built a horizon-stabilized camera mount for motorcycle videography.

The build was inspired by footage shot from [Valentino Rossi’s bike in 2010. Of course the professional model costs a small fortune, but [Derek] managed to make his own out of 3D printed parts and a hobby servo.

Based on the Contour Roam camera, [Derek] had a pair of gears printed at Shapeways to fit over the camera and attach to a servo. The electronics are an ATMega32 with a L3G4200D gyroscope. When the ‘micro detects a change in the gyroscope it rotates the servo in the opposite direction, keeping the horizon in the video level.

It’s a very cool build, and judging from the action videos after the break, makes for awesome track footage.

Continue reading “Gyrocam Keeps The Horizon Level Even When The Camera Isn’t”

Laptop LCD Resurrection Gets Some Clean Packaging

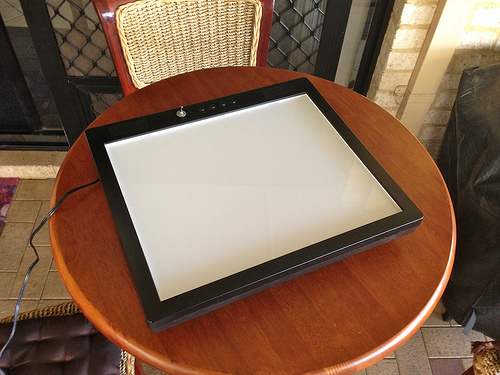
We love to see derivative works that take a great hack and make it even better. This LCD Laptop resurrection project is an excellent example. [Alex] took the work seen on this other FPGA LCD driver and delivered a leap forward on the final hardware packaging.

The link at the top drops you into the second page of [Alex’s] project thread. But if you go back to the beginning you’ll see the protoboard and spaghetti wiring which started off the process. Obviously if he plans to use this for a length of time it needs to be fortified or he’ll be cracking it open and grabbing a soldering iron again before long. But rather than just tidying up he ended up spinning his own circuit boards that make the screen look like it was manufactured to be used in this way.

He was able to mount the add-on board inside the LCD bezel, cutting out a space for the HDMI connector, barrel jack, trimpot, and the head of the inductor which was just a bit too large to fit inside. The trimpot allows him to adjust the LCD brightness. As far as we can tell the HDMI connector is just an easy way for him to deliver the drive signals from the Papilio board (FPGA) to the screen.