Following in the footsteps of [Tony Stark] this Arc Reactor replica was hand crafted using almost no power tools. From what we can tell in his build gallery, a cordless drill was his only departure from using pure elbow grease.
[DJ Maller] started his build by cutting out a disc of acrylic for the base plate. While we might have reached for a hole saw, he grabbed a framing square and laid out a center point and square cuts on the stock. Kudos for his use of an awl (we often take the Luddite approach of hammer and nail) to make an impression for his compass point to rest in. After using a coping saw to rough out the shape he sands the round up to the line with the drill and a sanding wheel.
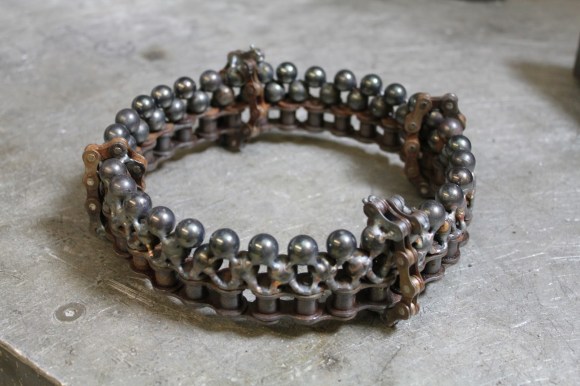
After drilling holes and inserting LEDs he begins to build up the replica piece by piece. What looks like a recessed handle for a sliding closet doors makes up the center. The spring-like copper coils was produced by wrapping wire around a pen then stretching to the desired shape. He added a bicycle spoke wrench wrapped with copper for some additional visual appeal before finishing the decoration off with some storm door clips.
[via Reddit]