A new way to transmit data is coming that could radically change the way that devices talk to each other: LiFi. Short for Light Fidelity, LiFi uses visible light to send data, creating the link between router and device with invisible pulses of light. This type of Visible Light Communication (VLC) uses something that is present in pretty much every room: an LED lightbulb.
What is LiFi?
Li-Fi sounds like the an engineer’s fevered dream: it is fast, cheap, secure and simple to implement. Speeds of up to 10Gbps have been demonstrated in the lab, and products are now available that offer 10Mbps speed. It is cheap because it can use a modified LED lightbulb. It is secure because it only works where the light is visible: step out of the room and the signal is lost. It is simple to implement because it uses an existing technology: LEDs.
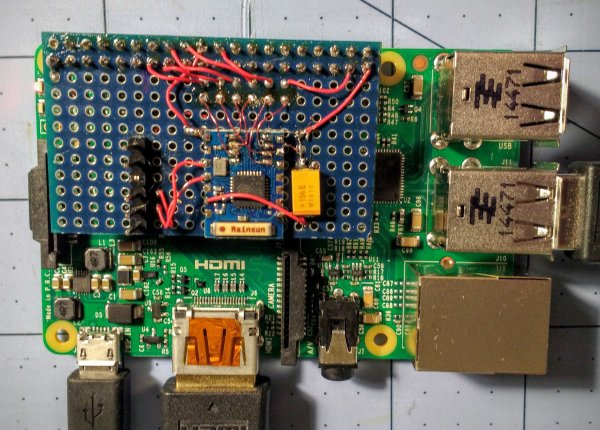
The basis of the technology is in turning the LED light on and off very fast. By switching an LED on and off millions of times a second, you can create a data signal that can be detected by a sensor, but which is invisible to the human eye. At the other end, another LED detects these pulses, and can send light pulses back in response, creating a bi-directional link. If you combine this with wired Ethernet or a WiFi network, you have an awesome combination: an Internet connection that uses visible light for the last link.
Continue reading “Hackaday Explains: Li-Fi & Visible Light Communications”