3D printers have made a lot of things possible that were either extremely difficult or downright impossible with traditional tooling. Certain shapes lend themselves to 3D printing, and materials and tooling costs are also generally greatly reduced as well. One thing that may not be touched on as often, though, is their ability to rapidly prototype solutions to complex mathematical problems, in this case taking the form of a 3D printed maze, known as a dodecahedral holonomy maze, with an interesting solution.
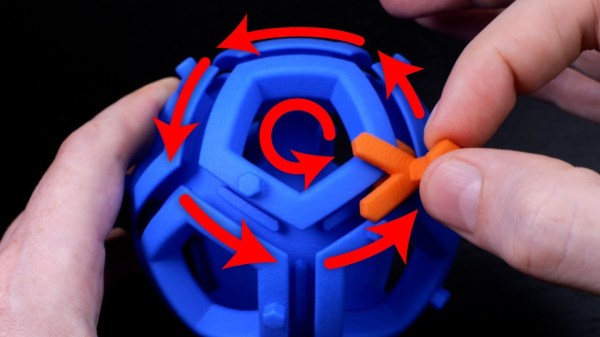
The puzzle presents itself as a sphere composed of various inlaid hexagons which form a track for the puzzle piece, or “rook”. The tracks create the maze for the rook to travel, as some paths are blocked when the rook is oriented in certain ways. To solve the puzzle, the player must rotate the rook by moving it around the hexagons in such a way that its path isn’t physically blocked by any of the pegs in order to successfully reach the exit. This might seem like a fun toy to have on its surface, but the impressive thing about this is that the solutions are designed to reduce the likelihood of solving the puzzle with any “brute force” methods while at the same time having more than one path that will reach the exit as well as several bottlenecks that the puzzle solver must traverse as well.
There are actually many possible puzzles that can be produced in this size and shape, and all have predetermined solutions with cleverly chosen paths. This might seem like a lot but when you realize that the entire build from concept to 3D modeling to implementation was done by [Henry Segerman] and a group of other mathematicians at Oklahoma State University it starts to become more clear how the puzzle was so well-designed. In fact, we’ve featured some of his other mathematically-modeled builds in the past as well.
Thanks to [Inne] for the tip!
Continue reading “Complicated Calculated Solution To 3D-Printed Puzzle”
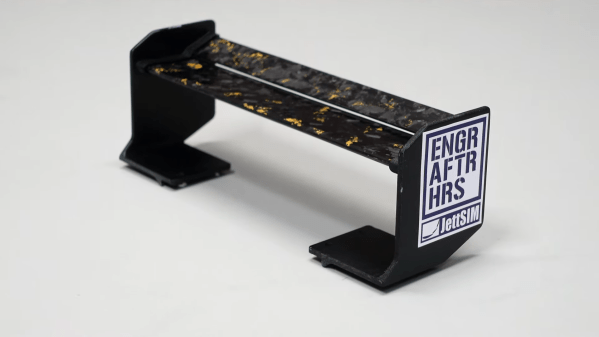
 The video points out that, at best, even a decent RC car will have pretty crappy aerodynamic parts from the factory, with a lift-to-drag (L/D)ratio of 2-3:1 at best. This means that, while they may create some small amount of downforce, they’re also creating plenty of drag at the same time.