The 3D Printers Of CES

CES, the Consumer Electronics Show, is in full swing. That means the Hackaday tip line is filled to the brim with uninteresting press releases, and notices that companies from the world over will be at CES.

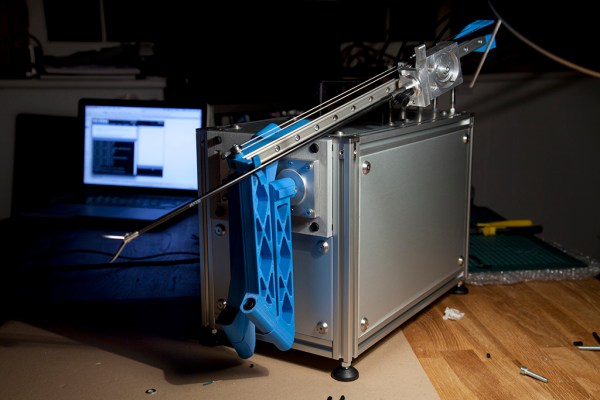
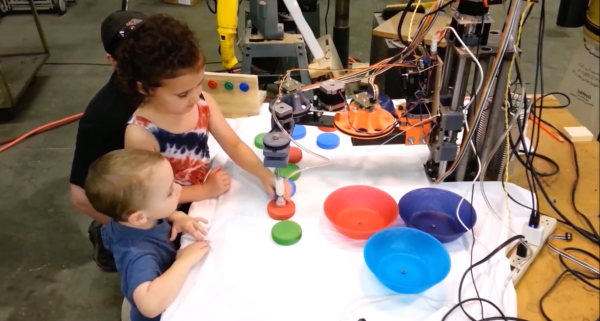
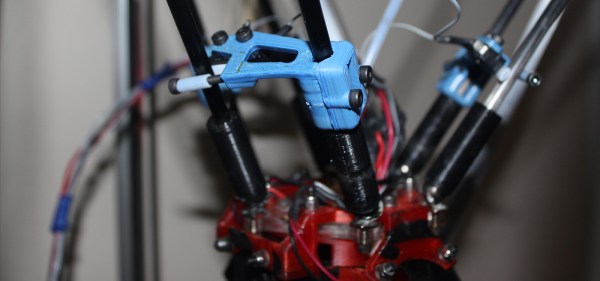
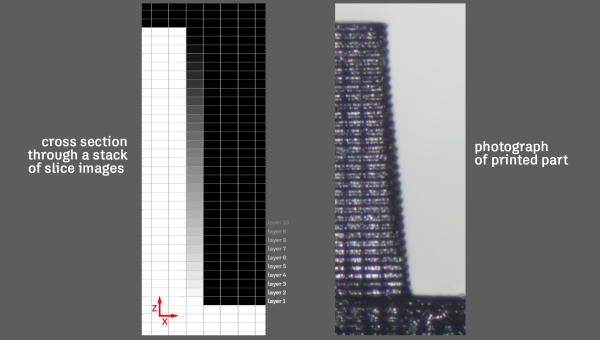
3D printing has fallen off the radar of people who worship shiny new gadgets of late, and this is simply a function of 3D printing falling into the trough of disillusionment. The hype train of 3D printing is stuck on a siding, people are bored, but this is the time that will shape what 3D printing will become for the next ten years. What fascinating news from the 3D printing industry comes to us from CES?

Continue reading “The 3D Printers Of CES”

32C3: 3D Printing On The Moon

How do you resist this talk title? You can’t! [Karsten Becker]’s talk about what kinds of 3D printers you’d use on the moon is a must-see.

[Part-Time Scientists] was a group of 35 people working on a mission to the moon. Then they won the qualifying round in the Google Lunar XPRIZE, got a bunch of money, and partnered with some heavy corporate sponsors, among which is Audi. Now they’ve added eleven full-time employees and updated the name to [PT Scientists]. (They’re taking applications if you’re interested in helping out!)

3d_printing_on_moon-shot0026A really neat part of their planned mission is to land near the Apollo 17 landing site, which will let them check up on the old lunar rover that NASA left up there last time. The science here is that, 45 years on, they hope to learn how all of the various materials that make up the rover have held up over time.

But the main attraction of their mission is experimental 3D printing using in-situ materials. As [Karsten] says, “3D printing is hard…but we want to do it on the moon anyway.”

3d_printing_on_moon-shot0027One idea is to essentially microwave the lunar regolith (and melt it) . This should work because there’s a decent iron component in the regolith, so if they can heat it up it should fuse. The catch with microwaving is directivity — it’s hard to make fine details. On the plus side, it should be easy to make structures similar to paved roads out of melted regolith. Microwave parts are robust and should hold up to launch, and microwaving is relatively energy efficient, so that’s what they’re going to go for.

But there are other alternatives. The European Space Agency is planning to bring some epoxy-like binder along, and glue regolith together in layers like a terrestrial cement printer. The problem is, of course, schlepping all of the binder to the moon in the first place.

And then there are lasers. [Karsten] talked lasers down a little bit, because they’re not very energy efficient and the optics are fidgety — not something you’d like to be supporting remotely from earth.

The final option that [Karsten] mentioned was the possibility of using locally-generated thermite to fuse regolith. This has been tested out on earth, and should work. [Karsten] thought it was an interesting option, but balls of hot thermite are potentially tough on rovers, and the cost of mistakes are so high that they’re going to put that off for a future mission.

In the end, the presentation ran only thirty minutes long, so there’s a great Q&A session after that. Don’t go home once you hear the audience clapping!

The Effects Of Color On Material Properties Of 3D Printed Components

The strength of object printed on filament-based 3D printers varies by the plastic used, the G-code used by the printer, the percent infill, and even the temperature the plastic was extruded at. Everything, it seems, has an effect on the strength of 3D printed parts, but does the color of filament have an effect on the stress and strain a plastic part it can withstand? [Joshua M. Pearce] set out to answer that question in one of his most recent papers.

The methods section of the paper is about what you would expect for someone investigating the strength of parts printed on a RepRap. A Lulzbot TAZ 4 was used, along with natural, white, black, silver, and blue 3mm PLA filament. All parts were printed at 190°C with a 60°C heated bed.

The printed parts demonstrated yet again that a RepRap can produce parts that are at least equal in material strength to those produced by a proprietary 3D printer. But what about a difference in the strength among different colors? While there wasn’t a significant variation in the Young’s modulus of parts printed in different colors, there was a significant variation of the crystallization of differently colored printed parts, with white PLA producing the largest percent crystallinity, followed by blue, grey, black, and finally natural PLA. This crystallinity of a printed part can affect the tensile properties of a printed part, but [Pearce] found the extrusion temperature also has a large effect on the percentage of crystallinity.

Printing Objects Directly From Fallout 4

Fallout 4 was released about a month ago, and although we don’t have a ‘took an arrow to the knee’ meme like Bethesda’s last game, there are ample opportunities for cosplay and printing out deathclaws and mirelurks on a 3D printer. How do you turn files hidden away in a game’s folders into a real, printed object? It’s actually pretty easy and [Angus] is here to tell you how.

The files for Fallout enemies and items can be readily accessed with the Bethesda Archive Extractor, although this won’t give you files that a 3D printer can understand. You’ll get a .NIF file, and NifSkope can convert the files found in the Fallout archives to an .OBJ file any 3D modeling program can understand. The next step from there is taking the .OBJ file into Meshmixer and fixing everything with Netfabb. After that, it’s off to the printer.

[Angus] printed his model of a Deathclaw in ABS in multiple parts, gluing them together with a little bit of acetone. This didn’t go exactly as planned; there were some contaminants in the ABS that turned into a white film on the black ABS. This was ultimately fixed with XTC-3D, the 3D print coating everyone is experimenting with.

The finished product is a solid yellow but completely smooth 3D model of one of the toughest enemies in Fallout 4. The only thing left to do is paint the model. The best way to proceed at this point is probably doing what model builders have been doing for decades – an airbrush, and hundreds of tiny bottles of paint. [Angus] is opening up his YouTube comments for suggestions, and if you have a better idea he’s looking for some help.
Continue reading “Printing Objects Directly From Fallout 4”

3D Printing Pen And CNC Machine Yields Cheap 3D Printer

3D printers are ubiquitous now, but they’re still prohibitively expensive for some people. Some printers cost thousands, but even more inexpensive options aren’t exactly cheap. [Daniel] decided that this was unacceptable, and set out to make a basic 3D printer for under $100 by including only the bare essentials needed for creating anything out of melted plastic.

3D printers are essentially four parts: a bed, filament, and a hot end and extruder. In a previous project, [Daniel] used parts from old CD drives to create a three-axis CNC machine which he uses for the bed. To take care of the hot end and extruder, he is using a 3D printing pen which he mounts to the CNC machine and voila: a 3D printer!

It’s not quite as simple as just strapping a 3D printing pen to a CNC machine, though. The pen and the CNC machine have to communicate with each other so that the pen knows when to place filament and the CNC machine knows when to move. For that, [Daniel] went with a trusty Arduino in order to switch the pen on and off. Once it’s working, it’s time to start printing!

[Daniel] does note that this is a design that’s relatively limited in terms of print size and resolution, but for the price it can’t be beat. If you’re interested in getting started with 3D printing, a setup like this would be perfect. 3D pens are a pretty new idea too, and it’s interesting to see them used in different ways like this.

Hackaday Links: October 25, 2015

There are dozens of different 3D printable cases out there for the Raspberry Pi, but the BeagleBone Black, as useful as it is, doesn’t have as many options. The folks at 3D hubs thought they could solve this with a portable electronics lab for the BBB. It opens like a book, fits a half-size breadboard inside, and looks very cool.

The guy who 3D printed his lawnmower has a very, very large 3D printer. He now added a hammock to it, just so he could hang out during the very long prints.

There’s a box somewhere in your attic, basement, or garage filled with IDE cables. Wouldn’t they be useful for projects? Yep, only not all the wires work; some are grounds tied together, some are not wired straight through, and some are missing. [esot.eric] has the definitive guide for 80-wire IDE cables.

Like case mods? Here’s a golden apple, made out of walnut. Yes, there are better woods he could have used. It’s a wooden replica of a Mac 128 with a Mac Mini and LCD stuffed inside. Want a video? Here you go.

If you have a 3D printer, you’re probably familiar with PEEK. It’s the plastic used as a thermal break in non-all-metal hotends. Now it’s a filament. An extraordinarily expensive filament at €900 per kilogram. Printing temperature is 370°C, so you’ll need an all-metal hotend.

It’s the Kickstarter that just keeps going and going and going. That’s not a bad thing, though: there really isn’t much of a market for new Amiga 1200 cases. We’ve featured this project before, but the last time was unsuccessful. Now, with seven days left and just over $14k to go, it might make it this time.

Fitting 3D Prints On Eagle Boards

One of the hardest things you’ll ever do is mesh your electronic design with a mechanical design. Getting holes for switches in the right place is a pain, and if you do it enough, you’ll realize the beauty of panel mount jacks. This is especially true when using Eagle to design a PCB, but with a few tricks, it’s possible to build 3D printable pieces directly from Eagle designs.

[Tyler] built a clock with a bunch of LEDs. While the clock worked great, there was a lot of light leakage around the segments of his custom seven-segment numbers. The solution is a light mask, and [Tyler] figured out how to make one in Eagle.

The first step is to draw a new layer on the Eagle board that defines the light mask. This is exported as an EPS file in the CAM processor that gives him a 2D drawing. At least it’s to scale.

The next step is to install Inkscape and install paths2openscad. This turns the two-dimensional drawing into a 2D object that can be rendered in OpenSCAD and exported as a 3D printable STL file.

Does the project work? The results are great – the entire light mask is a single-wall print, and since this light mask doesn’t need any mechanical strength, it should hold up well. The clock looks much better than before, and [Tyler] has a new technique for making 3D objects for his 2D PCBs.