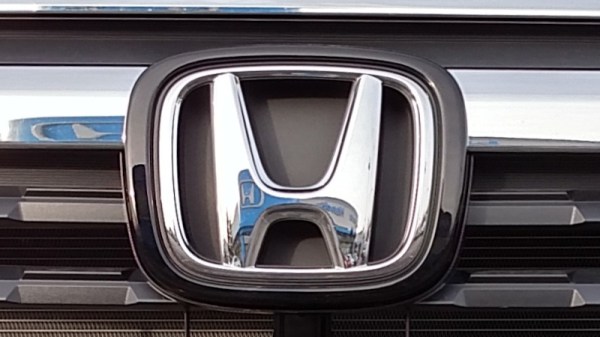
Perhaps the story of the moment in the world of 3D printing concerns a Japanese manufacturer of cars and motorcycles. Honda has sent a takedown notice requesting the removal of models starting with the word “Honda” to the popular 3D printing model repository site Printables. It’s left in its wake puzzlement, disappointment, and some anger, but what’s really going on? Perhaps it’s time to examine what has happened and to ponder what it means for those who put online printable parts and accessories for cars or any other item manufactured by a large corporation.
If You Make Something, What Rights Do You Have?

The story is that as far as we can glean from reports online, the takedown notice was sent only to Printables by the European arm of Honda, and was pretty wide-ranging with any Honda-related model in its scope. Printables complied with it, but as this is being written there are plenty of such models available from Thingiverse and other model repository sites.
Anyone who makes a career in content creation has by necessity to have a working knowledge of copyright and intellectual property law as it’s easy for the unwary to end up the subject of a nasty letter, so here at Hackaday while we’re not lawyers this is a subject on which we have some professional experience. What follows then is our take based on that experience, our view on Honda’s motivation, and whether those of you who put up 3D models have anything to worry about. Continue reading “The Honda Takedown: How A Global Brand Failed To Read The Room”
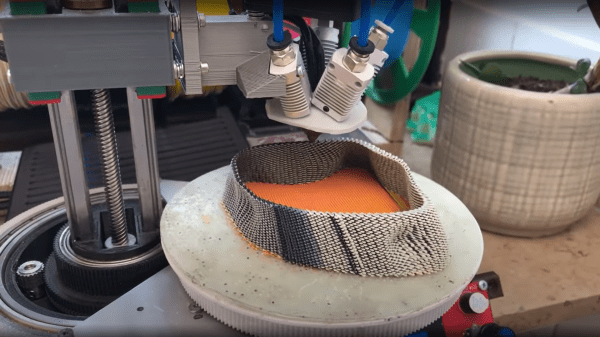
 trick is to use the same weight maps and simply map colours to blender text blocks which are injected into the gcode at export time. These gcode blocks can be used swap tool heads or extruders, enabling blending of multiple filament colours or types in the same object.