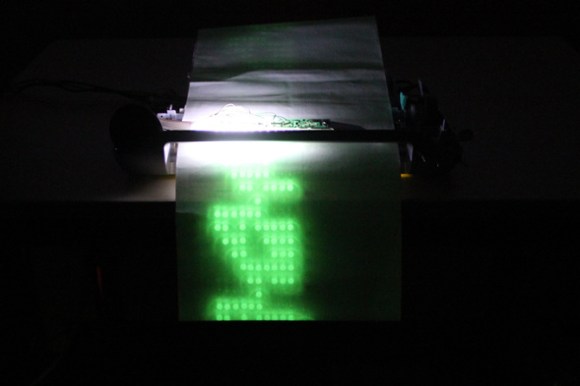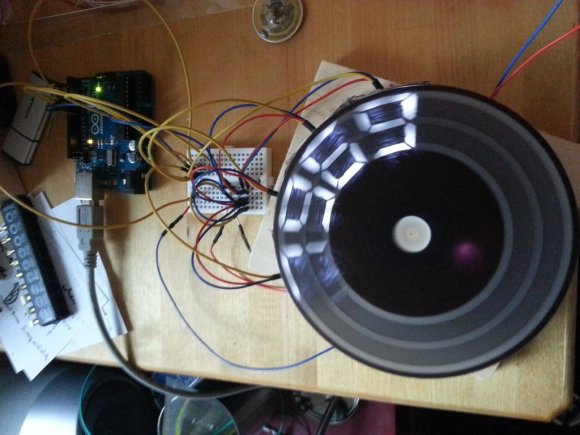
[Martin2250] has been working on a spinning disc style POV display. He’s posted his progress up on reddit. This hack is a great example of using what you have at your disposal. [Martin2250] is using an IR LED and photodiode to determine the rotational speed of the disc. He tried using the Arduino micros() function to delay between the photodiode pulse and turning on his LEDs. As [Martin2250] found out, micros() isn’t quite accurate enough for this purpose. He’s since switched over to using the AVR’s native timers, and is getting much better results.
The disc in this build is actually a CD. [Martin2250] sanded away the label, then masked out his digits. He “painted” the CD with a black marker. Peeling off the tape revealed his stylized digits. Cardboard, hot glue, and visible LEDs were used to create four light boxes for the digits. The disc can display any four digits at once – perfect for a POV clock. We love the use of on-hand materials in this hack – bits of hard and balsa wood, liberal use of hot glue, and of course cardboard. The only thing missing in our eyes is some duct tape!
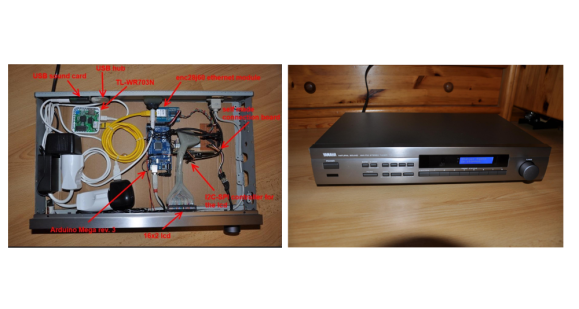 [Raffael] had an old Broken Yamaha natural sound receiver lying around. Rather than throw it out,