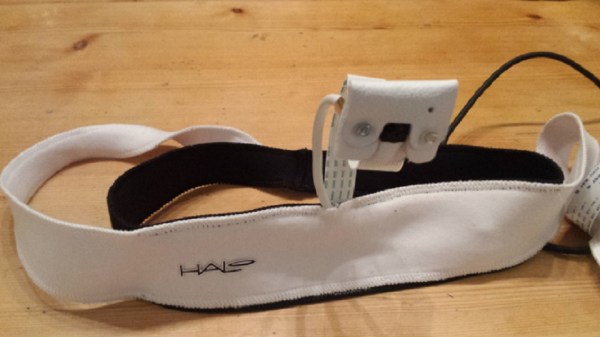
[Michael] has been working on projects involving lucid dreaming for a long time. The recurring problem with most projects of this nature, though, is that they often rely on some sort of headgear or other wearable which can be cumbersome to actually sleep with. He seems to have made some headway on that problem by replacing some of the offending equipment with a small camera that can detect eye movements just as well as other methods.
The idea behind projects like this is that a piece of hardware detects when the user is in REM sleep, and activates some cue which alerts the sleeper to the fact that they’re dreaming (without waking them up). Then, the sleeper can take control of the dream. The new device uses a small camera that dangles in front of an eye, which is close enough to monitor the eye’s movement. It measures the amount of change between each frame, logs the movements throughout the night and plays audio tracks or triggers other hardware when eye movements are detected.
[Michael]’s goal is to eventually communicate from inside of a dream, and has gone a long way to achieving that goal. Now that this device is more comfortable and more reliable, the dream is closer to reality. [Michael] is looking for volunteers to provide sleep logs and run tests, so if you’re interested then check out the project!

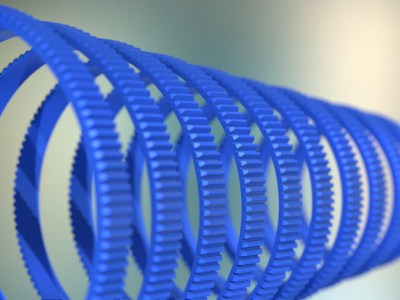 Unwilling to permanently modify his DSLR camera lens and dissatisfied with after-market lens gearing solutions, [Jaymis Loveday] learned enough OpenSCAD to generate gears from 50mm to 100mm in diameter in 0.5mm increments for a snug friction fit. Teamed up with commercially available focus pulling equipment, these lens gears should really help [Jaymis] get professional results from consumer lenses.

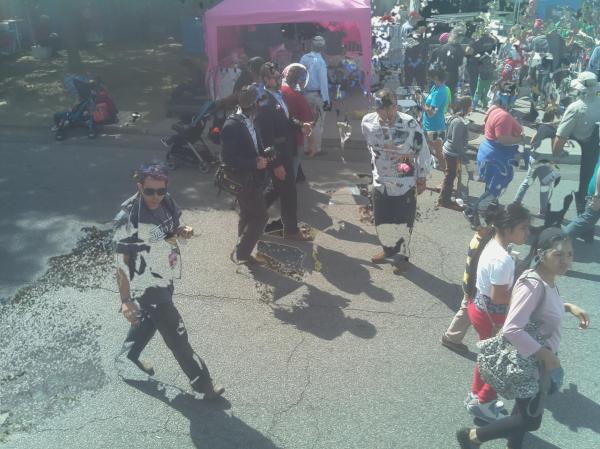
 nside the gates, we ran into [Tommy Mintz] who was showing off his