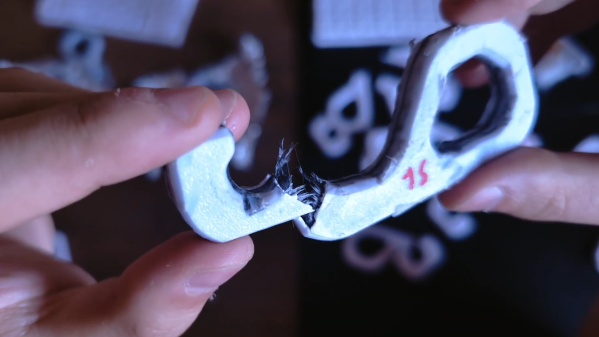
A man's hands are shown holding a broken 3D-printed hook. The hook has a loop and hook, in a number 9-shape. The hook portion has broken, exposing carbon fibers.

Strengthening 3D Prints With A Carbon-Fiber Epidermis

As strong and light as carbon fiber-epoxy composites are, the same can’t always be said of carbon-fiber reinforced 3D printer filaments. Of those that do improve over stock filament, the best performance comes from long, continuous strands, but the printers that can embed these are quite expensive. [MagicLAG], looking for a cheaper method, made something even stronger: prints reinforced with subsurface carbon-fiber cloth.

They tried a few other methods first, including pausing the print and manually embedding carbon fiber strands, ironing strands into the finished part, and ironing carbon fiber cloth into the bottom layer. For the main method, though, he printed the test part in three pieces: a core part, and two outer shell layers. Between the core and the shell is a small gap, into which carbon-fiber cloth can be epoxied. Under good conditions (not using quick-setting epoxy), this mostly preserves the outer surface and dimensional accuracy.

To test the various strengthening methods, [MagicLAG] printed hooks and tensioned them on a load cell until failure. None of the methods using single-stranded fiber showed any improvement; the fiber simply bent and let the surrounding plastic break. As a control for the epidermal cloth parts, they printed shells and cores and epoxied them together. These controls performed better than the standard parts, but not nearly as well as the carbon-fiber cloth composites. With only a few layers of cloth, these more than tripled the yield strength of the basic hook.

If you’d rather use a carbon-fiber filament, the type of plastic matters; carbon fiber makes PLA, at least, weaker. Regardless of form, some caution is called for whenever handling carbon fiber, since it seems to show some asbestos-like effects.

Hacker Driven To Build R/C Forza Controller

Generic video game console controllers have certainly gotten better and more ergonomic since the hard corners of the Atari joystick. As beautiful and engrossing as games have become, the controller is still the least engaging aspect. Why race your sweet fleet of whips with an ordinary controller when you could pretend they’re all R/C cars?

[Dave] found an affordable 4-channel R/C controller in the Bezos Barn and did just that. It took some modifications to make it work, like making a daughter board to turn the thumb grip input from a toggle button to a momentary and figuring out what to do with the three-way slider switch, but it looks like a blast to use.

The controller comes in a 6-channel version with two pots on the top. Both versions have the same enclosure and PCB, so [Dave] already had the placement molded out for him when he decided to install a pair of momentary buttons up there. These change roles based on the three-way slider position, which switches between race mode, menu mode, and extras mode.

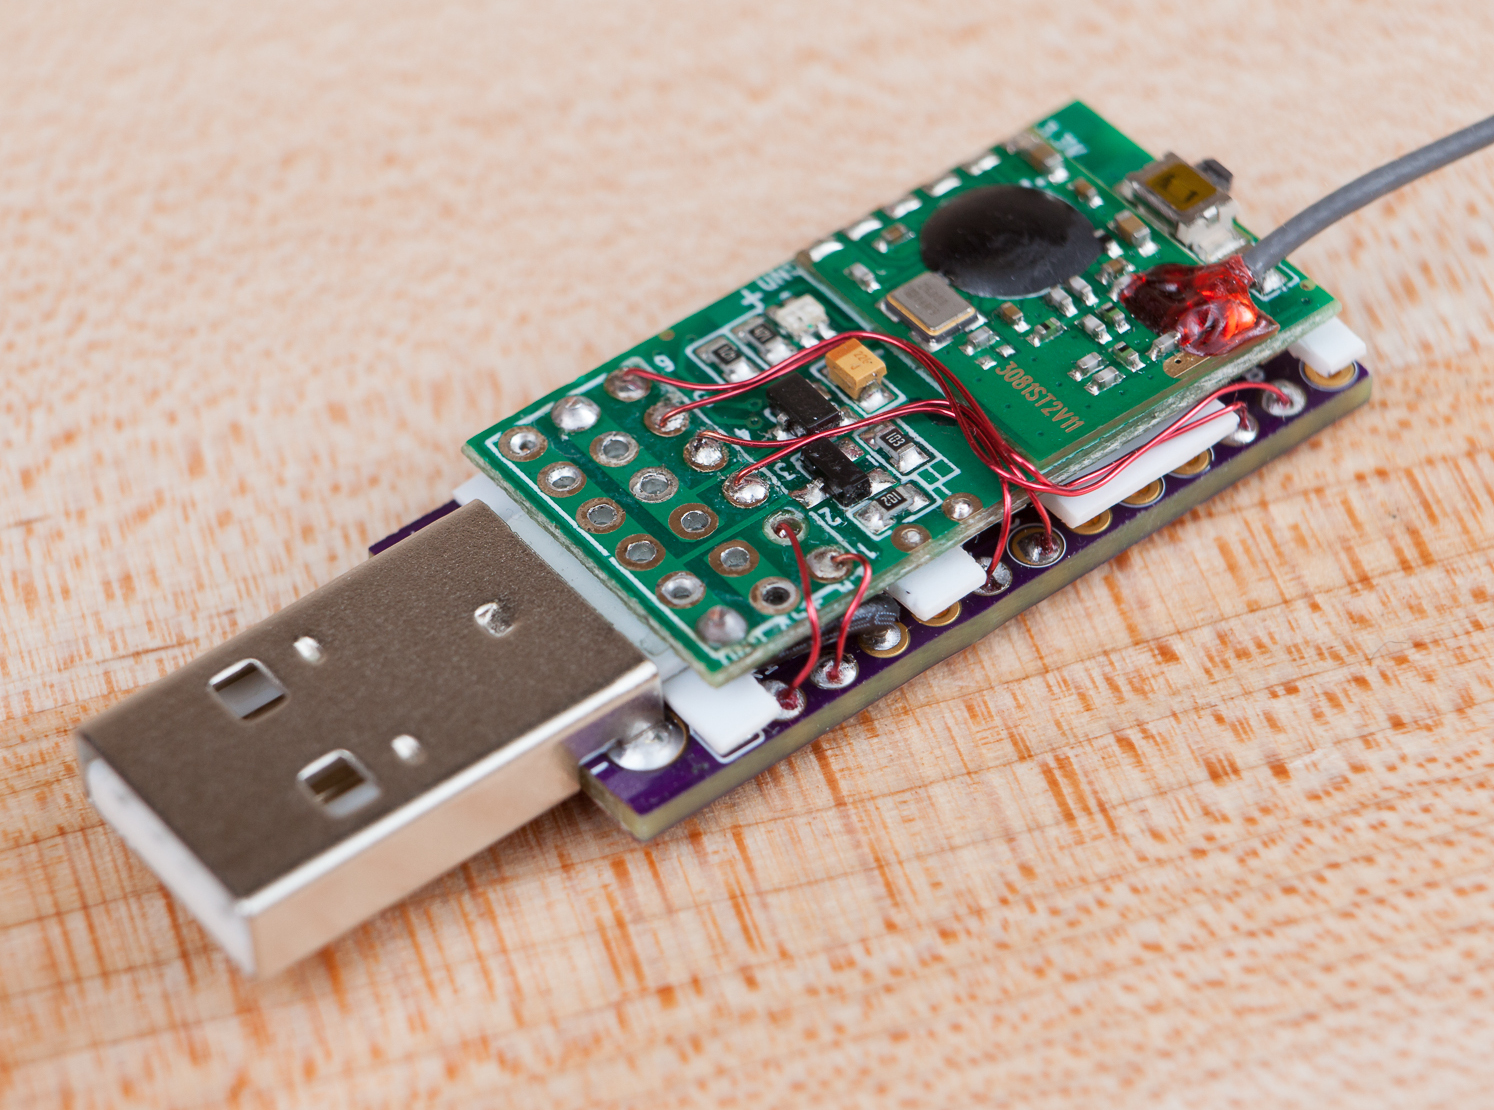
We love the way [Dave] turned the original receiver into a USB dongle that emulates an Xbox 360 controller — he made a DIY Arduino Pro Micro with a male USB-A, stripped down the receiver board, and wired them together. There’s an entire separate blog post about that, and everything else you’d need to make your own R/C controller is on GitHub. Check out the demo and overview of the controls after the break.

[Dave] is no stranger to making game controllers — we featured his DJ Hero controller modified to play Spin Rhythm XD a few months ago.

Continue reading “Hacker Driven To Build R/C Forza Controller”

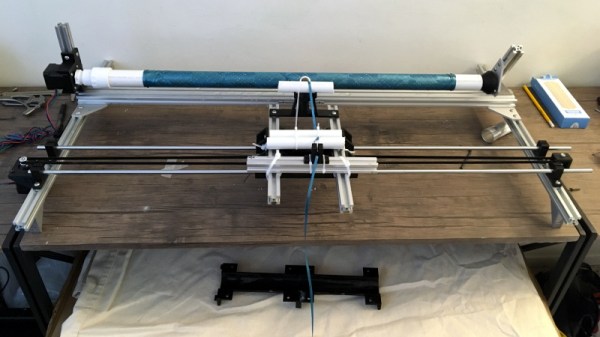
An Arduino Carbon Fiber Wrapping Machine

Many of the projects we feature on Hackaday are motivated by pure greed. Not on the part of the hacker, mind you; but rather the company that’s charging such an outrageous price for a mass produced item that somebody decides they can do the same thing cheaper as a one-off project. Which is precisely how [Bryan Kevan] ended up building his own carbon fiber tube wrapping machine. Not only do the finished tubes look fantastic, but they cost him a fraction of what even the “cheap” commercial ones cost.

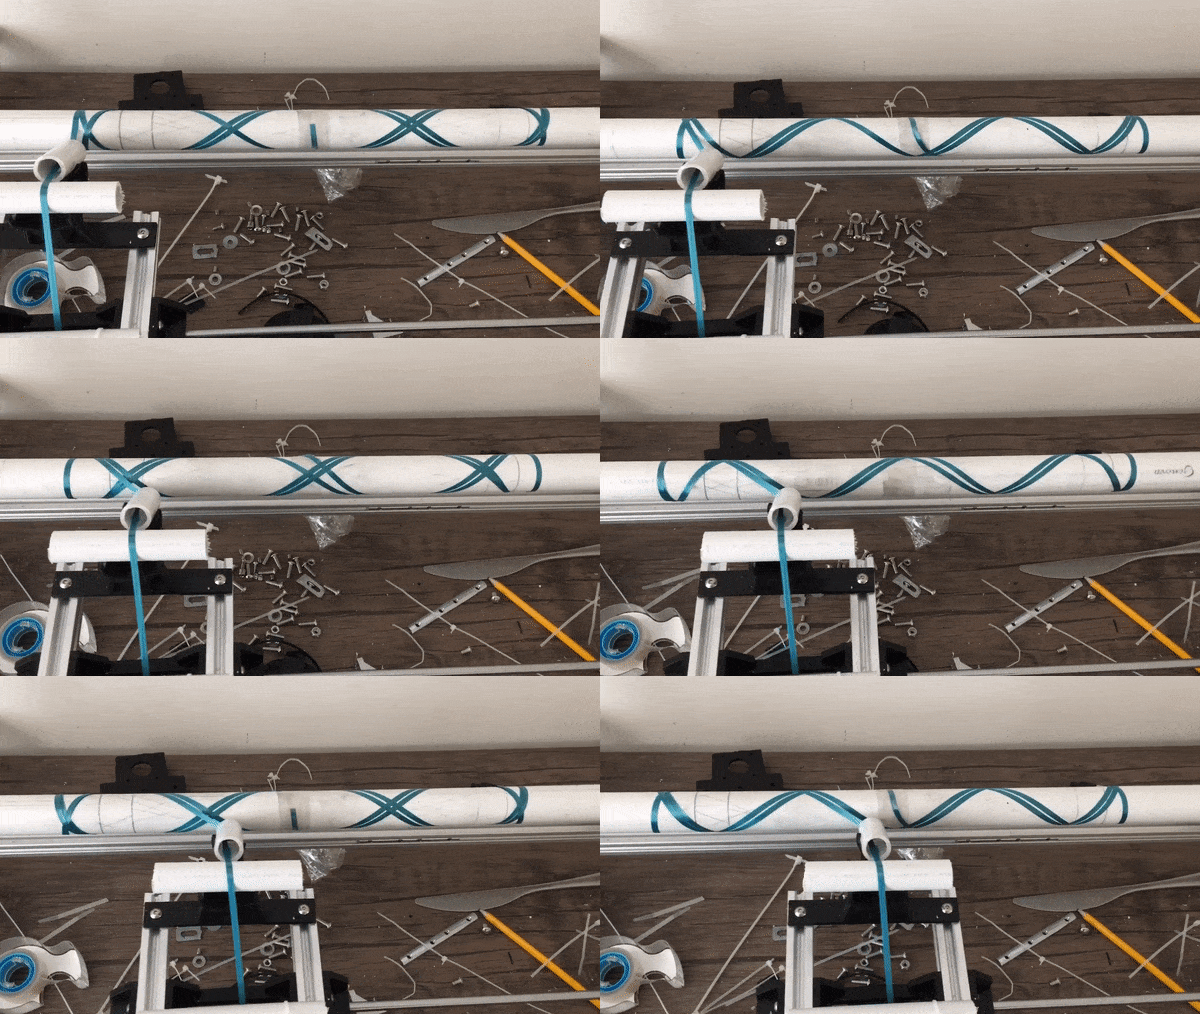
The principle behind producing the tubes is really pretty simple: carbon fiber ribbon (or “tow”, in the official parlance) gets wrapped around a rotating mandrel, ideally in interesting patterns, and epoxy is added to bind it all together. When it’s hardened up, you slide the new carbon fiber tube off the mandrel and away you go building a bike frame or whatever it is you needed light and strong tubes for. You could even do it by hand, if you had enough patience.

[Bryan] had done it by hand before, but was looking for a way to not only automate the process but make the final product a bit more uniform-looking. His idea was to rotate a horizontal PVC pipe as his mandrel, and move a “car” carrying the carbon fiber ribbon back and forth along its length. The PVC pipe just needs to rotate along its axis so he figured that would be easy enough; and using a GT2 belt and some pulleys, getting the carbon-laying car moving back and forth didn’t seem like much of a challenge either.

The frame of the winder is built from the hacker’s favorite: 20/20 aluminum extrusion. Add to that an Arduino Uno, two stepper motors with their appropriate drivers, and the usual assortment of 3D printed odds and ends. [Bryan] says getting the math figured out for generating interesting wrap patterns was a bit tricky and took a fair amount of trial and error, but wasn’t a showstopper. Though we’d suggest following his example and using party ribbon during testing rather than the carbon stuff, as producing a few bird nests at the onset seems almost a guarantee.

One of the trickiest parts of the project ended up being removing the carbon fiber tubes from the PVC mandrel once they were done. [Bryan] eventually settled on a process which involved spraying the PVC with WD-40, wrapping it in parchment paper, and then using a strip of 3M blue painter’s tape to keep the parchment paper from moving. If you can toss the whole mandrel in the freezer after wrapping to shrink it down a bit, even better.

So was all this work worth it in the end? [Bryan] says he was originally looking at spending up to $70 USD per foot for the carbon fiber tubes he needed for his bike frame, but by buying the raw materials and winding them himself, he ended up producing his tubes for closer to $3 per foot. Some might question the strength and consistency of these DIY tubes, but for a ~95% price reduction, we’d be willing to give it a shot.

Years ago we covered a Kickstarter campaign for a very similar carbon winder. Probably due to the relatively limited uses of such a gadget, the winder didn’t hit the funding goal. But just like the current wave of very impressive homebrew laser cutters, the best results might come from just building the thing yourself.

X-Winder: Carbon Fiber Wrapping

ScreenShot035

One of our readers just sent us a tip about this interesting kickstarter project. [Turner Hunt] is bringing carbon fiber manufacture into the hands of makers — at considerable cost savings!

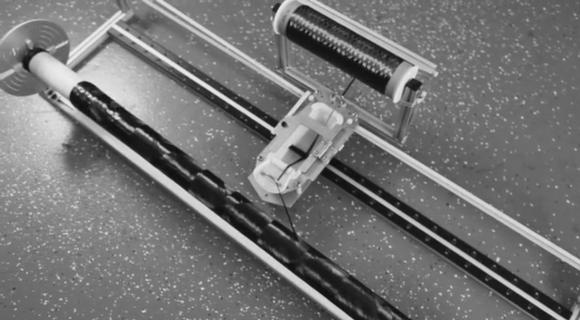
So how does it work? The machine wraps the filament around the workpiece, not unlike a CNC lathe in reverse. Actually it’s kind of a new breed of 3D printer! As the machine feeds the filament, it dips it through a bath of epoxy resin before being wrapped around the workpiece. A finishing step wraps heat shrink tape around the finished project using a heat gun, which then provides a glossy surface finish very similar to commercial carbon fiber products.

By purchasing carbon fiber filament and epoxy resin and using this machine, you can create structural carbon fiber tubes for about 80% less than they would cost commercially. The system comes with its own software that controls the machine via g-code, and you can also specify different wrapping patterns for different applications. While tube-shapes work best, you can also wrap other shapes including flat bars, wing skins, turbine blades and more — anything that is wrappable and under 6″ in total diameter. Is anyone else thinking about custom wrapped quadcopter frames?

[Thanks Alannah!]