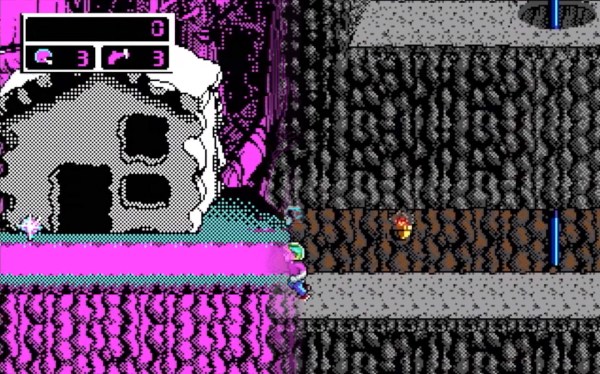
[David Murray], aka The 8-Bit Guy, did an interesting video (embedded below the break) on the time line of PC graphics cards from CGA through to EGA. Not only does he explain the different offerings of the day, but also proceeds to demonstrate most of them.
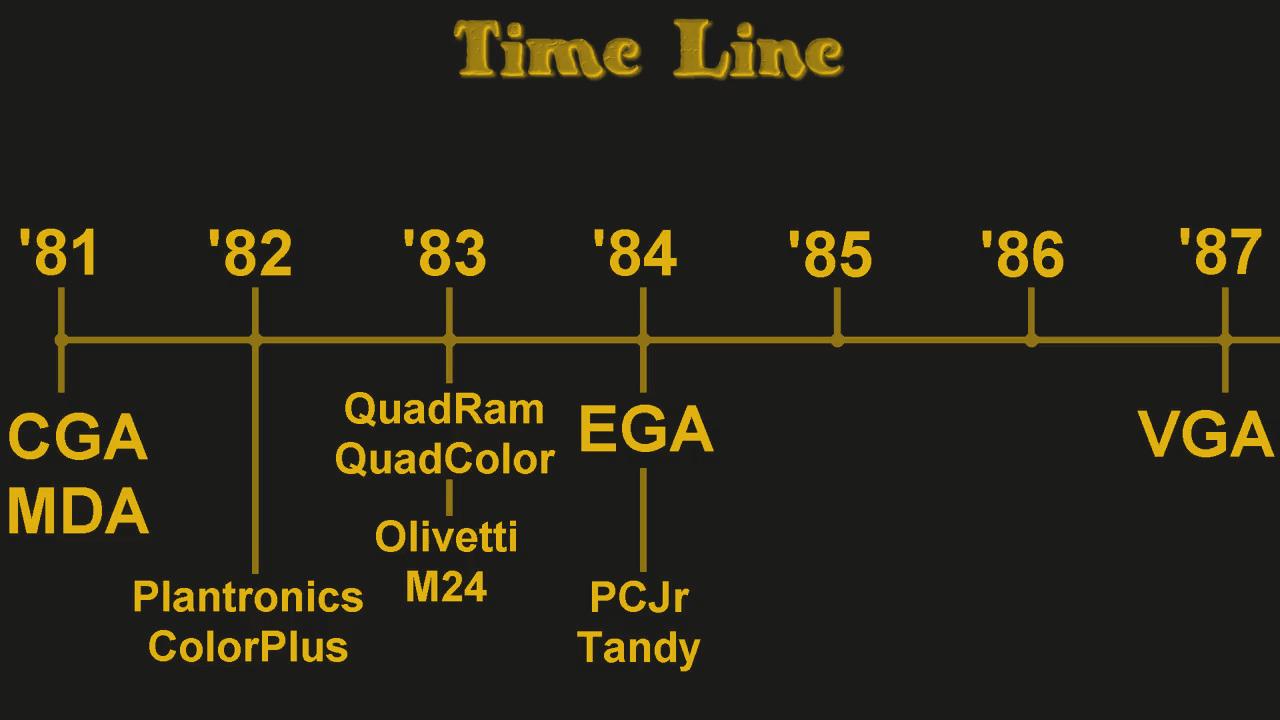 It’s interesting to learn about some of the video modes that went basically unused in these cards. Even if board designers include high resolution modes and better color palettes, if software programmers don’t use them they are forgotten.
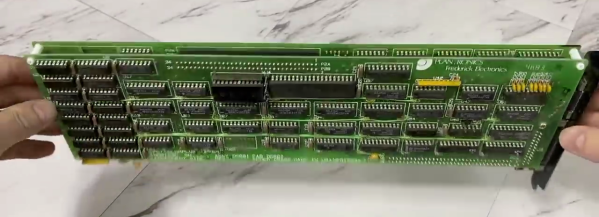
We were particularly impressed by a couple of examples he had that were full-sized, double-stacked ISA cards — those were beasts. Both CGA and EGA sort of withered when the 1990s arrived.
According to [David]’s research, CGA monitors continued to be used for some time even after EGA was introduced — primarily because of cost. It might cost you $400 to get an ATI EGA Wonder card, and that or more for an EGA monitor. Many folks just upgraded the card first, and took advantage of the fact that the EGA Wonder could drive CGA monitors.
If you are interested in the history and technology of these old cards, check out our coverage from 2016 where [David] does a deep dive into CGA cards and discusses, among other things, the CGA composite video mode.
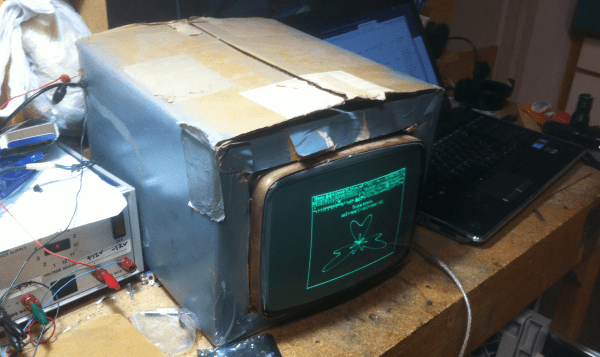
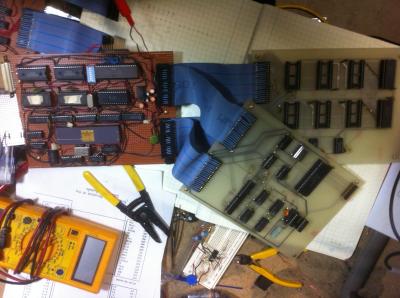 Way back in 1989, [MmmmFloorPie] was a senior in college. His capstone project was a 68000 based computer which could record and playback audio, as well as display waveforms on a CRT. The CRT in question was ordered from a classified add in Popular Science magazine. It was a bare tube, so the heavy cardboard box it shipped in was repurposed as a case.