We’ve seen just about every possible way to make a clock here at Hackaday over the years. So it’s rare to have a first, but here we are with [Twisted & Tinned], who’s made a novel clock with a diffraction grating.
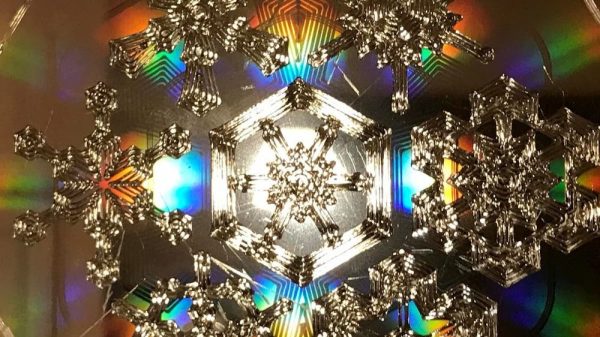
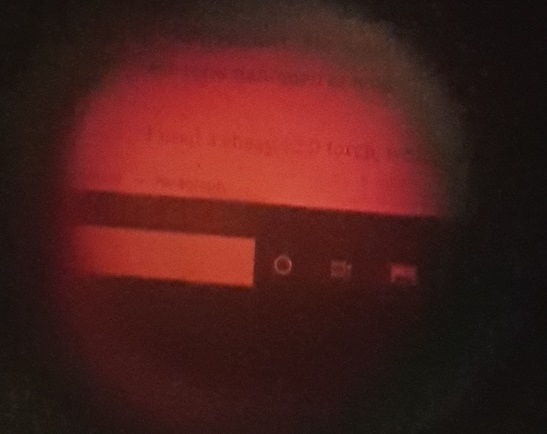
The display of the clock looks for all the world like a jumble of LEDs, that is, until you place the grating in front of it. Those LEDs are addressable multi-color parts, and each digit is generated at a different color all on top of each other. The grating splits out these colors, resulting in a magical set of floating LED figures.
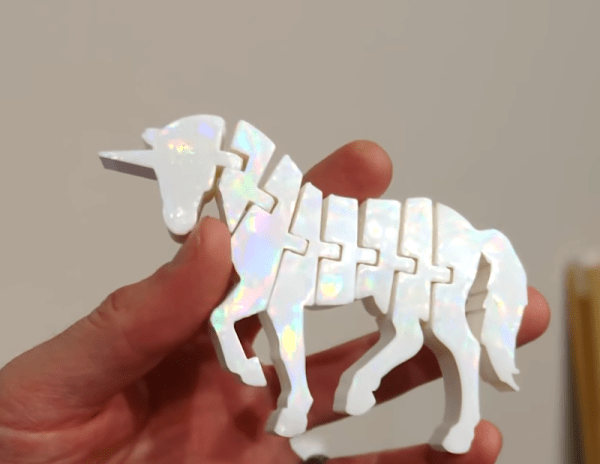
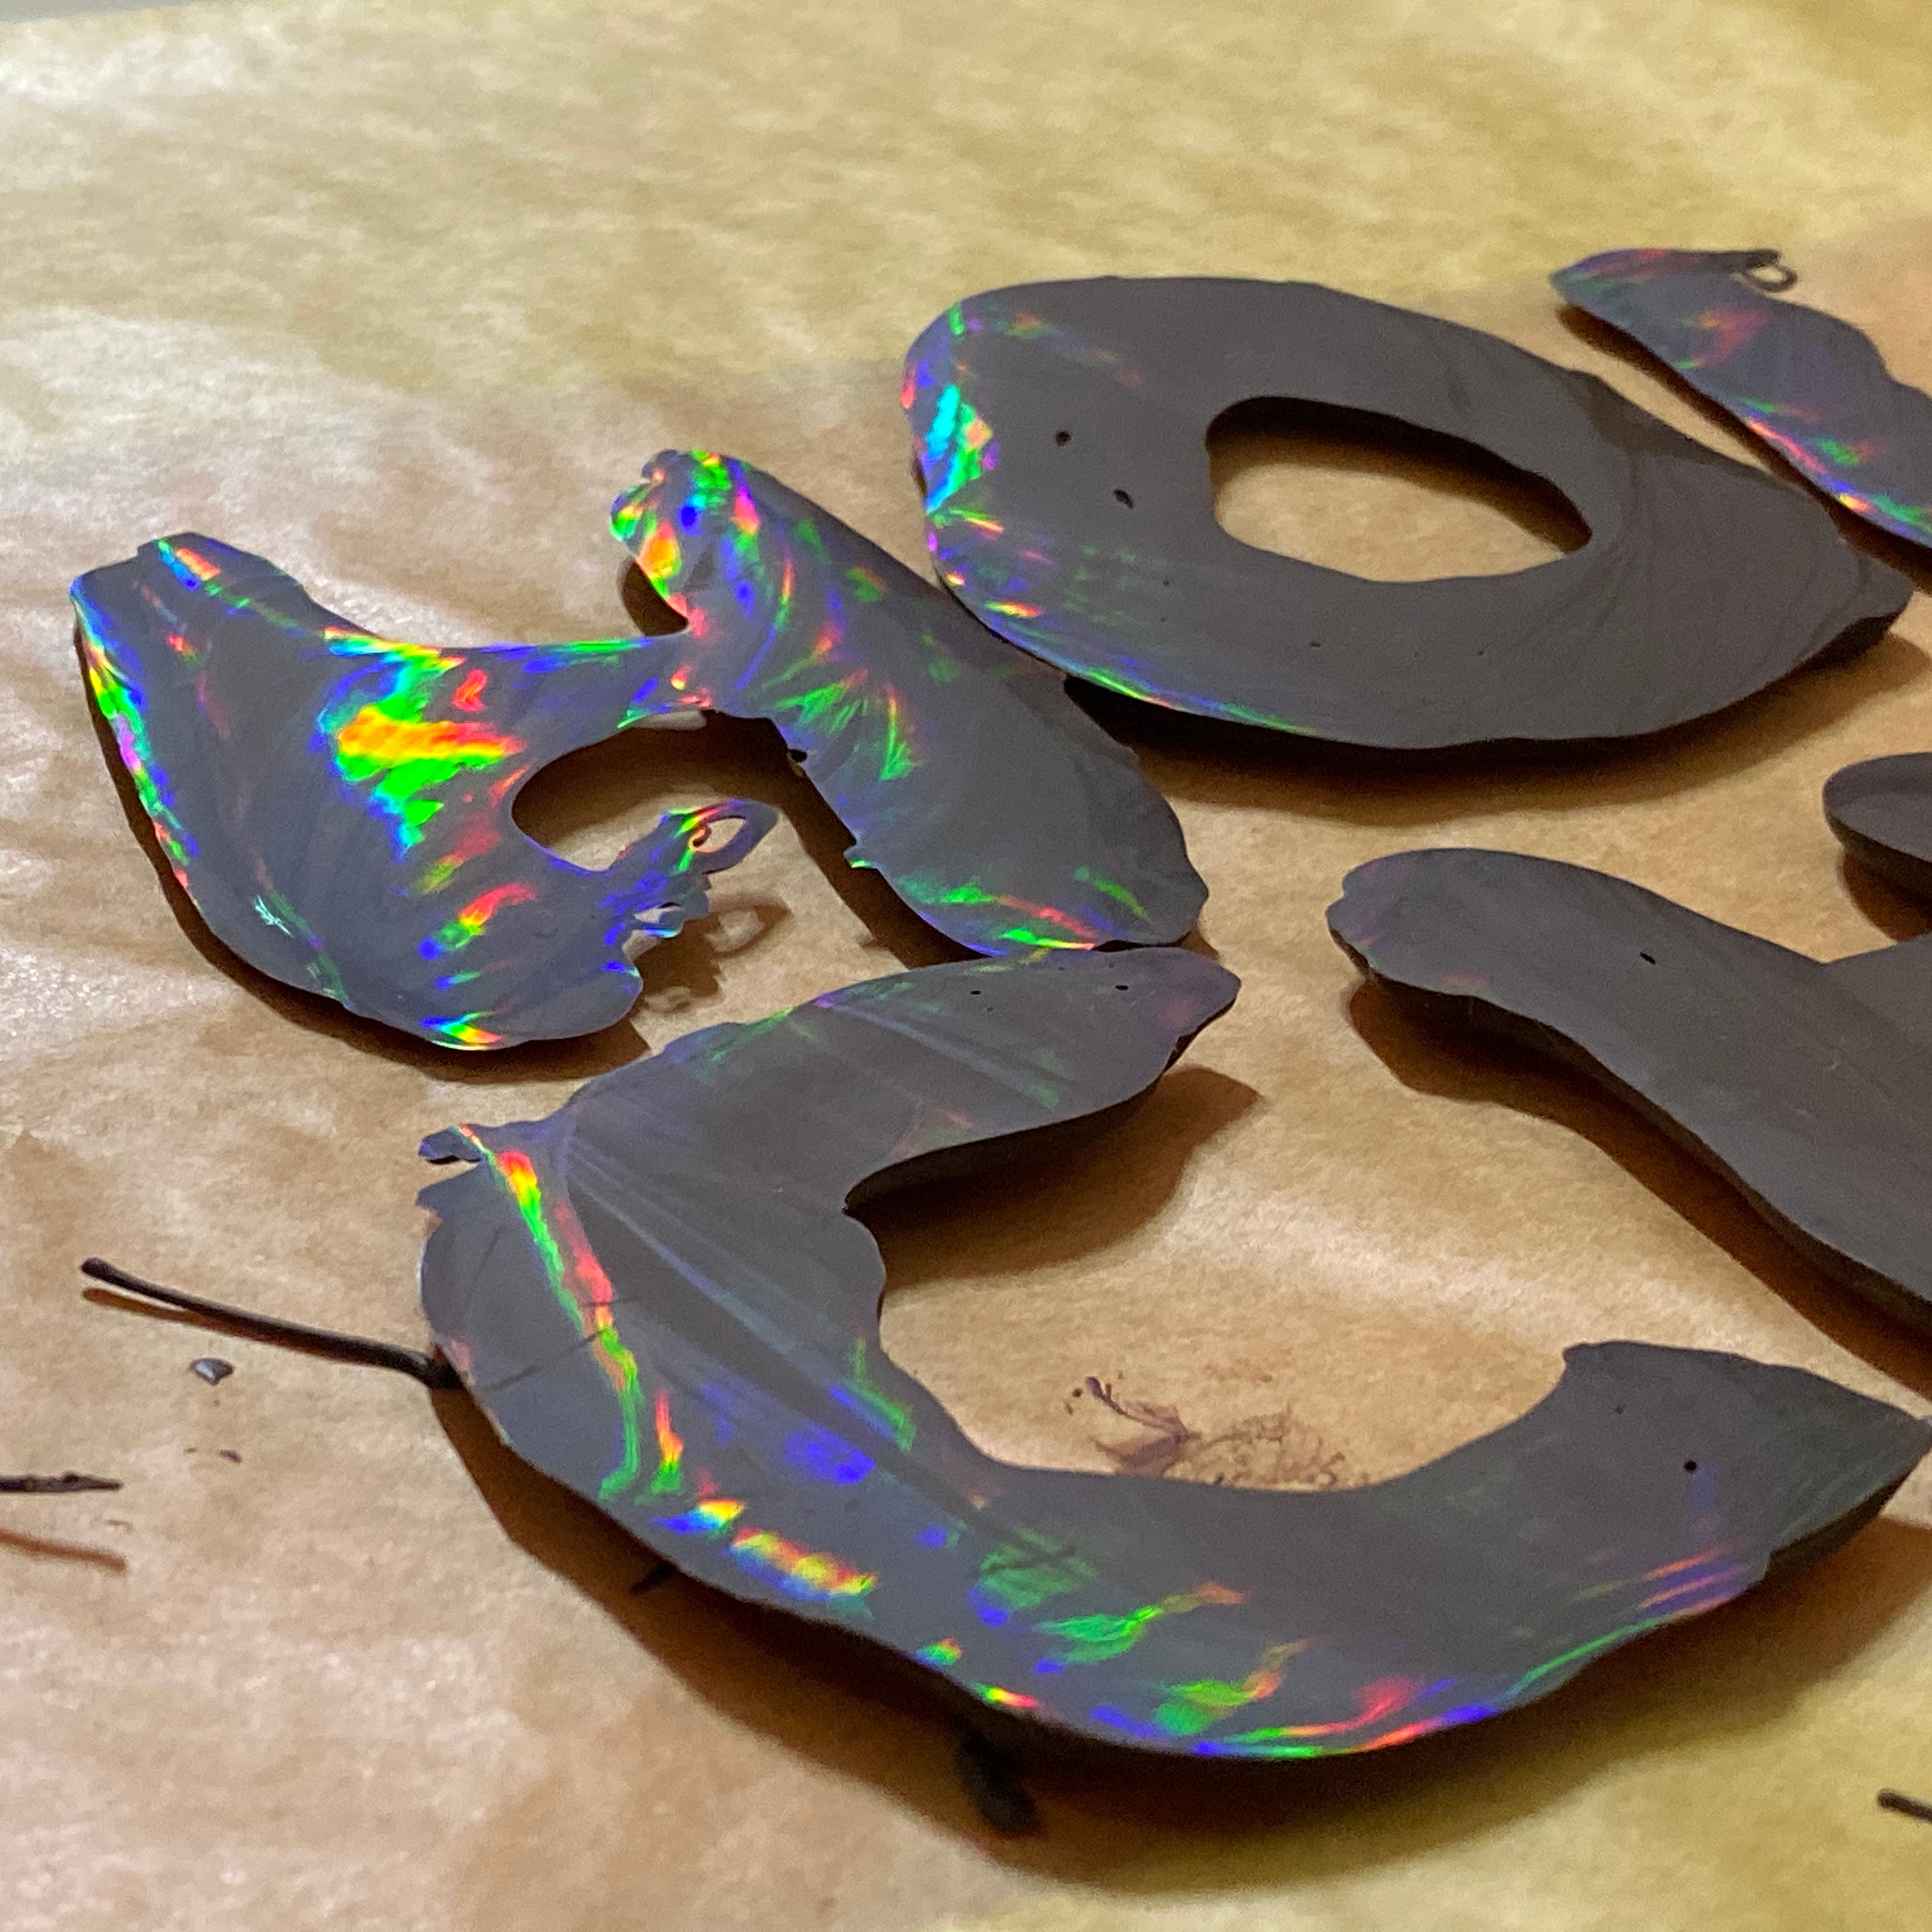
Behind those LEDs is a Pi Pico, but that’s just one of many microcontrollers that could have powered this project. It’s the use of the diffraction grating in a novel way with those LEDs that makes the difference, and we rather like it. He’s also managed to get the grating pattern in the 3D printed surround for a shimmering look, by printing directly onto a diffraction grating sheet. That in particular is a technique we’ve looked at before in detail.
Continue reading “A Diffraction Grating Makes This Clock Readable”