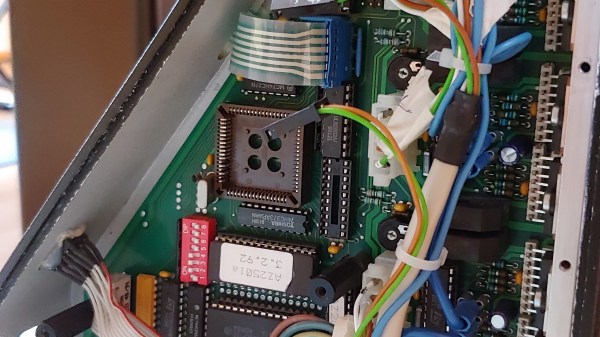
photo of the CNC controller, with the PLCC socket for the CPU, surrounded by driver ICs

Old CNC Brain Swapped With An Arduino

[Sebastian] and [Stefan Shütz] had a ISEL EP1090 CNC machine at home, sitting unused, and they decided to bring it to life. With pretty good mechanical specs, this CNC looked promising – alas, it was severely constrained by its controller. The built-in CPU’s software was severely outdated, had subpar algorithms for motor driving programmed in, and communication with the CNC was limited because the proprietary ISEL communications protocol that isn’t spoken by other devices.The two brothers removed the CPU from its PLCC socket, and went on to wiring a grbl-fueled Arduino into the controller box.
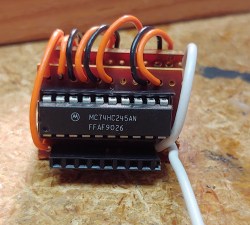
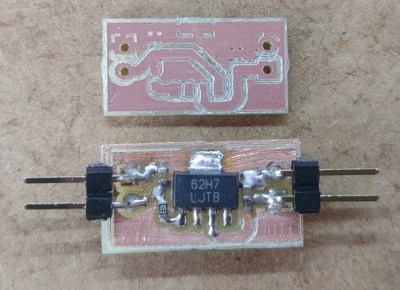
The interposer PCB, with an extra 74HC245 buffer on itThey reverse-engineered the motor driver connections – those go through a 74HC245 buffer between the original CPU and the drivers. Initially, they put an Arduino inside the control box of the CNC and it fit nicely, but it turned out the Arduino’s CPU would restart every time the spindle spun up – apparently, EMC would rear its head. So, they placed the Arduino out of the box, and used two CAT7 cables to wire up the motor and endstop signals to it.

For tapping into these signals, they took the 74HC245 out of its socket, and made an interposer from two small protoboards and some pin headers – letting them connect to the STEP and DIR lines without soldering wires into the original PCB. There’s extensive documentation, GRBL settings, and more pictures in their GitHub repo, too – in case you have a similar CNC and would like to learn about upgrading its controller board!

After this remake, the CNC starts up without hassles. Now, the brothers shall CNC on! Often, making an old CNC machine work is indeed that easy, and old controller retrofits have been a staple of ours. You can indeed use an Arduino, one of the various pre-made controller boards like Gerbil or TinyG, or even a Raspberry Pi – whatever helps you bridge the divide between you and a piece of desktop machinery you ought to start tinkering with.

MakerbotCNC PCB etcher

Makerbot Printer Reborn As PCB Engraver

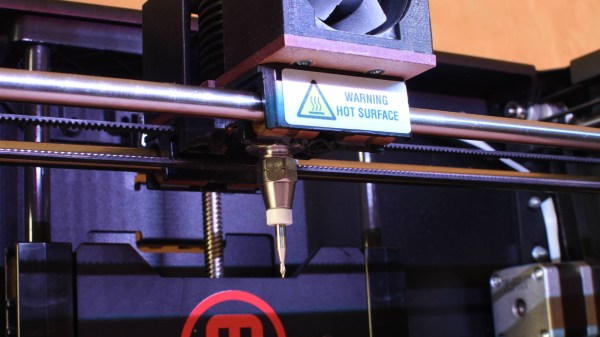
Makerbot 3D printers were among the first to hit the market, so it makes sense that old and broken ones now litter the shelves of hackerspaces and home workshops alike. Rather than throw his one out, [Foaly] saw an opportunity to convert it to some sort of CNC machine. Given its lack of inherent rigidity and relatively weak motors, he opted to make a low-impact circuit board engraver which he appropriately calls the MakerbotCNC. We like the thought he put into this project, and it was clearly backed by plenty of experience.

Circuit board etched using MakerbotCNC

Fortunately, his Makerbot Replicator 2 stemmed from a time when MakerBot was more open, meaning he could control the machine using a simple, open library. A little more open software handled his conversion of Gerber files to G-code. First tests drawing with a pen were successful, so he moved on to the carving head. He opted for an inrunner brushless motor to minimize dust getting into the motor but since these motors have a tendency to heat up he had to add fans to cool it. That still didn’t stop the heat from melting and bending his attempt at a 3D printed PLA carriage, so he switched it to a laser-cut MDF board to fix it. Finding the right collet proved tricky but eventually, he found the perfect fit was a collet clutch normally used to couple flex shafts to RC boat motors.

The result, as you can see was worth it. Using shallow passes, he can even cut carbon fiber parts.

While [Foaly] didn’t opt to replace more parts and go for a more powerful CNC, check out this 3D printer to CNC conversion which can cut wood, acrylic, and even aluminum.

Printer Up-cycled CNC Machine Uses More Than Just The Stepper Motors

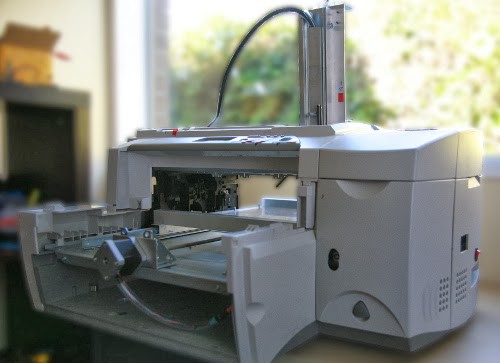
Sometimes you just know from the photo that this is going to be a really cool project. When most people salvage parts from an old printer, they usually chuck the rest. In this case [Shane] made use of the entire printer to build his CNC machine.

He started with an old HP 2500C A3 printer, which he had planned to salvage for parts only. While he was taking it apart he realized the chassis would make a great frame for his actual CNC machine! With that in mind he quickly changed his game plan to making each axis inside of the printer.

He’s using regular ball bearing drawer runners for both the X and Z axes, covered with a clever design of aluminum angle to keep any possible chips from jamming them. The Y axis on the other hand makes use of the original shaft runners from the print head carriage. Each axis is driven by threaded rod using recycled stepper motors from the printer.

An Arduino UNO sits at the heart of the project with a Protoneer CNC shield to control the stepper drivers. He’s also included an emergency stop, hold, resume, and cancel buttons for manual control.

It’s a great project, and an amazing example of using what is on hand for a project. Stick around after the break to see a demonstration of it printing!

Continue reading “Printer Up-cycled CNC Machine Uses More Than Just The Stepper Motors”

Everybody Needs One


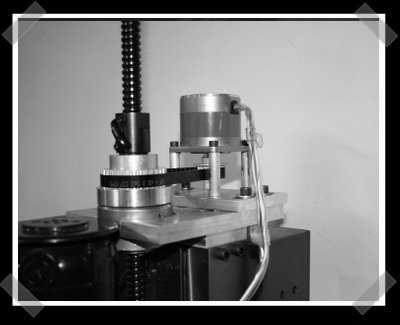
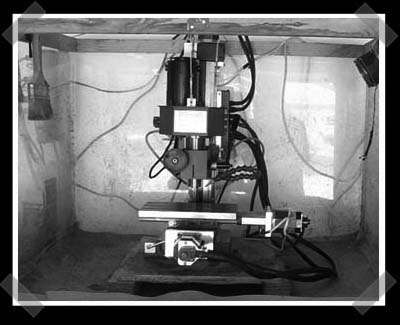
Not the hack o’ the day, but you guys might have noticed that I’ve been pretty quiet on the engadget How-To front. I’ve been spending all my spare time in my garage working on a CNC conversion for the mini mill I bought a few months ago. It features pic based microstepping controllers that handle up to 54 volts and 3amps. I settled for a modified PC power supply for now. I’ve got plans for this thing, including some stuff just for Hack-A-Day. All the mechanical and electronic work is completed; now I’m taking a breather while I wait for the actual beefy stepper motor for the Z-axis pictured above. I celebrated with a coffee stout.

Make A Badass CNC Mill


Ben Heck and I got into converting a mill to be a CNC machine during our podcast interview. Today I found a pair of great write ups at balbots on modding the Harbor Freight mini mill that I mentioned. Part 1 get into all the details of converting the mill to use stepper motors, and adding a cooling system. Part 2 covers upgrading to DC servo motors and replacing the gears with a belt drive system.