Retro Hardware Mash-up Spouts Archaic Geekery

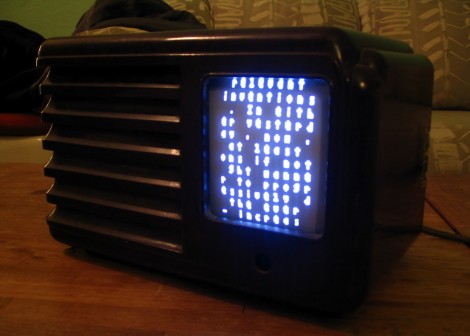
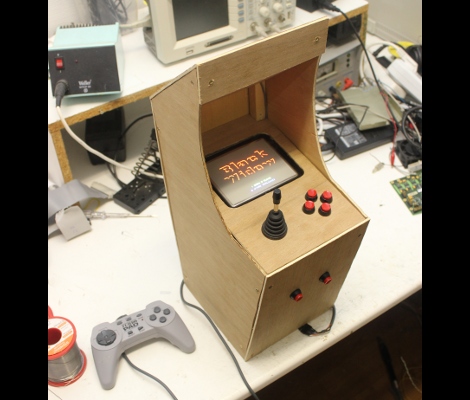
This delightful little box is something only a hacker could love. It uses some second-hand hardware to display random sayings attributed to [Buckminster Fuller]. The image above doesn’t do the display justice. There are other photos which show very crisp lettering which is easier to read.

[Autuin] always keeps his eyes open for cool gear at the end of its consumer life. The screen for this project is a CRT from a Coleman TV lantern (you know, for camping… bah!). It finds a home in the chassis of an old non-functional radio he had picked up a few years earlier. With those parts in hand the real adventure started: getting an Arduino to read in quotes and generate a TV out signal to display them.

We love the SD card holder which he fashioned from a card-edge connector he grabbed at the local electronics store. From there he scoured the Internet for help on where to patch into the TV signal. Once the right trace was discovered the Arduino TV out library does the heavy lifting.

A Clock Made Out Of Some Very Weird Tubes

If you’re like [Richard], you’ve got a few really rare components lying around. Maybe it’s a very weird micro or a really tiny CRT, but eventually you’ve got to build something with these parts. When [Richard] decided to put some ITS1A neon display tubes to use, he fell back to the old standby – a really awesome clock.

Unlike the lowly Nixie tube, the ITS1A tube is weird. It’s a neon seven-segment display that can be controlled directly from the pins of a microcontroller. It does this with the help of seven tiny thyratrons in each segment. Even though this tube has neon, the display isn’t the familiar neon orange-red. The tube emits a lovely green with the help of a phosphor coating.

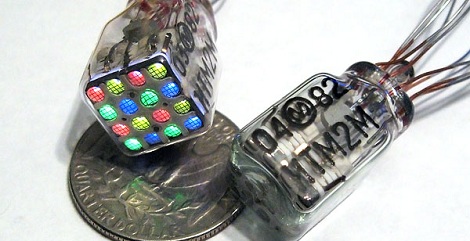
With a single digit already incorporated into [Richard]’s clock, he needed four indicators for the hours and minutes. After a failed experiment with a crazy 4-color, 16-pixel Melz ITM2-M display, he moved on to a simpler MTX90 thyratron indicator.

Using the same control scheme as his earlier numitron clock, Richard had a PCB made and wired everything up. The seven-segment tube indicates the value, and the indicator tubes indicates the position of the digit in the XX:XX standard. A very cool  build with parts you don’t see coming around often.

Synthesizing Sound With A Light Sensitive Pen And CRT Television

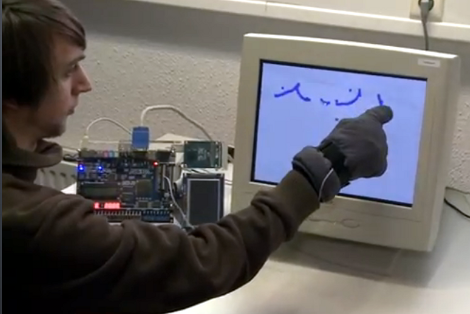
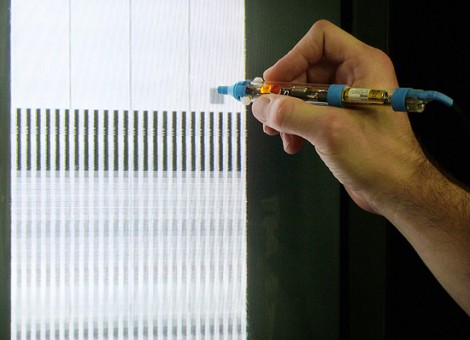
Here’s the latest project from [Niklas Roy’s] workshop. Lumenoise is an audio synthesizer controlled by drawing with a light-sensitive pen on a CRT television.

The pen is a self-contained module which connects to the TV via audio and composite video RCA plugs. Inside the clear pen housing you’ll find a microcontroller which generates the audio and video. The business end of the pen contains a phototransistor which lets the ATmega8 take a reading from the video screen. Since the chip is generating that video signal, it’s possible to calculate the pen tip’s position on the screen and modulate the sound output based on that data. You can watch a recording of the results in the video after the break.

This is a very simple circuit to build, and [Niklas] makes the point that most of us have a CRT hanging around in a dark corner somewhere. We think this would be a fantastic soldering project to do with the kids, and that this would be right at home as a children’s museum piece because of the wow factor involved in playing around with it.

We can really tell from this and some of his past projects that [Niklas] just loves the 8-bit audio.

Continue reading “Synthesizing Sound With A Light Sensitive Pen And CRT Television”

Building The Second Tiniest Tetris

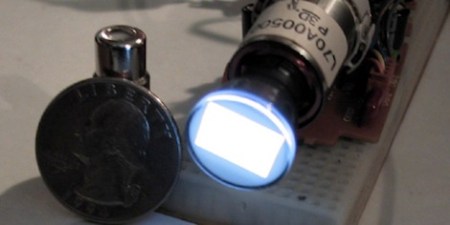
A few years ago, [Richard] pulled a crushed camcorder out of a junk box at a hamfest. After pulling the half-inch CRT out of the viewfinder, he needed to find a project. [Richard] ended up building the second tiniest game of Tetris we’ve ever seen.

After futzing around with the CRT, [Richard] discovered that one of the pins would accept an NTSC input. He also found a similar project that used a dime-sized CRT to play Tetris. With ready to go code, [Richard] started assembling his project into a handsome wooden box.

There are two PCBs for the build – a CRT driver circuit, and a small custom board that handles the game and controller code. The circuit for the game board was found on this site, but the featured boards there were too large for the project. A stripped-down board was fabricated by BatchPCB and put into the box.

There aren’t any controls on the console itself, for that a standard DB-9 connector was installed so a vintage Atari joystick could be used. For a more ergonomic Tetris experience, a Sega Genesis controller could be used. For something that looks like it comes out a steampunk laboratory, playing Tetris is a bit unexpected. Check out the demo video of the screen at 20x magnification after the break.

Continue reading “Building The Second Tiniest Tetris”

Monocrome To Magnificent: Computer Display Chronology

Remember when CGA came out and made monocrome monitors look horrible? Well CGA is crap, VGA is where it’s at. Wait… weren’t there a couple of standards in between those two? Take a walk down memory lane and relive the evolution of computer display technology. You’ll start with displays that are more or less CRT oscilloscopes and end up in better than high-def territory. The article is an interesting read but for those with short attention spans jump to the fourth page and check out the chart of technologies, resolutions, and implementation dates. We’ve come a long way in a few short decades.

Backwards Mario

So you’ve long since mastered Super Mario Bros. and it no longer challenges you? Have you tried playing it from right to left? That’s what Backwards Mario is all about. The first portion of the hack is getting the image to display backwards. He’s working with an old CRT television, which uses a magnetic ring to aim the electron gun at the screen. By swapping the left and right wires from that ring you can flip the image horizontally. Now Mario will be travelling right to left, but the controller buttons will send Mario the wrong direction on screen. This is a snap to fix, just crack open the controller and swap the signals for the left and right buttons. Now it’s time to fall in love with the classic game all over again, just like [JJ’s] doing in the video after the break.

Continue reading “Backwards Mario”

CRT Art: Wobbulator

The Wobbulator is a black and white CRT television that has additional hardware to manipulate the electrons as they bombard the phosphor layer of the screen. It was created by [June Paik] and you can find it at The Experimental Television Center. [Blair Neal] took some time to share the background information and some video on this interesting device.

The television has a second ”yoke” of coils around the ray tube. The TV still functions normally with these coils installed, but running a signal through them can further manipulate the picture. Hook, them up to a function generator and you can get some pretty wild effects. In this case, the signals from a sound generator are controlling the coils, resulting in the audio/video artwork which you can view after the break.

Continue reading “CRT Art: Wobbulator”