To say the TRS-80 Model 100 was ahead of its time would be something of an understatement. It had a high-quality mechanical keyboard, phenomenal battery life, plenty of I/O and expansion capabilities, and was actually small and light enough to easily carry around. While its layout might seem to be a bit dated to modern eyes, there’s little debate that it was one of the most successful and influential computers in history.
So it’s little surprise that [belsamber] thought the Model 100 might make an ideal platform for his mobile command line work. With a few modifications, naturally. While technically the nearly 40 year old portable could connect to a Linux computer as a simple serial terminal, its outdated and non-backlit LCD leaves a bit to be desired in 2021. But there’s little sense in upgrading the display if he’d still be saddled with the anemic Intel 80C85 motherboard, so he decided to clean house and replace everything.
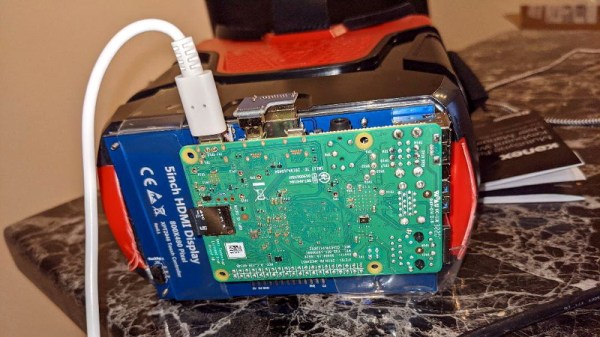
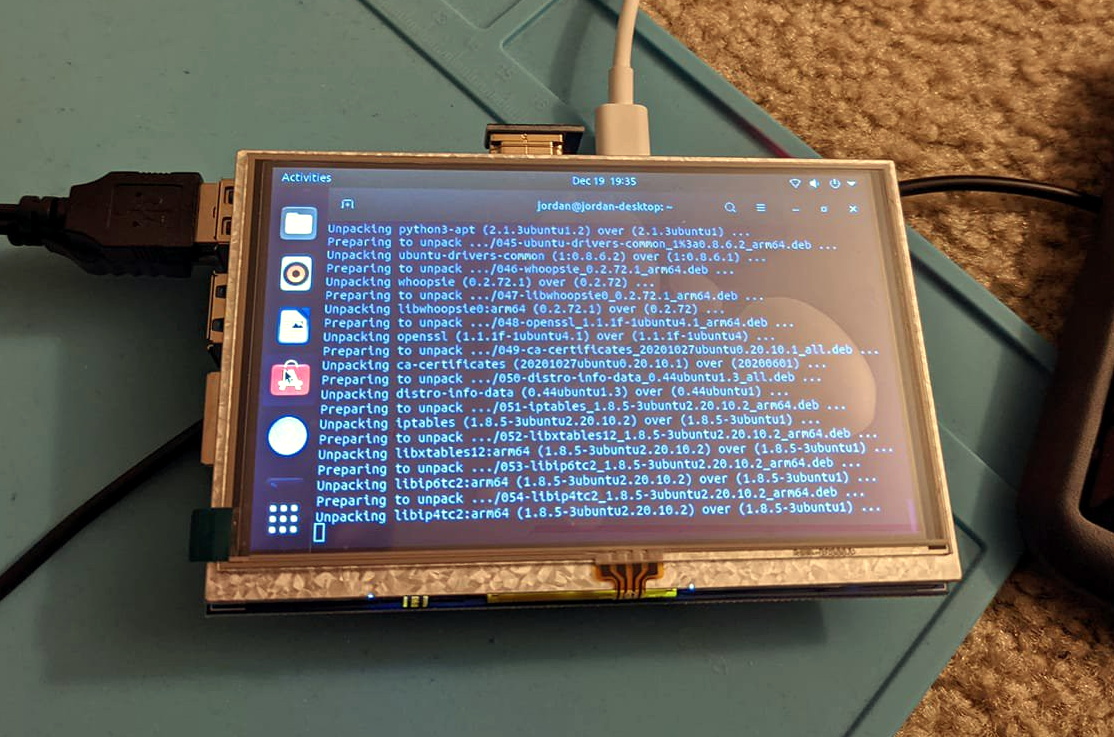
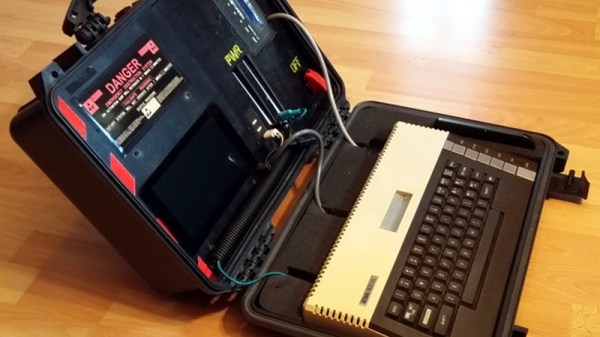
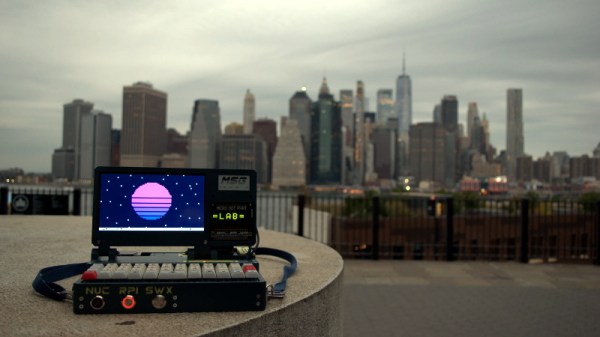
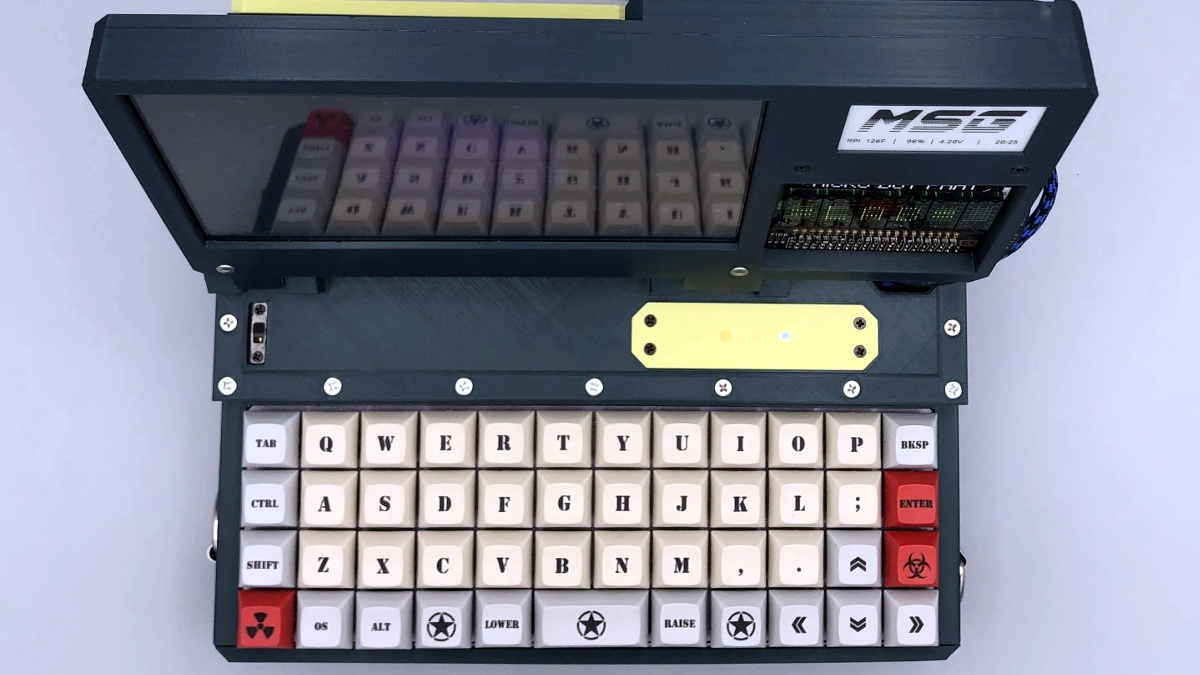
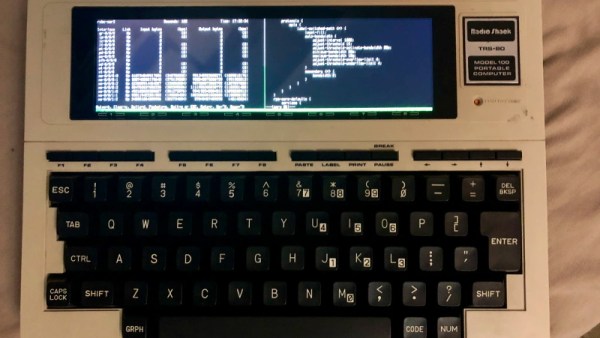
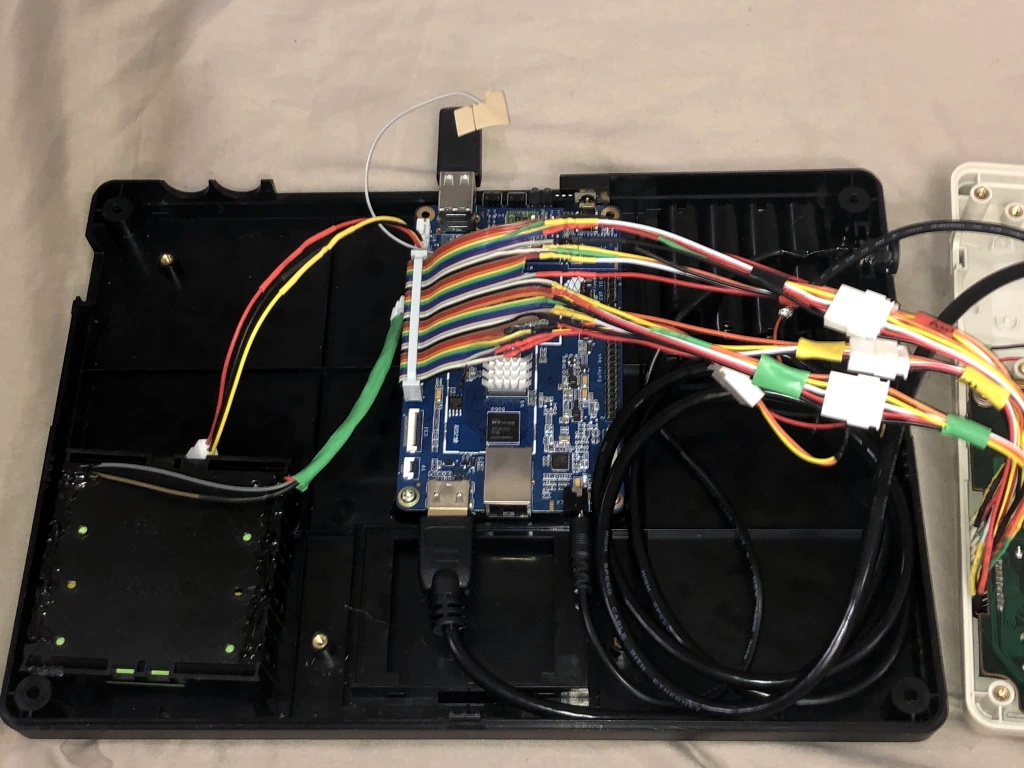 Once stripped of the original hardware, the Model 100’s enclosure offered up plenty of room for a Pine A64 LTS single-board computer, four 18650 cells, and a 1920×480 ultra-wide LCD. While not a perfect match for the dimensions of the original panel, the new screen is an exceptionally close fit. The keyboard has been left intact, but rather than adding a QMK-compatible microcontroller to the mix, [belsamber] wired the matrix directly into the GPIO of the A64.
While we know some retro aficionados might shed a tear to see an iconic computer get gutted, [belsamber] mentions that nothing will go to waste; the parts he pulled from this machine will serve as spares for a second Model 100 he has in his collection. Besides, given the immense popularity of these machines, they aren’t exactly rare to begin with.
As an aside, we recently saw this same unique display used in a 3D printed desktop computer with distinctively retro-futuristic styling. We didn’t have miniature 4:1 ratio displays on our list of 2021 hardware predictions, but it seems they’re already making a strong showing.