Rainbow DIP Switch Is The Coolest Way To Configure Your Project

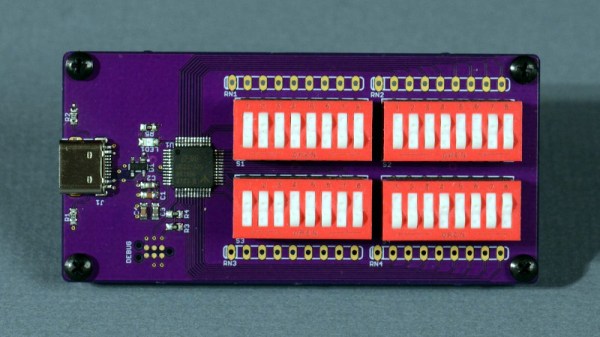
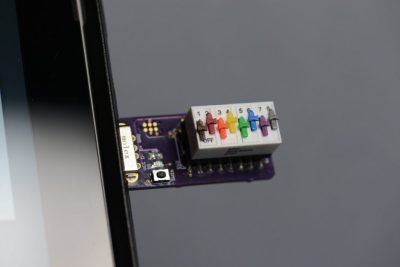
Oftentimes, when programming, we’ll put configuration switches into a config file in order to control the behaviour of our code. However, having to regularly open a text editor to make changes can be a pain. This colorful little DIP switch dongle from [Glen Aikins] makes for a fun alternative solution.
Do want.

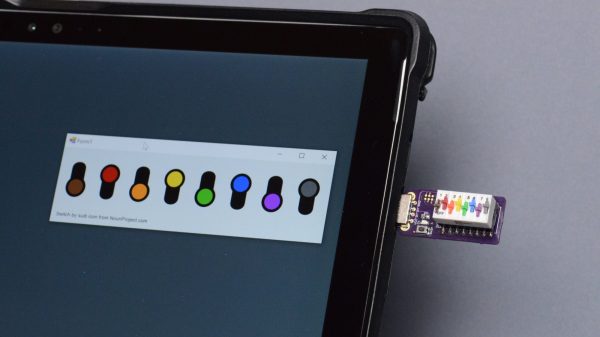
The build is simple, relying on a rainbow-colored 8-pin DIP switch as the core of the project. A PIC16F1459 then reads the position of the switches, with the 8-bit microcontroller doing the job of speaking USB to the host machine. The device enumerates as a USB HID device, and reports to the host machine when queried as to the state of its 8 switches. [Glen] used a basic C# app to show a digital representation of the switches on screen changing as per the real physical DIP switch plugged into the machine.

It’s a great tool for controlling up to 8 different parameters in a program you might be working on, without having to dive into your editor to change the relevant parts. Also, it bears noting that the rainbow design is simply very fetching and a cool thing to have plugged into your computer. It’s a more serious device than [Glen’s] hilarious 4-byte “solid state drive” that we saw recently, but we love them both all the same!

DIY “Solid State Drive” Puts Four Bytes In Your Pocket

In a relatively short amount of time, the average capacity of USB flash drives has skyrocketed. It wasn’t so long ago that two and four gigabyte drives were considered to be on the high end, but today you can grab a 512 GB drive for less than $50 USD. In fact they’ve gotten so large that it can feel wasteful using them for some tasks, and we occasionally find ourselves wishing we could find some modern USB drives that didn’t rival the storage capacity of our whole computer.

That said, this USB-C tetrabyte drive created by [Glen Akins] might be slightly too small for our tastes. No, that’s not a typo. As in the Greek tetra, this drive can hold a massive four bytes at a time. Even better, you don’t need a computer to write to it: the 32 DIP switches let you key in the content on the fly, bit-by-bit.

Reading out the first byte from the DIP switches.

As explained in a Twitter thread, [Glen] was inspired to create this gadget after another user posted a picture of a 32 position DIP switch with a caption that said it was a “One Tetrabyte SSD” back in December. He apparently couldn’t track down the same switch, but the four red Grayhill 76 Series switches arguably make it a bit clearer when entering in your bytes.

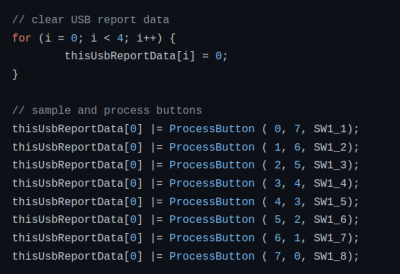
Each of the individual DIP switches are connected to one of the GPIO pins of the 8-bit EFM8UB2 microcontroller, and the code simply reads the state of each pin in order and saves the binary results in a variable to put together the “file” it presents to the OS when plugged in.

We’ve seen our fair share of unusual USB flash drives in the past, but this one is truly in a league of its own. Can’t say we can think of any four bytes of data important enough to hold on a dedicated piece of hardware, but we certainly appreciate the effort to store it in the most robust way possible.

Thanks to [J. Peterson] for the tip.

Circuit Sculpture Teaches Binary, Plays PONG

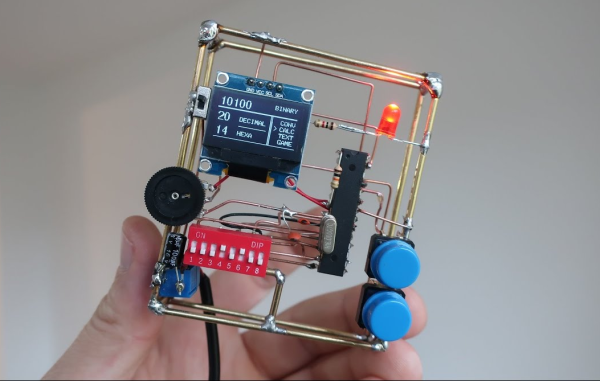
We sure wish we’d had a teacher like [Danko Bertović]. He built this beautiful circuit sculpture to teach his students how to count in binary and convert it to decimal and hexadecimal. If you don’t already know binary, you get to learn it on DIP switches and a dead-bugged ATMega328 in his latest Volos Projects video after the break. Lucky you!

Once the students have the hang of entering binary input on the switches, they can practice it on the four-banger calculator. This educational sculpture can also take text input and scroll it, but it takes a bit of work. You have to look up the ASCII value of each character, convert the decimal to binary, and program it in with the switches. There’s one more function on the menu — a one-player PONG game to help the students relax after a long day of flipping switches.

Funny enough, this project came to be after [Danko] came upon the DIP switch in his parts box and wasn’t quite sure what it was called. How great is it that he learned something about this part, and then used that knowledge to build this machine that uses the part to teach others? It’s surely the best fate that parts bin curiosities can hope for.

Don’t have the patience for circuit sculpture? You can make a pretty nice binary calculator with a bit of paper and a lot of compressed air.

Continue reading “Circuit Sculpture Teaches Binary, Plays PONG”

Reading Out An EPROM – With DIP Switches

We’re all too spoiled nowadays with our comfortable ways to erase and write data to persistent memory, whether it’s our microcontroller’s internal flash or some external EEPROM. Admittedly, those memory technologies aren’t exactly new, but they stem from a time when their predecessors had to bathe under ultraviolet light in order to make space for something new. [Taylor Schweizer] recently came across some of these quartz-window decorated chips, and was curious to find out what is stored in them. Inspired by the BIOS reverse engineering scene in Halt and Catch Fire, he ended up building his own simple reader to display the EPROM’s content.

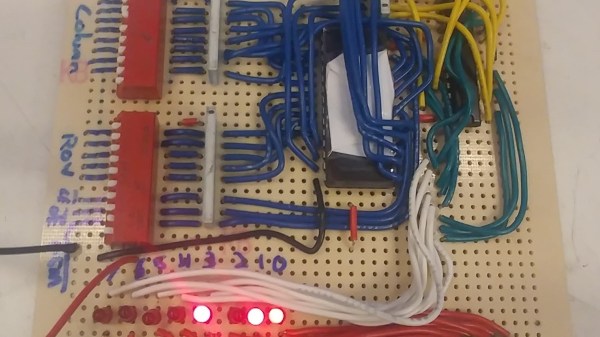
The 2732 he uses is a standard EPROM with 32kbit memory. Two pins, Chip Enable and Output Enable, serve as main control interface, while 12 address pins select the data stored in the chip’s internal 4K x 8 arrangement, to output it on the 8 data output pins. You could of course hook up the EPROM to a microcontroller and send what you read via serial line, but [Taylor] opted for a more hands-on approach that lets him read out the data in a manual way. He simply uses a bank of DIP switches to set the address and control pins, and added a row of LEDs as display.

As you can see from the short demonstration in the video after the break, reading out the entire EPROM would be a rather tedious task this way. If you do have more serious intentions to read out the content, you could have a look at one of those microcontroller based solutions sending data via serial line after all.

Continue reading “Reading Out An EPROM – With DIP Switches”

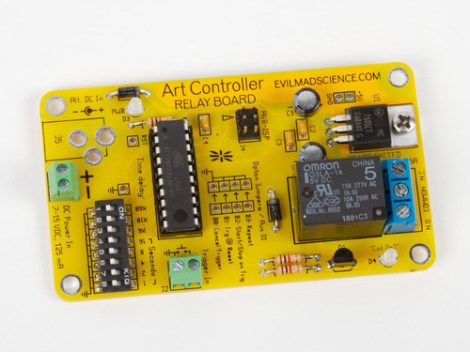
Art Controller: Relay Board With Switches For Timing

Meet the Art Controller, a new dev board available over at Evil Mad Scientist Laboratories. It provides a drop-in solution for switching higher voltage loads (but not mains). The thing we like most about it is the ability to alter a switching delay without reprogramming the firmware.

The board uses an ATtiny2313 for control. It’s fed regulated 5V power from the on-board 7805 linear regulator. The relay can handle a 24V DC or 40V AC load, which is targeted at an audience that needs electronic switching for art-related devices but doesn’t want the hassle of designing a circuit every time. This offers a single shot, or repeat action, with that bank of DIP switches selecting a delay from once every second, to every 31 hours. It can get its initial trigger from anything that can pull a pin low, like a button, or a coin acceptor.

Keep this in mind. The open source nature of the project means it could come in handy as a reference design.

8-bit Binary Calculator

binary_calculator

Don’t feel like shelling out $5 for a fancy factory made calculator that won’t even do binary math? [Jeff] decided to prove his mastery of gates and his disdain for base 10 by building a binary calculator using XOR, AND, and OR chips. Calculations can be input in two ways: through digital logic headers or by three banks of DIP switches used to enter the operator and the two operands. Although limited to addition and subtraction, this is a great way to make sure you really understand digital logic. Take a look at the rough design schematics in his album. The design is modular so if you have one of each gate and a few LEDs sitting around you can give this a whirl.