A 100-Year-Old Electronic Musical Instrument Brought Back To Life

In the early years of electrification, when electricity was beginning to shape the modern world, this new technology was being put to use in many more places than turning motors and providing lighting. Some things we can see as obvious missteps like electrified corsets marketed as health tonics or x-ray treatments for eye strain, but others ended up being fascinating bits of technology with interesting uses, many of which have been largely forgotten since. This 100-year-old musical instrument is squarely in the latter category, and this build brings the sound of it back to life.

The instrument was called the Luminaphone and was originally built by [Harry Grindell Matthews]. Of course, this was an age before transistors and many other things we take for grated, so it has some quirks that we might not otherwise expect from a musical instrument. The device generated sound by shining a series of lights through a perforated rotating disc at a selenium cell. The selenium cell was an early photoresistor, generating current corresponding to the amount of light falling on it. A keyboard activated different lights, shining on areas of the disc with different numbers of holes, causing differing sounds to be produced by the instrument.

The recreation was built by [Nick Bild] and uses a laser diode as a stand-in for the rotating disc, but since it can be modulated in a similar way the idea is that the photodiode used as a receiver would generate a similar sound. The recreation sounds a bit like a video game from the 8-bit era, but with no recordings or original Luminaphones surviving to the present day we may never know how accurate it is. There are some other electronic instruments still around today, though, and plenty of ways of DIY-ing their sound like this project which recreates the tonewheels of the classic Hammond organ.

Continue reading “A 100-Year-Old Electronic Musical Instrument Brought Back To Life”

The Magic That Goes Into Magnets

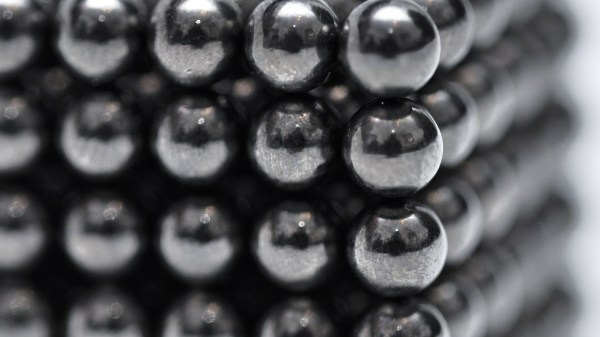
Every person who reads these pages is likely to have encountered a neodymium magnet. Most of us interact with them on a daily basis, so it is easy to assume that the process for their manufacture must be simple since they are everywhere. That is not the case, and there is value in knowing how the magnets are manufactured so that the next time you pick one up or put a reminder on the fridge you can appreciate the labor that goes into one.

[Michael Brand] writes the Super Magnet Man blog and he walks us through the high-level steps of neodymium magnet production. It would be a flat-out lie to say it was easy, but you’ll learn what goes into them and why you don’t want to lick a broken hard-drive magnet and why it will turn to powder in your mouth. Neodymium magnets are probably unlikely to be produced at this level in a garage lab, but we would love to be proved wrong.

We see these magnets everywhere, from homemade encoder disks, cartesian coordinate tables, to a super low-power motor.

Knives Hewn From Brake Discs Past

Knives are tools that rely heavily on material quality to do their job right. A knife made of cheap steel won’t hold an edge well, and blunt knives are more likely to cause injury, or at the least, be more difficult to use. The trick to making a good knife is to start with good material. Disc brakes just so happen to be a great source of cast iron, and are readily available, so [Diesineveryfilm Customs] has machined a knife out of a brake disc.

The first step is to roughly cut out the knife’s form from the disc. It’s easy enough to cut out with an angle grinder, following up with a belt sander to finish up the grip. After sharpening, the sharp blade is taped off for safety while a wooden grip is added. Holes are drilled in the brake rotor, allowing the wooden parts to be pinned and glued together before a trip to the belt sander for shaping. A string and dye are added to the handle as finishing touches.

It’s a great use of high-quality scrap material to produce a useful tool. An earlier disc brake knife video shares some useful techniques of its own – we liked the shortcut of measuring the disc thickness, then using a matching drillbit to mark the centerline for sharpening.

Perhaps your own knives aren’t sharp enough – check out this home-built adjustable sharpening rig.