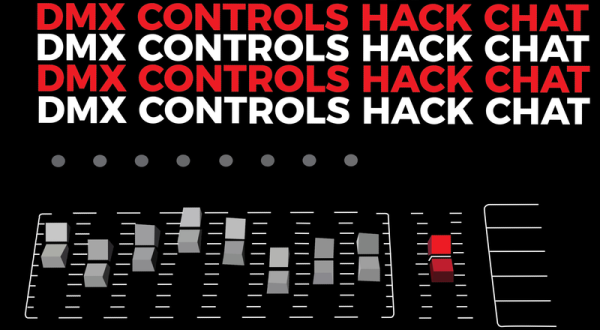
DMX512 is the standard for theatrical lighting, and it’s best described as, ‘MIDI for lights’. It’s been around since the 80s, and in the decades since it’s been used, abused, and shoved into just about everything imaginable.
 For this week’s Hack Chat, we’re talking all about DMX512. What is DMX512? How does it work? What can you control with DMX512? What Open Source projects use it? There’s a wealth of information out there, and a lot of very cool tricks you can pull with this ubiquitous lighting protocol.
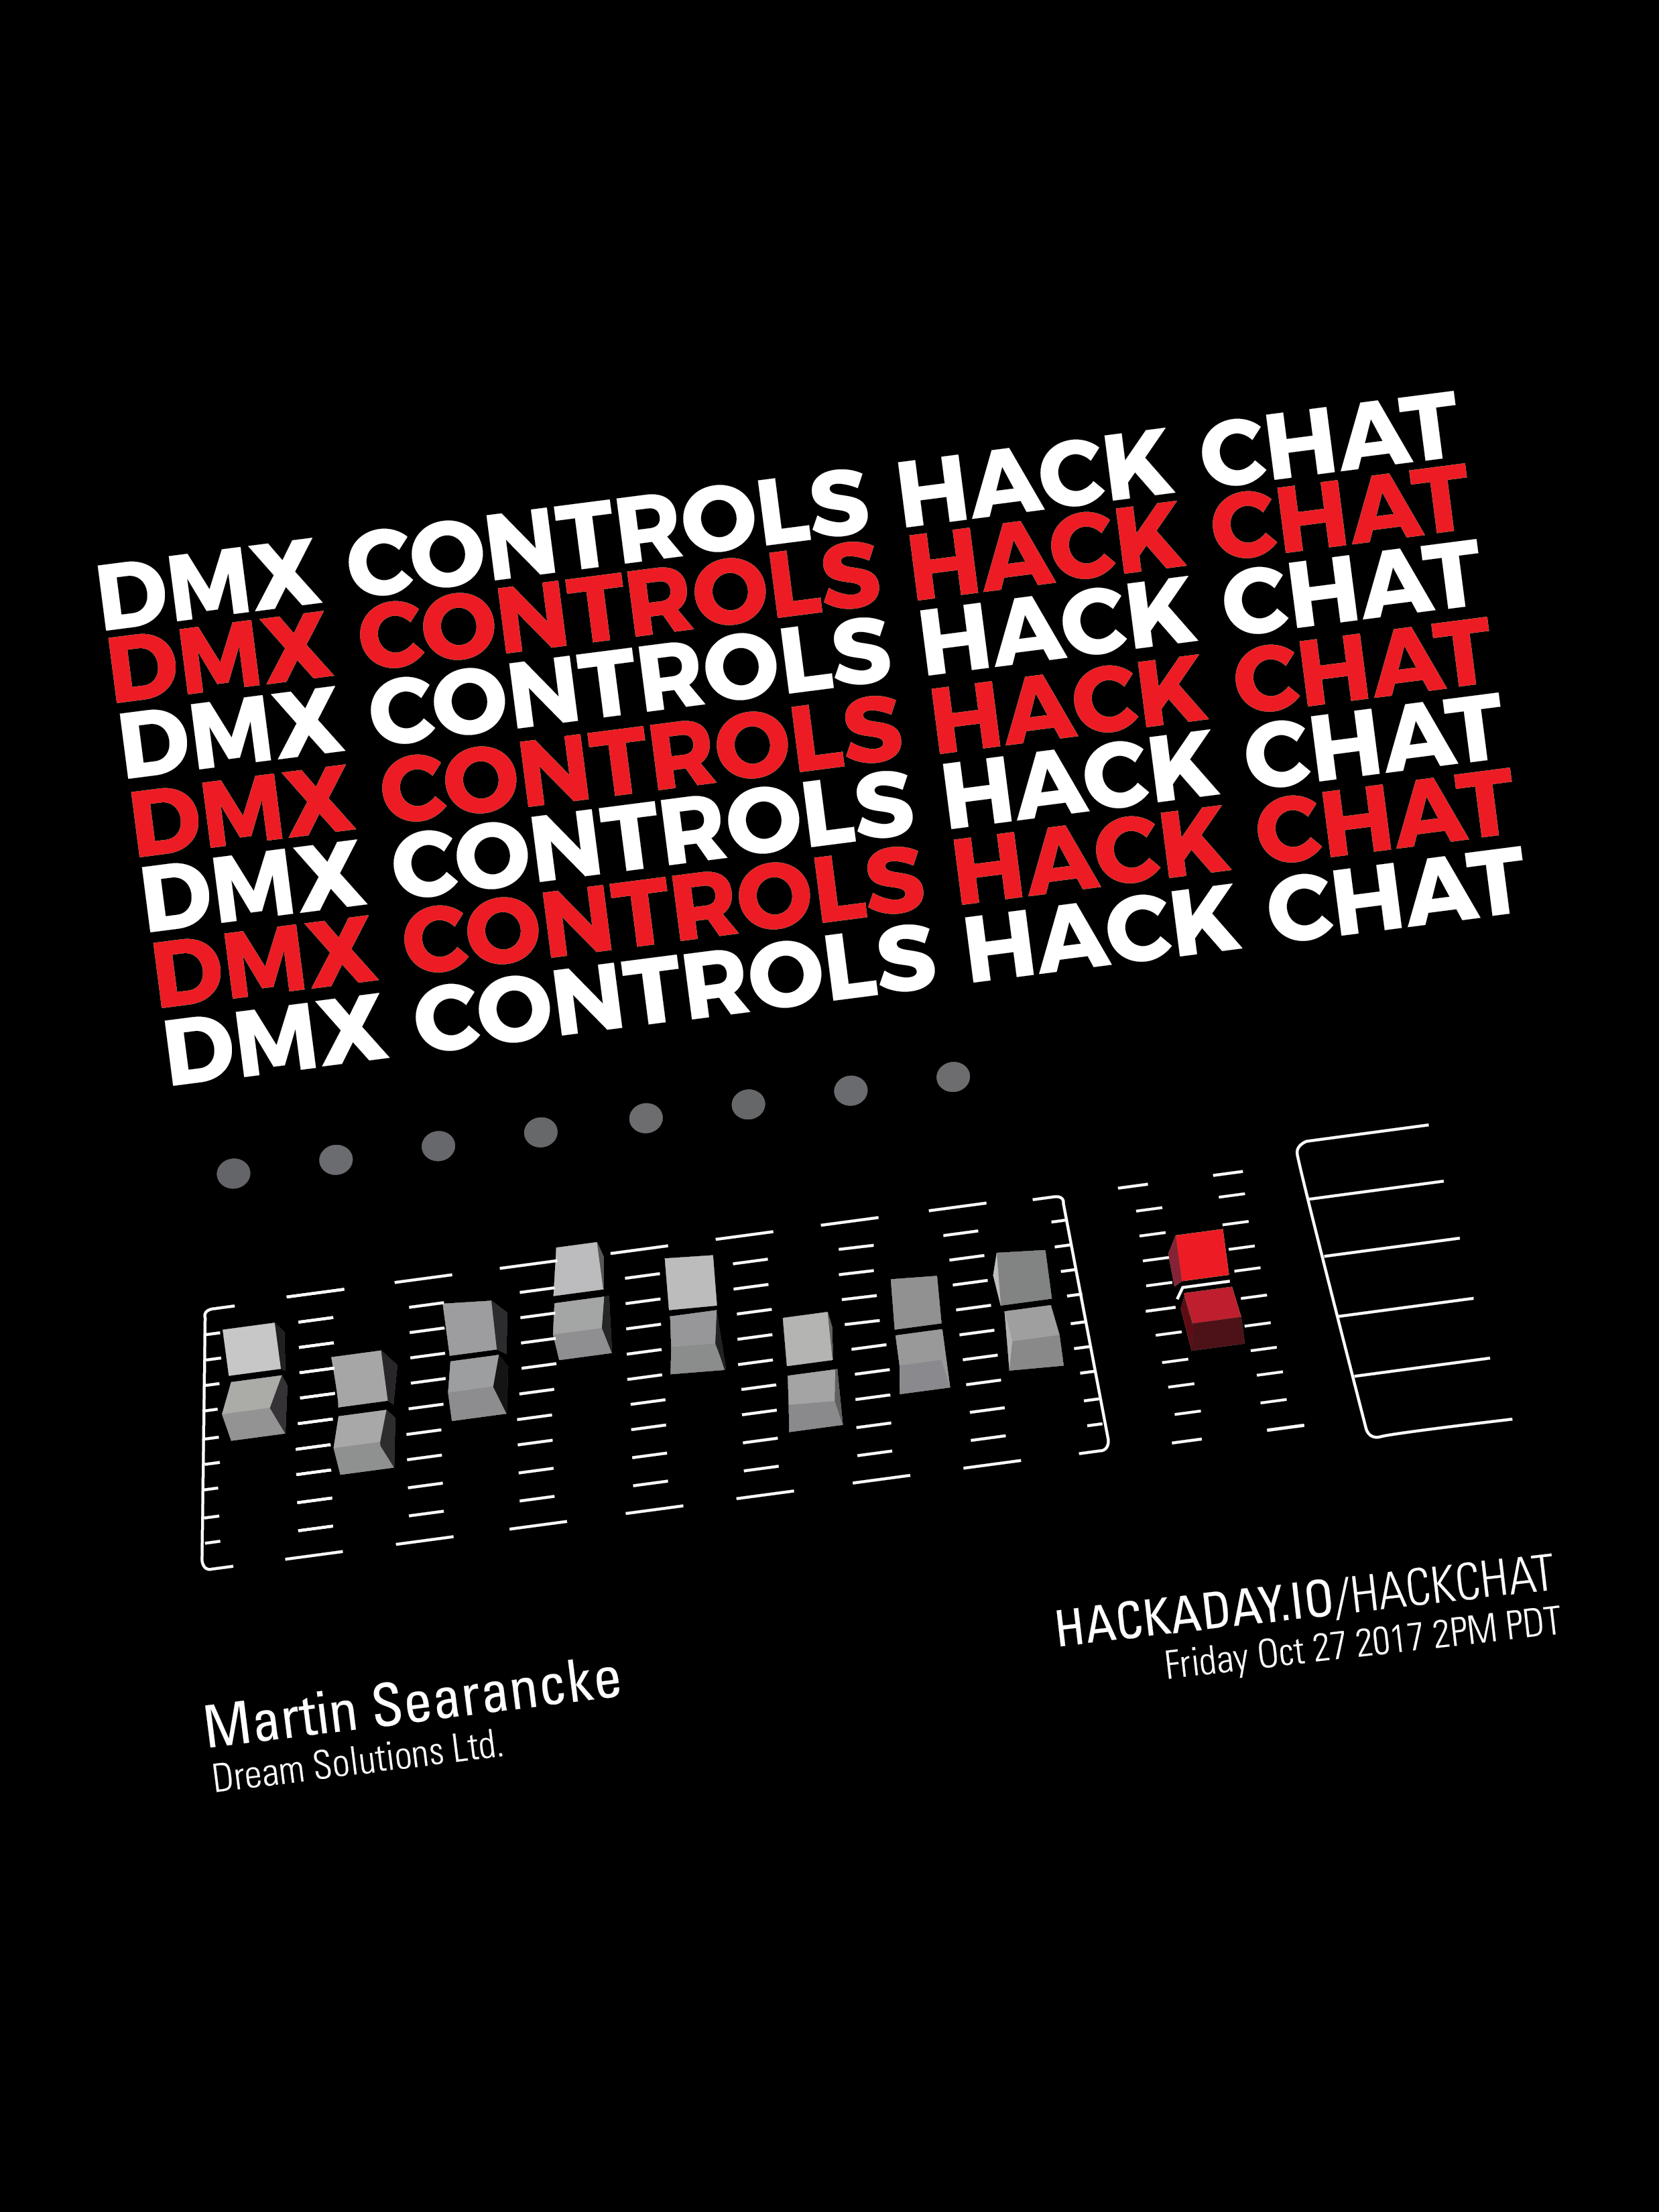
Our guest for this week’s Hack Chat is [Martin Searancke], owner of Dream Solutions Ltd. [Martin] was contacted early on in the development of Coca-Cola’s impressive 3D Times Square advertisement to see if Dream Solution’s LightFactory software could be used to drive this 3D screen. This software has pixel mapping and media playback capabilities and was used for the prototypes for the project. A subset of this product made it into the final installation, and is now driving a gargantuan display above Times Square in New York City.
This is a community Hack Chat, and of course we’re taking questions from the community. If you have a question you’d like to ask [Martin], add it to the discussion sheet.
 Our Hack Chats are live community events on the Hackaday.io Hack Chat group messaging. Our Hack Chats usually take place at noon, Pacific time on Friday, but this week is different. [Martin] is in New Zealand, so this Hack Chat is happening at 2pm Pacific, Friday, October 27th. Is that too hard for you? Here’s a time zone converter!
Click that speech bubble to the right, and you’ll be taken directly to the Hack Chat group on Hackaday.io.
You don’t have to wait until Friday; join whenever you want and you can see what the community is talking about.
We’re also looking for new Hack Chat hosts! If you’ve built something cool, you’re working on an interesting project, or you’re about to introduce a really cool product, hit us up! Email our wonderful community managers, and we’ll see if we can slot you in.
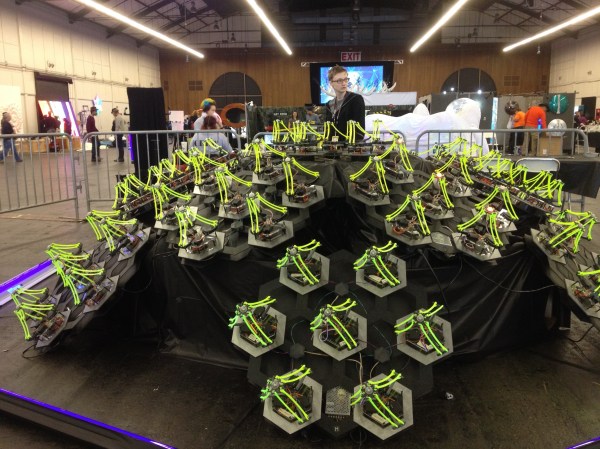
 Since my army doesn’t have a practical application… other than producing pretty light patterns and making the user feel extremely cool for a minute, I guess you’d call it art. In the past I’ve held a
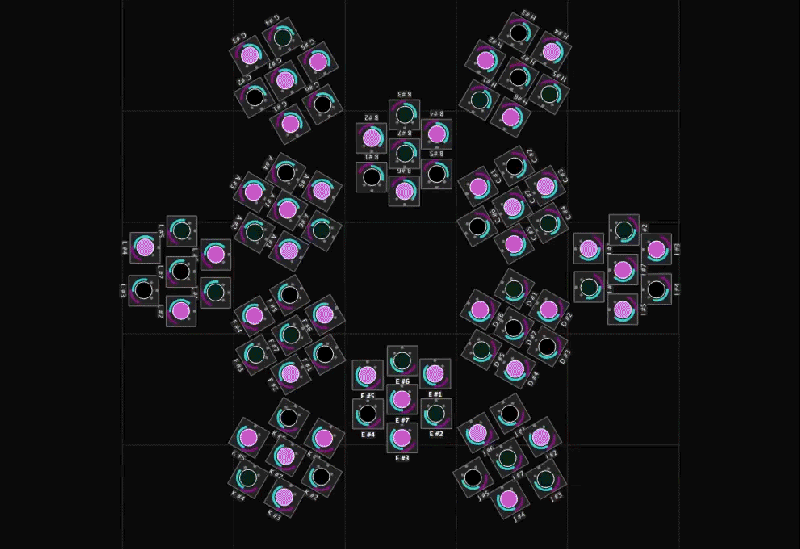
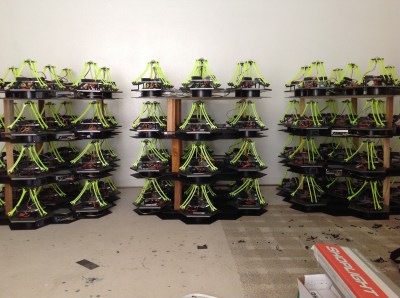
 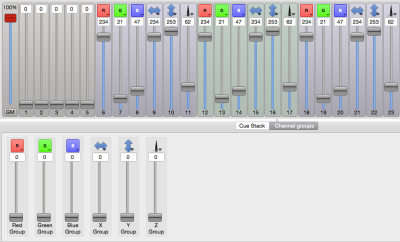 Functionally, each of the 84 delta robots in the installation believes that it is a stage light (robots with identity issues). We mapped the X and Y axis of the end effector to the existing pan and tilt values, and the z axis to the beam focus value. The RGB of the LED mounted in the end effector of each delta maps directly to the RGB value of the stage light.