How much would you enjoy a movie that took months to finish? We suppose it would very much depend on the film; the current batch of films from the Star Wars franchise are quite long enough as they are, thanks very much. But a film like Casablanca or 2001: A Space Odyssey might be a very different experience when played on this ultra-slow-motion e-paper movie player.
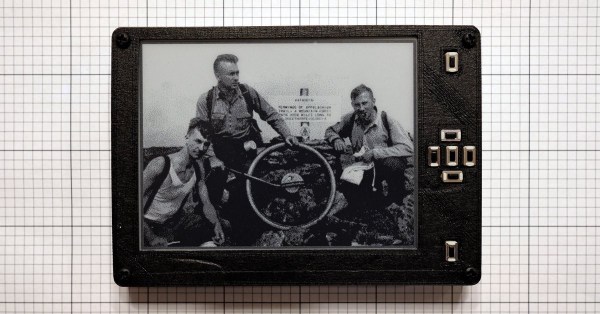
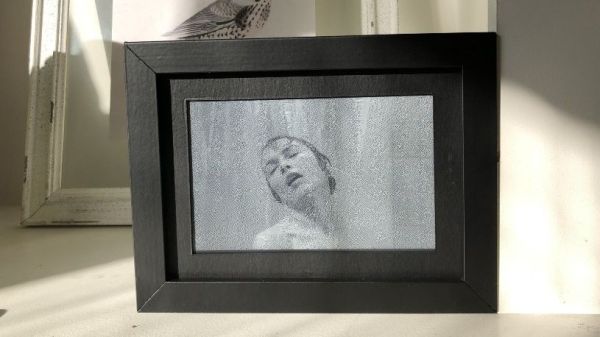
The idea of displaying a single frame of a movie up for hours rather than milliseconds has captivated [Tom Whitwell] since he saw [Bryan Boyer]’s take on the concept. The hardware [Tom] used is similar: a Raspberry Pi, an SD card hat with a 64 GB card for the movies, and a Waveshare e-paper display, all of which fits nicely in an IKEA picture frame.
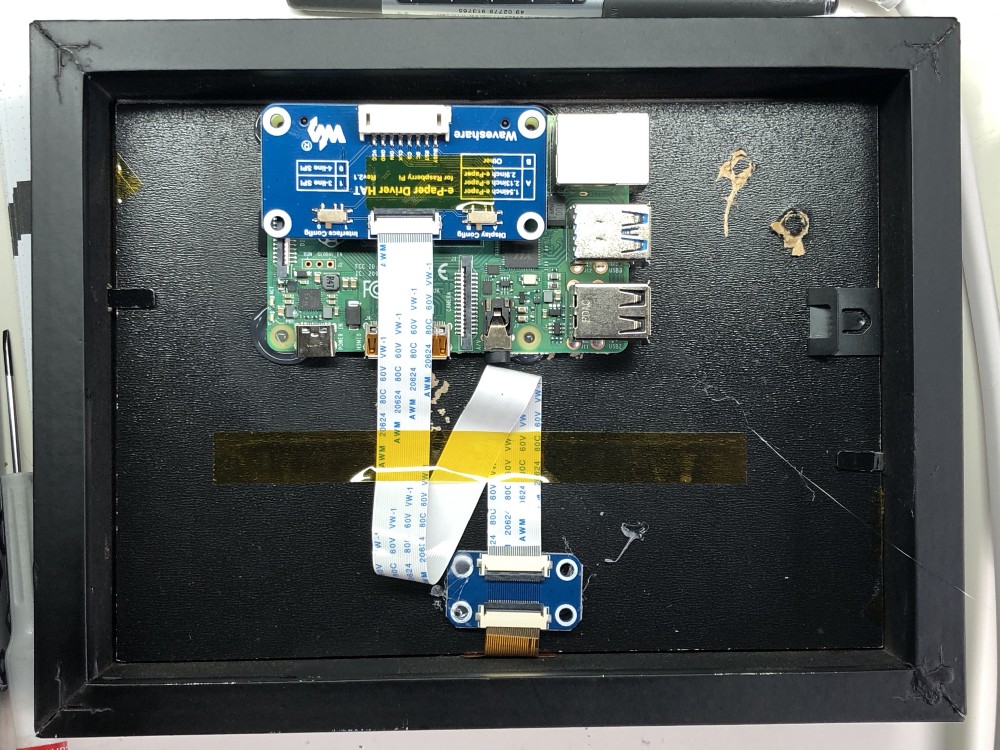 [Tom]’s software is a bit different, though; a Python program uses FFmpeg to fetch and dither frames from a movie at a configurable rate, to customize the viewing experience a little more than the original. Showing one frame every two minutes and then skipping four frames, it has taken him more than two months to watch Psycho. He reports that the shower scene was over in a day and a half — almost as much time as it took to film — while the scene showing [Marion Crane] driving through the desert took weeks to finish. We always wondered why [Hitch] spent so much time on that scene.
With the proper films loaded, we can see this being an interesting way to really study the structure and flow of a good film. It’s also a good way to cut your teeth on e-paper displays, which we’ve seen pop up in everything from weather stations to Linux terminals.