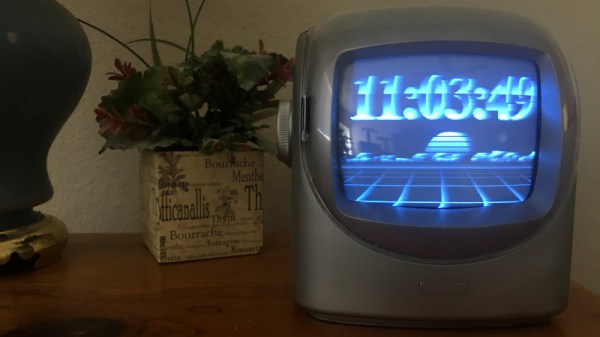
It’s fall in the northern hemisphere, so [Mike Rankin]’s kids are back in school and have returned to consulting him every morning about the weather and what they should wear. Since he’s no meteorologist, [Mike] built a beautifully dim and diminutive clock that does all the work for him, plus much more. It glows a lovely dark orange that’s perfect for the nightstand and those early morning interrogations.
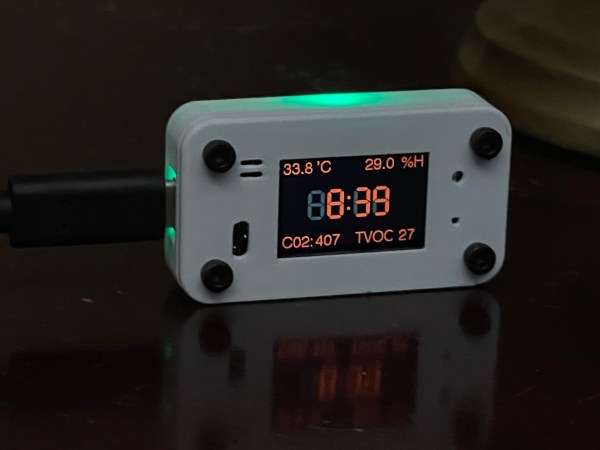
In default mode, this clock displays the time, CO2 level, room temperature, and humidity in that eye-friendly orange. But wave your hand in front of the time of flight sensor, and it goes external, displaying the low and high temperatures for the day, plus the weather conditions forecast. After a few seconds of that, it goes back to default mode. The ESP fetches the time from an NTP server, then gets the weather from the OpenWeather API. The indoor weather comes from a combination sensor on the board.
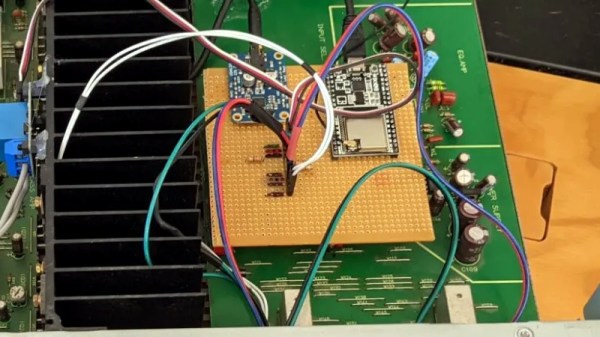
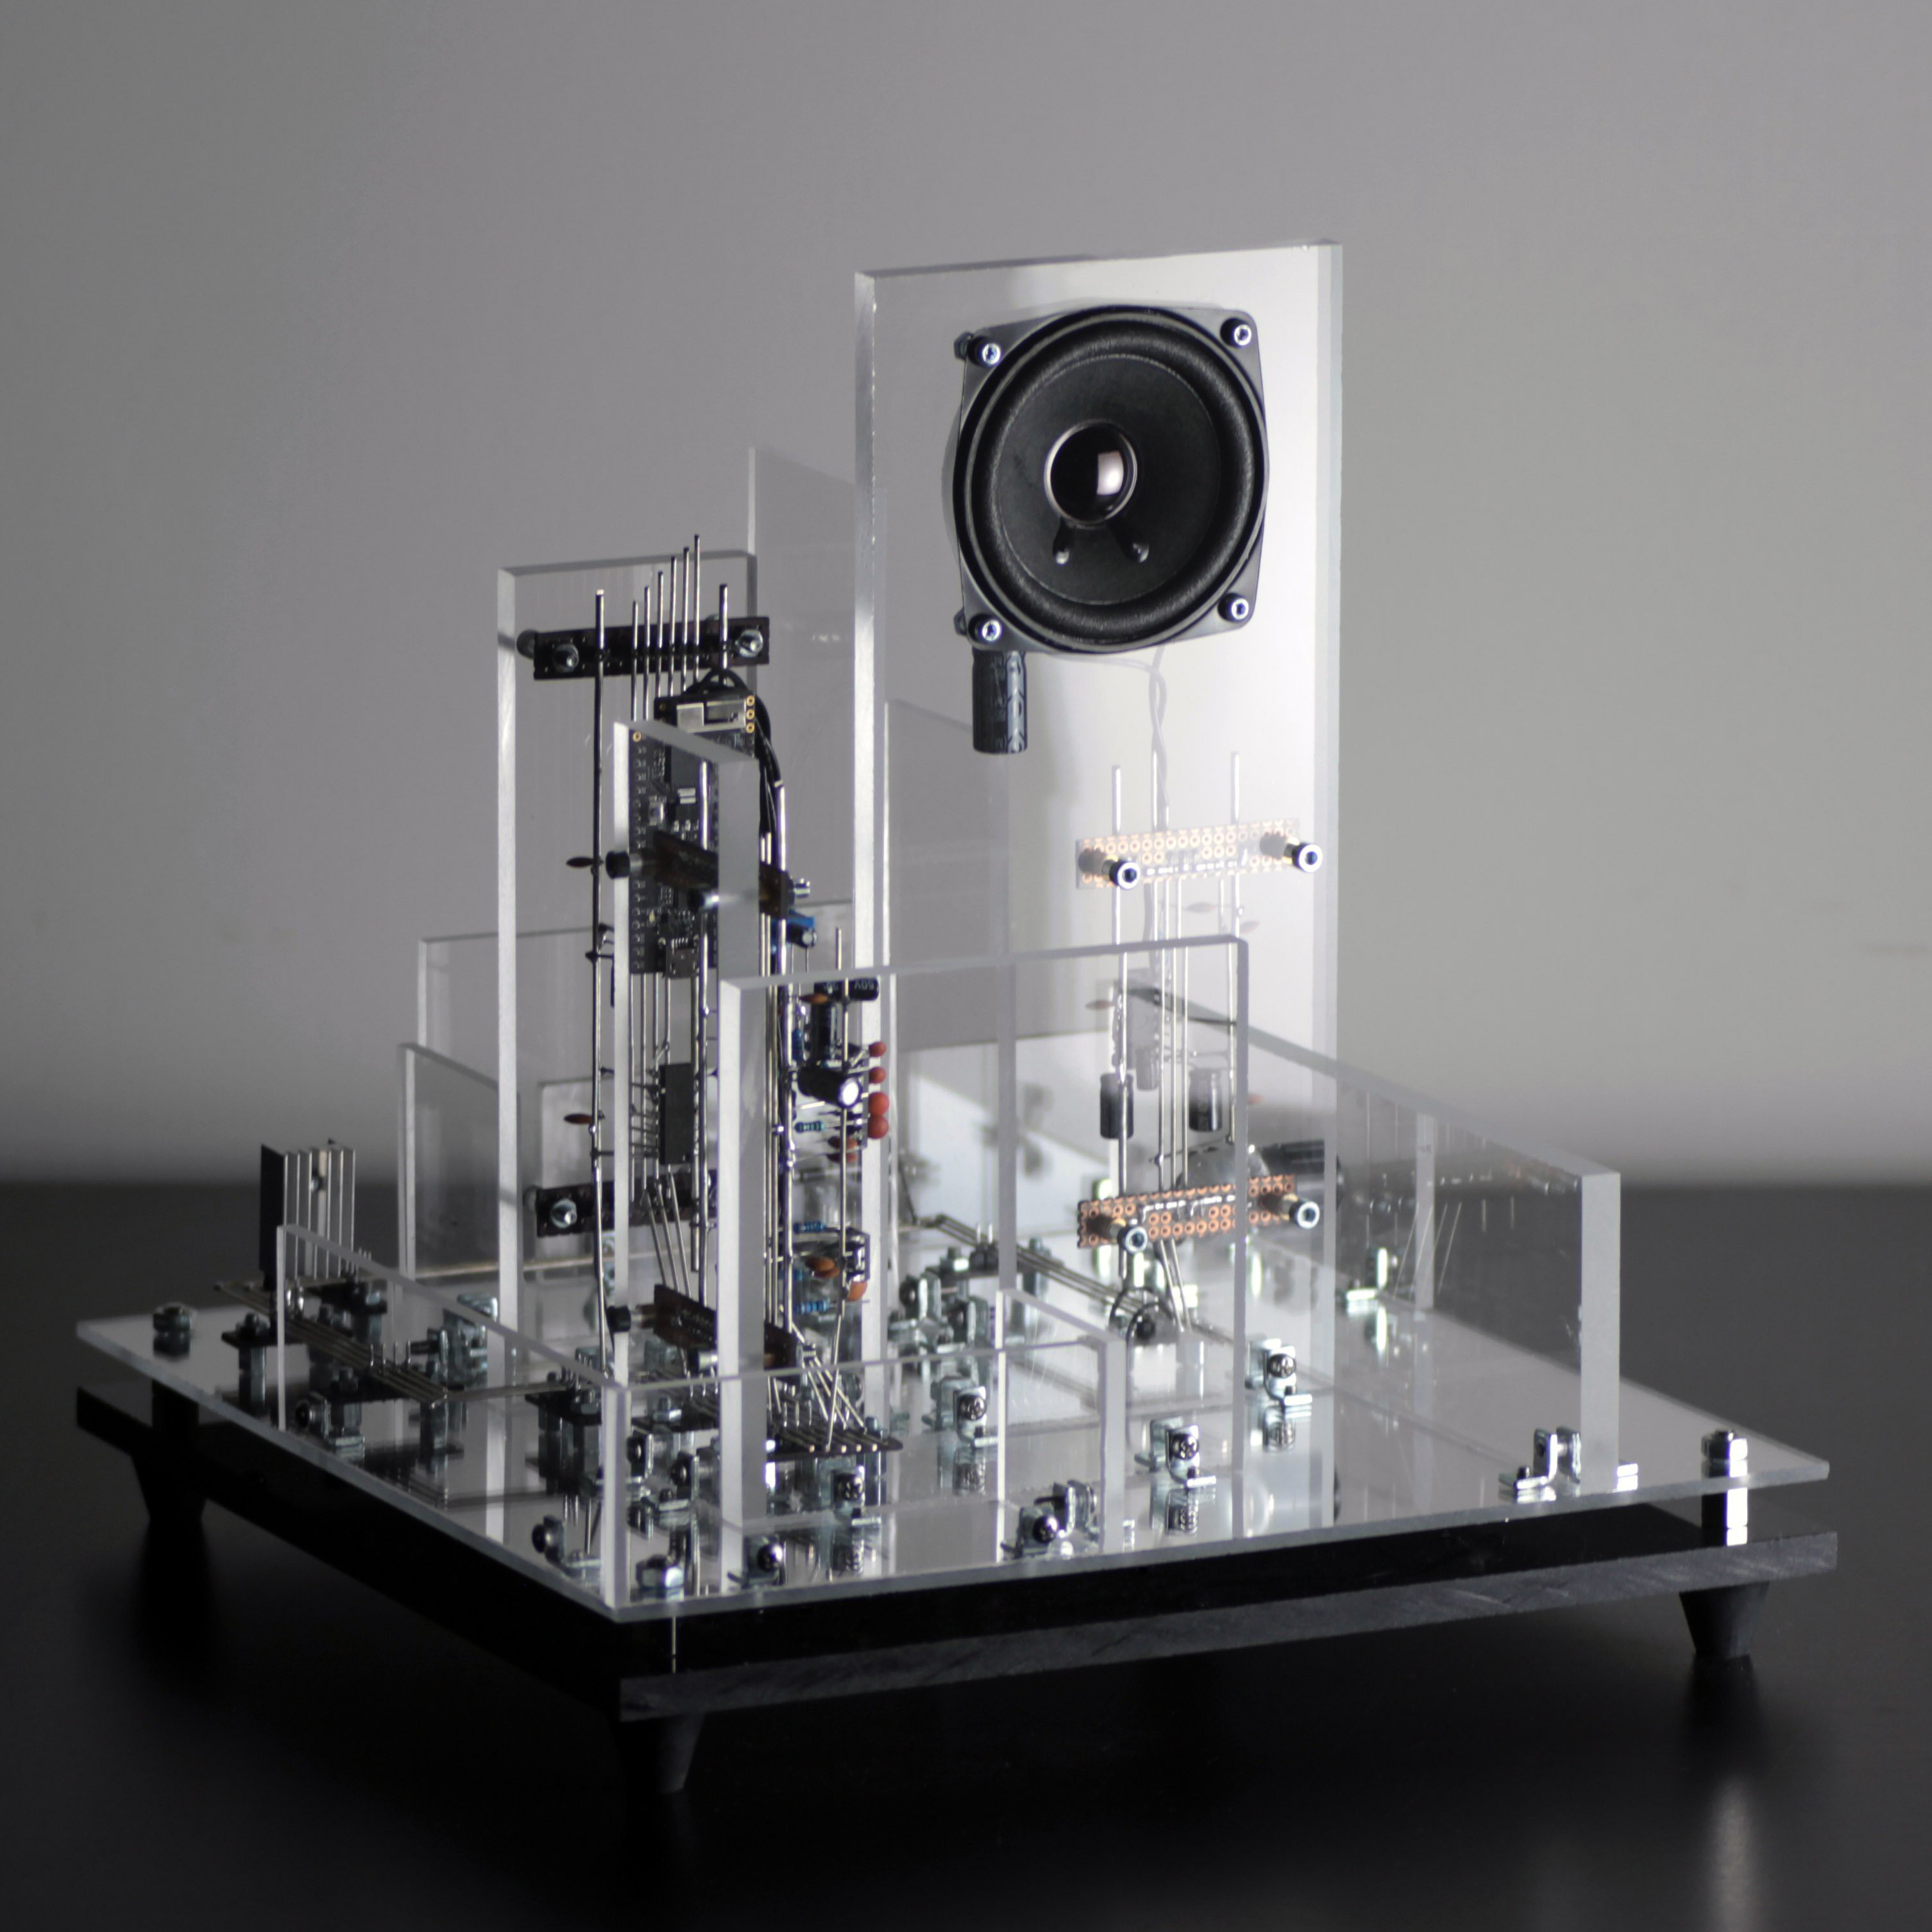
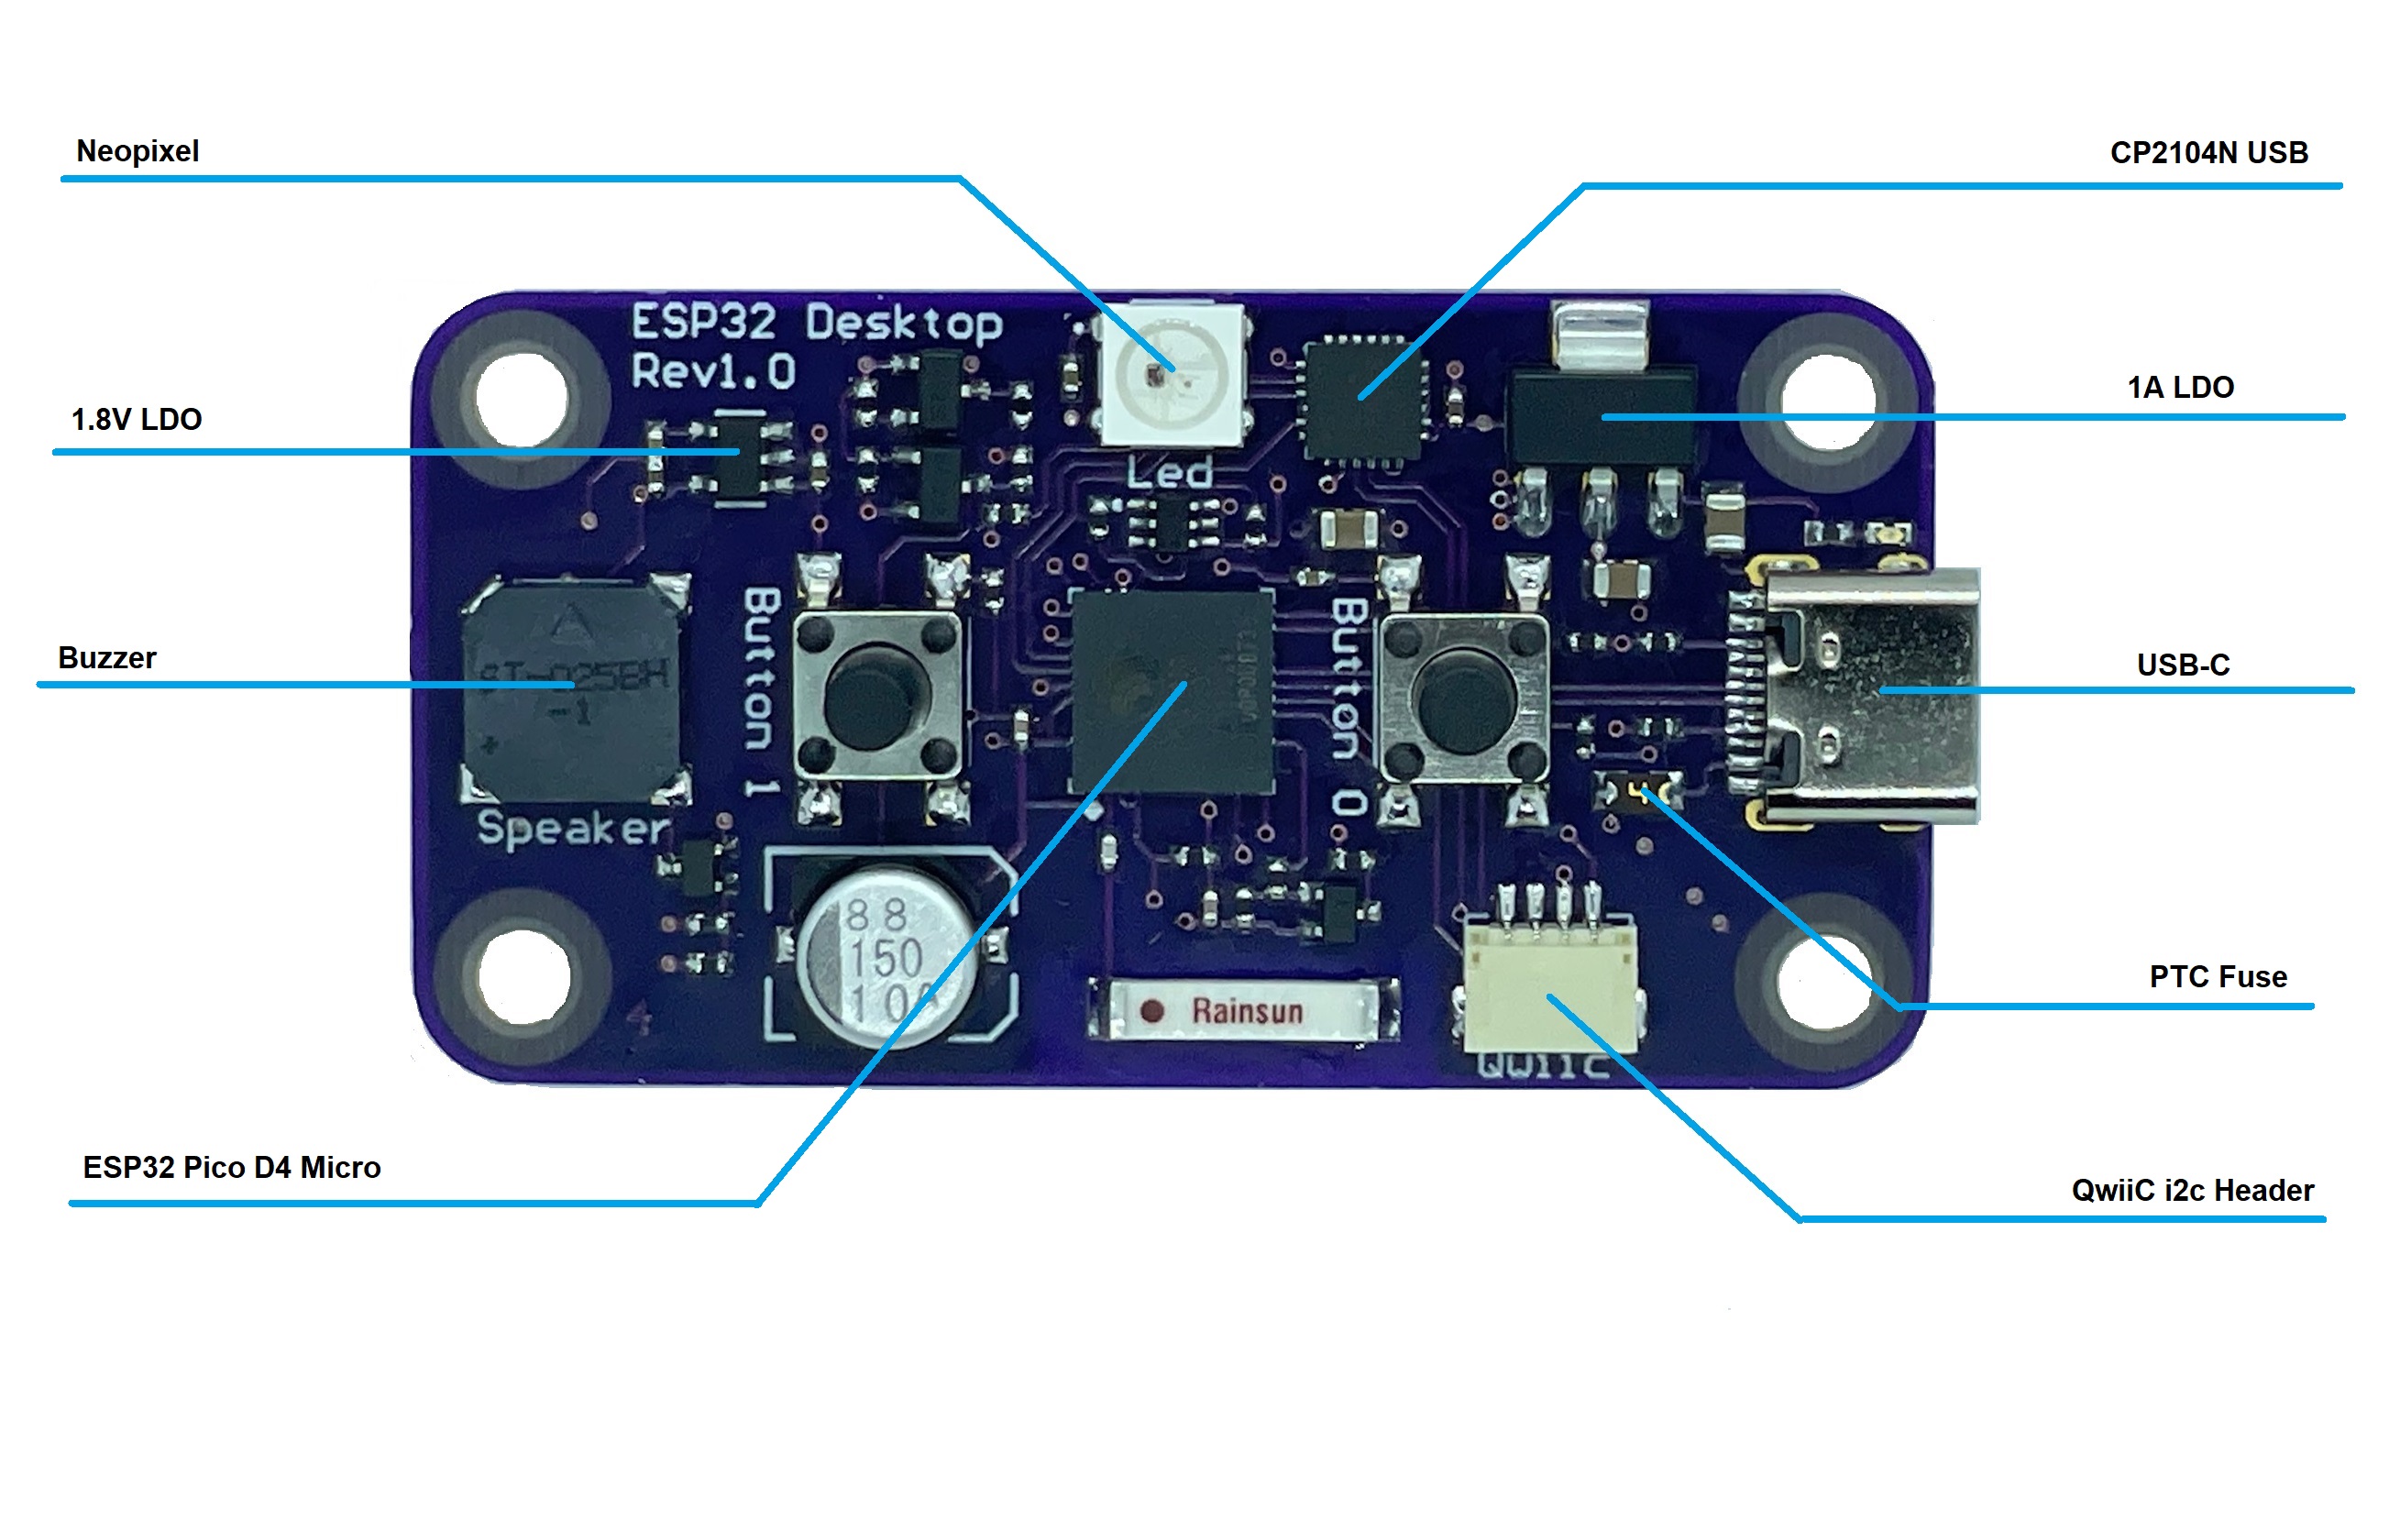 Inside this tiny package is a beautifully-spun board with an ESP32 Pico D4 for a brain. In addition to the climate sensors there is a combination CO2/TVOC sensor (that’s total volatile organic compounds) to sniff out danger. There is also a pair of push buttons on the back and an ambient light sensor, but [Mike] isn’t using those just yet. Add in the Qwiic connector for future doo-dads, and you have quite the little gadget. Although the pictures make it look kind of big, you can see exactly how small it is in the demo video after the break.
[Mike] seems to like things tiny, and we admire that in a big way. Check out his positively Lilliputian ESP32 dev board.
Continue reading “ESP32 Clock Takes Time To Give Weather Info, Too”