Automating Mini Blinds The Rental-Friendly Way

[Chris Mullins] wanted to automate opening and closing the slats of mini blinds in his apartment, and came up with a system to do it as a fun project. Manually opening and closing the slats means twisting a rod. Seems straightforward to automate that, but as usual when having to work around something that already exists, making no permanent alterations, complications arose.

The blinds are only 1 inch wide, leaving little room for mounting any sort of hardware. While there is a lot of prior art when it comes to automating blinds, nothing he found actually fit the situation [Chris] had, so he rolled his own.
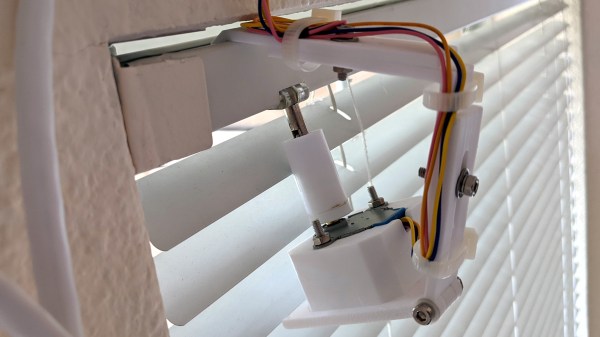
The rod that is normally twisted to control the blinds is removed, and the shaft of a stepper motor takes its place. [Chris]’ mounting solution is made to fit blinds with narrow 1 inch tracks (existing projects he found relied on 2 inch tracks) and the 3D printed mount is fully adjustable, so the 28BYJ stepper motor can be moved into exactly the right position. Speaking of the stepper motor, the 28BYJ motor is unipolar but the A4988 driver he wanted to use is for bipolar steppers only. Luckily, cutting a trace on the motor’s PCB is all it takes to turn a unipolar motor into bipolar.

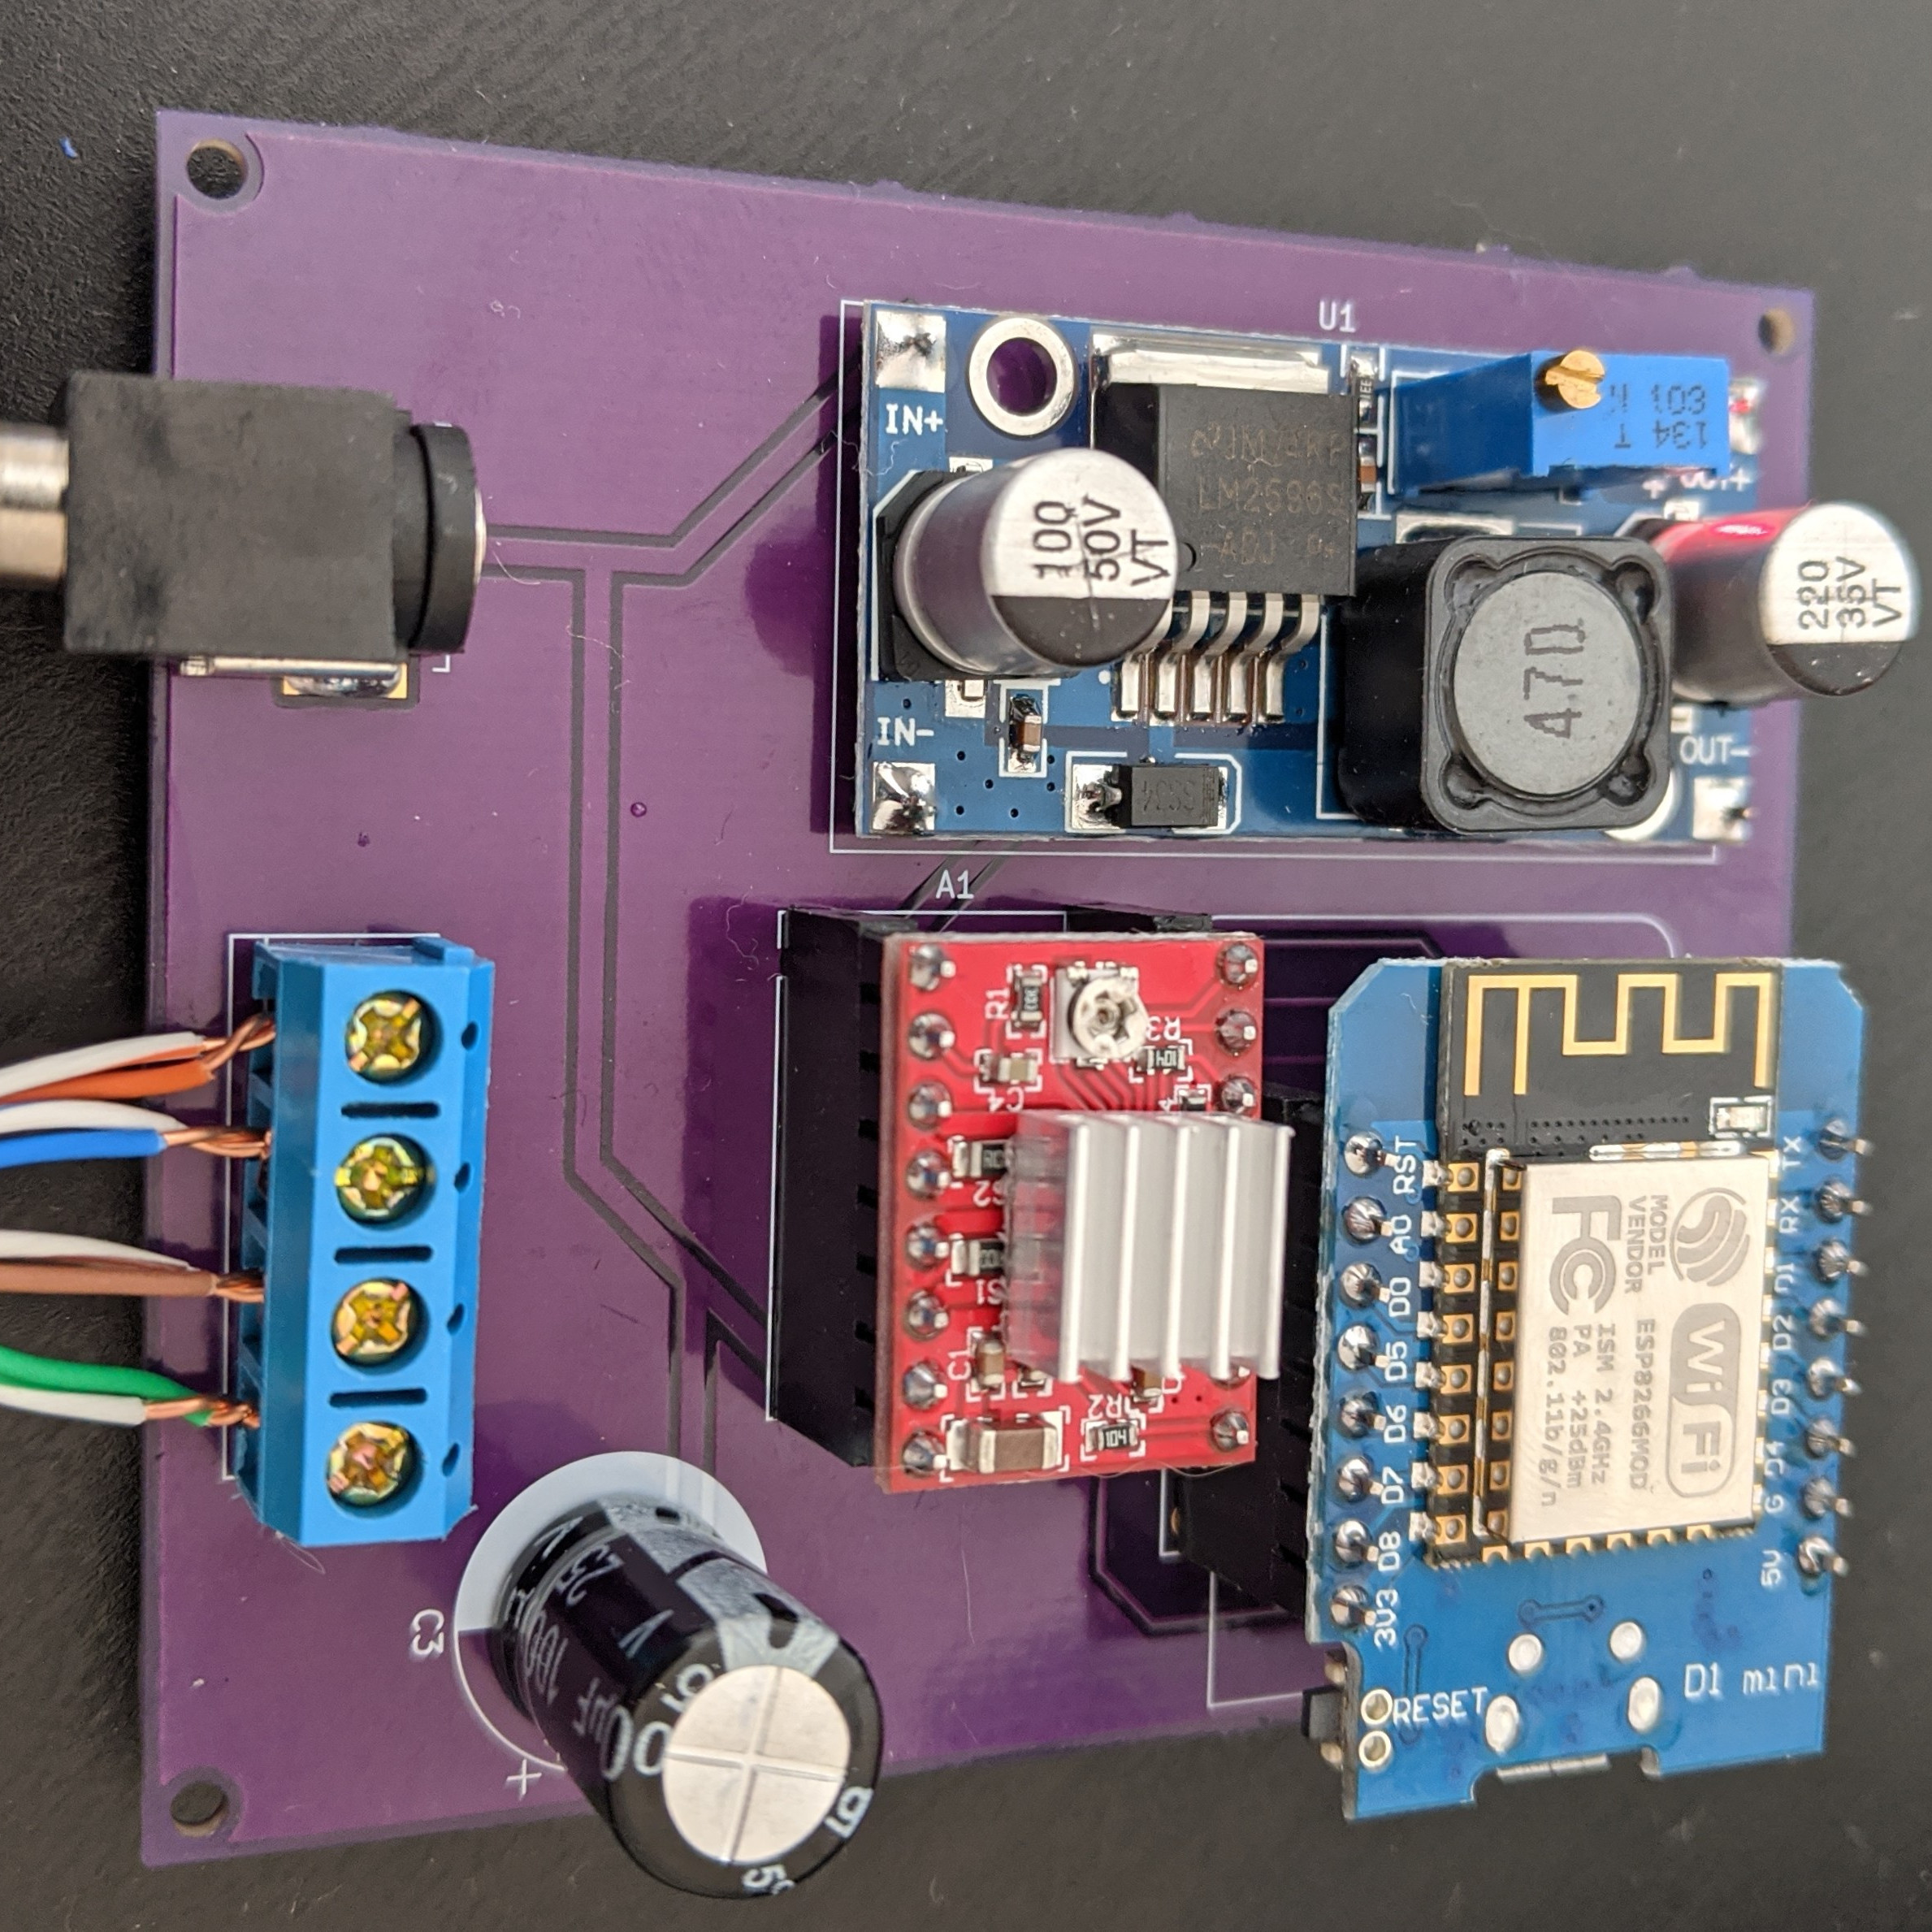
To drive the motor and provide wireless functionality, the whole thing works with a Wemos D1 ESP8266, an A4988 stepper driver, and a buck converter. While it worked fine as a one-off on a perfboard, [Chris] used the project as an opportunity to learn how to make a PCB using KiCad; the PCB project is here on GitHub and the ESP8266 runs the ESPHome firmware. Be sure to check out the project page on his blog for all the details; [Chris] links to all the resources there, and covers everything from a bill of materials to walking through configuration of ESPHome with integration into the open-source Home Assistant project.

Looking to control natural light but blinds aren’t your thing? Maybe consider automated curtains.
An ESP32 Home Automation Swiss Army Knife

Thanks to the ESP8266 and the ESP32, we’ve seen an explosion in DIY home automation projects recently. When it only takes $3 and a few lines of code to bring your gadgets onto the network, that’s hardly a surprise. But hacking bare ESP modules onto devices will only get you so far. Eventually you’ll probably want to put together a slightly more mature home automation system, and that’s where things can get a little tricky.

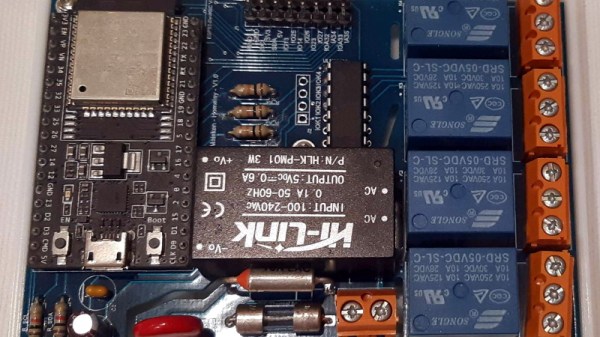
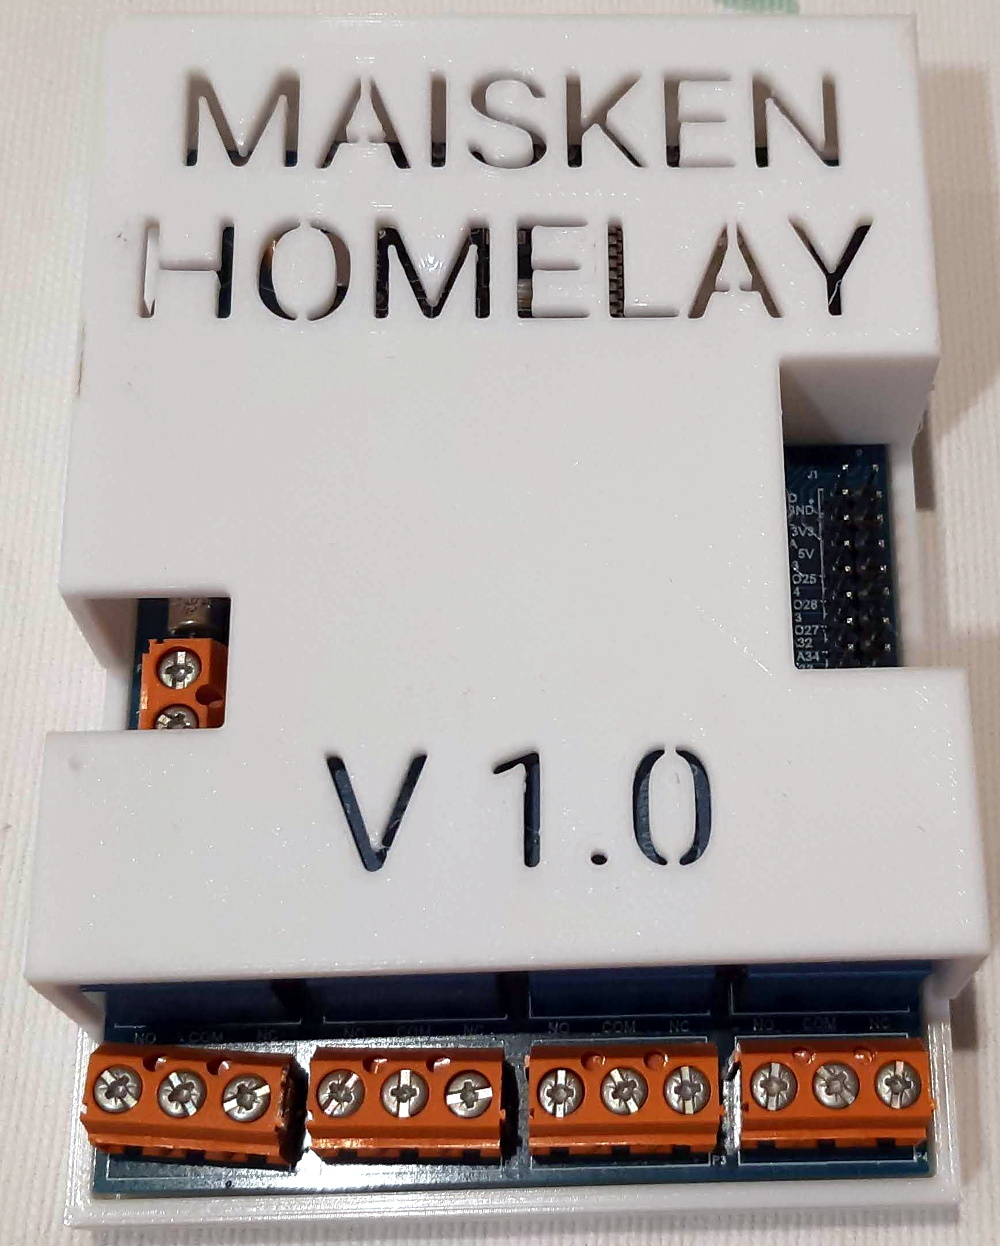
Which is why [Alfredo] created the Maisken Homelay. This device is a one-stop-shop for your home automation needs that leverages the power of the ESP32. With the microcontroller slotted into this compact PCB, you’ll be able to trigger four relays for your high current or AC loads, and still have 8 GPIOs and the I2C bus for expansion. All while retaining compatibility with existing open source projects like Home Assistant and ESPHome.

What really sets this project apart is the attention to detail. [Alfredo] has included a HLK-PM01 power supply on the board which takes mains voltage and brings it down to 5 VDC for the ESP32, so won’t need a separate power cable. He’s also taken the time to add isolation slots to separate the potential high-voltage connected to the relays from the rest of the board, added current and thermal fuses for protection, and peppered the board with screw terminals so you can easily connect everything up.

Sure you could get a simple relay board shipped to your door for a few bucks from the usual suspects. But it’s not going to offer the kind of quality of life and safety features that the Maisken Homelay has. There’s even a 3D printed enclosure available to help tidy things up.

With some of the blatantly anti-consumer decisions big-name home automation companies have been making recently, there’s more reason than ever to roll your own smart home using open source hardware and software. It still takes more effort than buying a bunch of modules from the Big Box retailer, but projects like this one are certainly starting to blur the line between consumer and DIY.

Roll Your Own Automation With ESPHome

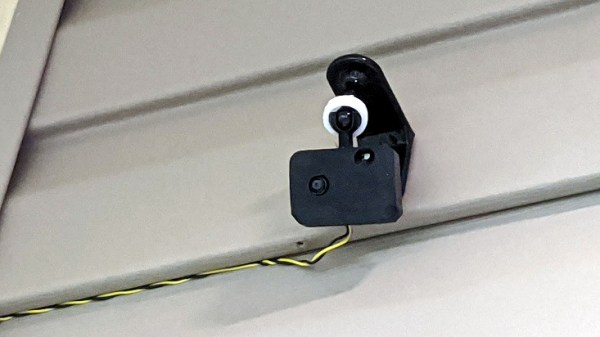
There are several different paths to a smart home, and [Marcus] eventually settled on using ESPHome and ESP8266/ESP32 based devices to create a complete DIY smart home solution which covers his garage door, sprinklers, LED strips, light bulbs, and outlets. There’s even an experimental (and very economical) ESP32-CAM based camera, shown here.

In fact, [Marcus]’s write-up could double as a sort of reference design. If you’re curious about ESPHome, be sure to read what he has to say because he explains exactly how he configured each device and any challenges he encountered in the process.

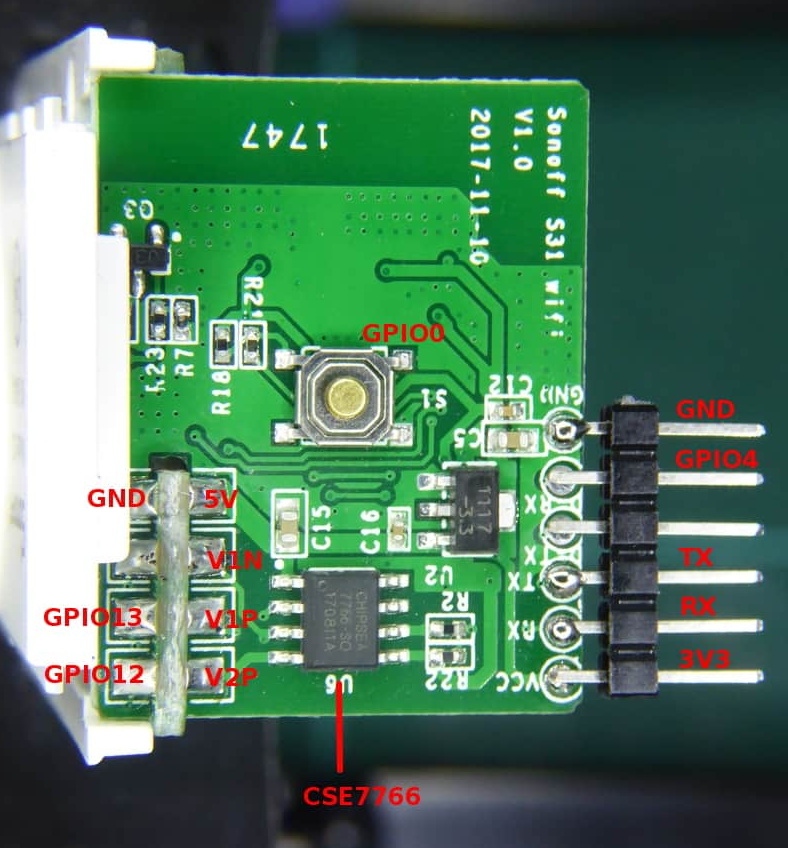
Beyond the software guidance, the post is also a great resource on how to flash a new firmware onto several different smart devices. [Marcus] provides nicely labeled images of the boards that show where you need to connect your programmer, which just might save you some trouble down the line. Though he did manage to set fire to one of the bulbs, so keep an eye out for that.

Tasmota is another open source option for controlling ESP8266-based devices, and if you’d like to explore that direction don’t forget that flashing Sonoff devices with Tasmota firmware recently got much, much easier.