A graph is shown of the percentage reflection of visible light as a function of wavelength. Four lines are traced on the graph, which all approximate the same shape. In the top left, two purple shapes are shown, which the spectral chart describes.

Paint Mixing Theory For Custom Filament Colors

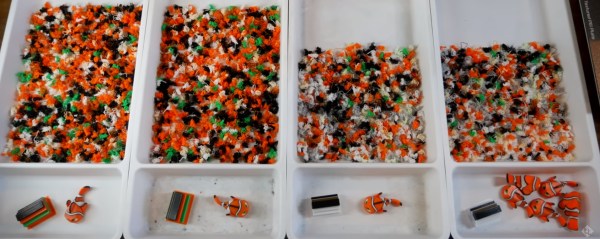
Recycling 3D filament is a great idea in theory, and we come across homemade filament extruders with some regularity, but they do have some major downsides when it comes to colored filaments. If you try to recycle printer waste of too many different colors, you’ll probably be left with a nondescript gray or brown filament. Researchers at Western University, however, have taken advantage of this pigment mixing to create colors not found in any commercial filament (open access paper).

They started by preparing samples of 3D printed waste in eight different colors and characterizing their spectral reflectance properties with a visible-light spectrometer. They fed this information into their SpecOptiBlend program (open source, available here), which optimizes the match between a blend of filaments and a target color. The program relies on the Kubelka-Munk theory for subtractive color mixing, which is usually used to calculate the effect of mixing paints, and minimizes the difference which the human eye perceives between two colors. Once the software calculated the optimal blend, the researchers mixed the correct blend of waste plastics and extruded it as a filament which generally had a remarkably close resemblance to the target color.

In its current form, this process probably won’t be coming to consumer 3D printers anytime soon. To mix differently-colored filaments correctly, the software needs accurate measurements of their optical properties first, which requires a spectrometer. To get around this, the researchers recommend that filament manufacturers freely publish the properties of their filaments, allowing consumers to mix their filaments into any color they desire.

This reminds us of another technique that treats filaments like paint to achieve remarkable color effects. We’ve also seen a number of filament extruders before, if you’d like to try replicating this.

Reducing Poop On Multicolor Prints

While multicolor printing eliminates painting steps and produces vibrant objects, there are two significant downsides; filament consumption and print time. A single-nozzle filament printer needs to switch from one color to another, and doing so involves switching to the other filament and then purging the transition filament that contains a mixture of both colors, before resuming the print with the clean new color.

[teachingtech] tests out a variety of methods for reducing print time and waste. One surprising result was that purging into the infill didn’t result in significant savings, even when the infill was as high as 50%. Things that did have a positive effect included reducing the amount of purge per transition based on light to dark color changes, and printing multiple copies at once so that even though the total amount of waste was the same as a single part, the waste per part was reduced.

All of the tests were with the same model, which had 229 color changes within a small part, so your mileage may vary, but it’s an interesting investigation into some of the deeper settings within the slicer. Reducing filament waste and print time is an admirable goal, and if you make your own extruder, you can turn all of that purge waste into various shades of greenish brownish filament. Continue reading “Reducing Poop On Multicolor Prints”

ERRF 22: Recreator 3D Turns Trash Into Filament

In Back to the Future, Doc Brown returns to 1985 with a version of his DeLorean time machine that has been modified with technology from the future. After telling Marty they need to go on yet another adventure, Doc recharges the DeLorean’s flux capacitor and time circuits by tossing pieces of garbage into the slick Mr. Fusion unit mounted to the rear of the vehicle. The joke being that, in the future, you could simply head over to the local big box store and pick up a kitchen appliance that’s capable of converting waste matter into energy.

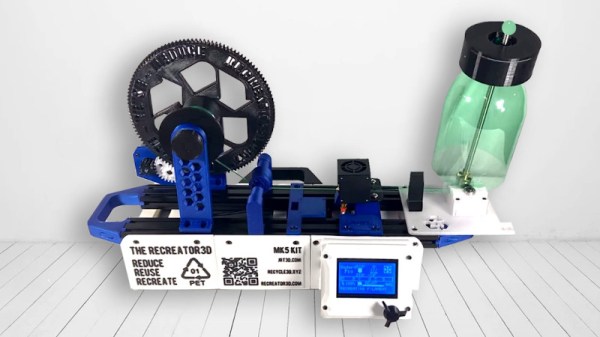
Unfortunately, we’re nowhere near powering our homes with banana peels and beer cans. But if the Recreator 3D is any indication, the technology required to turn plastic bottles rescued from the trash into viable PET filament for your 3D printer is all but upon us. While there are still some aspects of the process that could stand to be streamlined, such as fusing multiple runs of filament together into one continuous roll, the core concepts all seem to be in place.

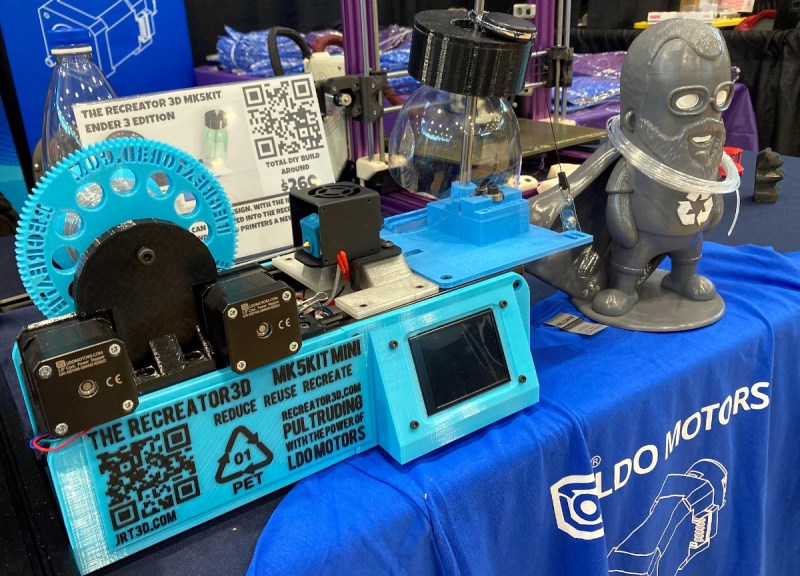
The MK5Kit Mini is currently in development with LDO Motors.

Creator [Josh Taylor] made the trip out to the 2022 East Coast RepRap Festival to not only show off the Recreator 3D, a project he’s been working on now for over a year, but to get people excited about the idea of turning waste plastic into filament. It’s not necessarily a new concept, and in fact [Josh] says earlier efforts such as the PETBOT are what inspired him to create his own open source take on the “pultrusion” concept.

According to [Josh], actually printing with the recycled filament isn’t that different from using commercial PETG, though it’s recommended you lower your speeds. A nozzle temperature of around 260 °C seems to work best, with the bed at 70 °C. Interestingly, the filament produced by the process is actually hollow inside, so the most critical change to make is increasing your extrusion rate to about 130% of normal to compensate for the internal void.

The current revision of the Recreator 3D, known as the MK5Kit, can be assembled using several core components salvaged from a low-cost Ender 3 printer in addition to a number of parts that the user will need to print themselves. For those who’d rather not source the parts, [Josh] says he hopes to get formal kits put together sometime next year, thanks to a partnership with LDO Motors.

But ultimately, [Josh] says the most important thing to him is that the plastic is recycled instead of getting sent to a landfill or incinerator. So whether you build a Recreator 3D or come up with your own design, all are welcome to the PET Pultruders United Facebook group he’s created to discuss the finer points of turning plastic trash into treasure.

Continue reading “ERRF 22: Recreator 3D Turns Trash Into Filament”

Turning Old Masks Into 3D Printer Filament

Disposable masks have been a necessity during the COVID-19 pandemic, but for all the good they’ve done, their disposal represents a monumental ecological challenge that has largely been ignored in favor of more immediate concerns. What exactly are we supposed to do with the hundreds of billions of masks that are used once or twice and then thrown away?

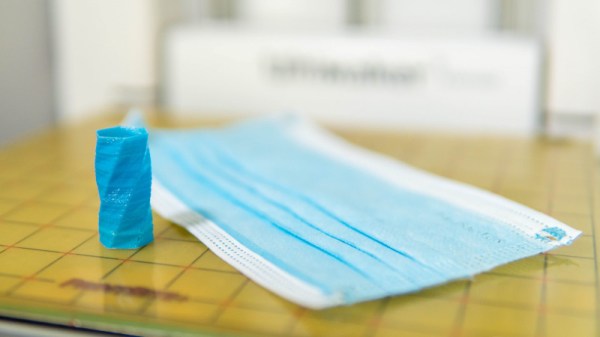
If the research being conducted at the University of Bristol’s Design and Manufacturing Futures Lab is any indication, at least some of those masks might get a second chance at life as a 3D printed object. Noting that the ubiquitous blue disposable mask is made up largely of polypropylene and not paper as most of us would assume, the team set out to determine if they could process the masks in such a way that they would end up with a filament that could be run through a standard 3D printer. While there’s still some fine tuning to be done, the results so far are exceptionally impressive; especially as it seems the technique is well within the means of the hobbyist.

From masks to usable filament.

The first step in the process, beyond removing the elastic ear straps and any metal strip that might be in the nose, is to heat a stack of masks between two pieces of non-stick paper with a conventional iron. This causes the masks to melt together, and turn into a solid mass that’s much easier to work with. These congealed masks were then put through a consumer-grade blender to produce the fine polypropylene granules that’re suitable for extrusion.

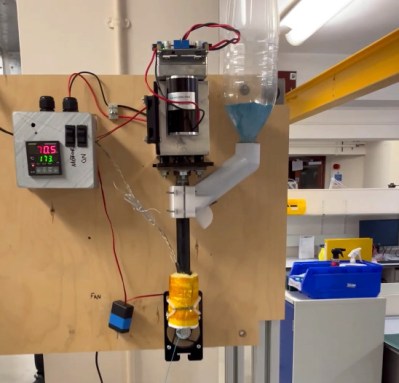
Mounted vertically, the open source Filastruder takes a hopper-full of polypropylene and extrudes it into a 1.75 mm filament. Or at least, that’s the idea. The team notes that the first test run of filament only had an average diameter of 1.5 mm, so they’re modifying the nozzle and developing a more powerful feed mechanism to get closer to the goal diameter. Even still, by cranking up the extrusion multiplier in the slicing software, the team was able to successfully print objects using the thin polypropylene filament.

This is only-during-a-pandemic recycling, and we’re very excited to see this concept developed further. The team notes that the extrusion temperature of 260 °C (500 °F) is far beyond what’s necessary to kill the COVID-19 virus, though if you planned on attempting this with used masks, we’d imagine they would need to be washed regardless. If the hacker and maker community were able to use their 3D printers to churn out personal protective equipment (PPE) in the early days of the pandemic, it seems only fitting that some of it could now be ground up and printed into something new.

Machine Extrudes Filament

We’ve seen a lot of homebrew filament extruders, but [Stefan] at CNC Kitchen shows off a commercial desktop filament extruder in his latest video, which you can see below. The 3DEVO extruder is pretty slick but at around $7,000-$8,000 we probably won’t rush out and buy one. We might, though, get some ideas from it for our next attempt to build something similar.

In concept, any machine that creates filament is pretty straightforward. Melt pellets and push them out of a nozzle. Cool the filament and wind it up. Easy, right? But, of course, the problems are all in the details. Die swell, for example, means you can’t just assume the nozzle’s hole size will give you the right size filament. Continue reading “Machine Extrudes Filament”

PetBot: Turn PET Bottles Into Filament

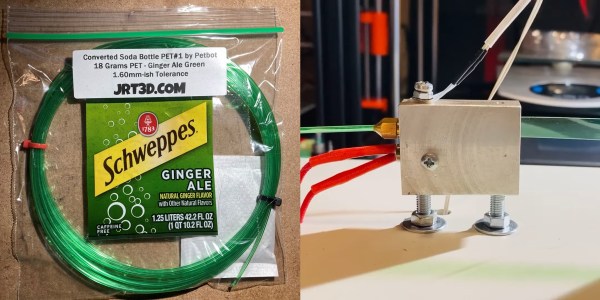
Recycling plastic into filament normally involves chopping it into tiny pieces and pushing it through a screw extruder. [JRT3D] is taking a different approach with PetBot, which cuts PET bottles into tape and then turns it into filament. See the videos after the break.

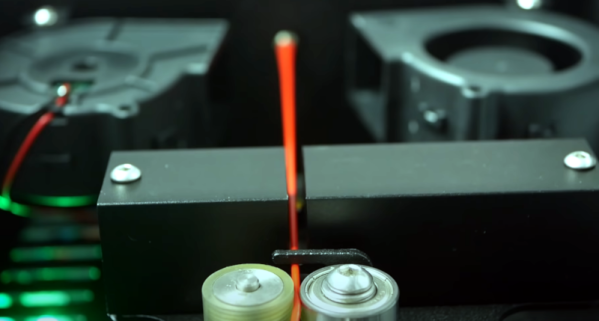
Cutting the tape and extrusion happens in two completely separated processes on the same machine. A PET bottle is prepared by cutting off the bottom, and the open rim is pushed between a pair of bearings, where a cutter slices the bottle into one long strip, as a driven spool rolls it up. The spool of tape is then moved to the second stage of the machine, which pulls the tape through a hot end very similar to that on a 3D printer. While most conventional extruders push the plastic through a nozzle with a screw, the PetBot only heats up the tape to slightly above its glass transition temperature, which allows the driven spool to slowly pull it through the nozzle without breaking. A fan cools the filament just before it goes onto the spool. The same stepper motor is used for both stages of the process.

We like the simplicity of this machine compared to a conventional screw extruder, but it’s not without trade-offs. Firstly is the limitation of the filament length by the material in a single bottle. Getting longer lengths would involve fusing the tape after cutting, or the filament after extrusion, which is not as simple as it might seem. The process would likely be limited to large soda bottle with smooth exterior surfaces to allow the thickness and width of the tape to be as consistent as possible. We are curious to see the consistency of the filaments shape and diameter, and how sensitive it is to variations in the thickness and width of the tape. That being said, as long as you understand the limitations of the machine, we do not doubt that it can be useful. Continue reading “PetBot: Turn PET Bottles Into Filament”

Fail Of The Week: How Not To Build A Filament Extruder

It would be great if you could create your own filament. On the face of it, it seems easy to do, but as [Thomas Sanladerer] found out when he was a student, there are a lot of details that can bedevil your design. His extruder sort of works, but he wouldn’t suggest duplicating his effort. In fact, he hopes you can learn what not to do if you try to do it yourself.

In all fairness, [Thomas] was a low-budget student and was trying to economize. For example, he tried using a drill to drive the auger. Why not? It looks like a drill bit. But he found out that wasn’t satisfactory and moved to a pair of wiper motors with their built-in gear train.

Continue reading “Fail Of The Week: How Not To Build A Filament Extruder”