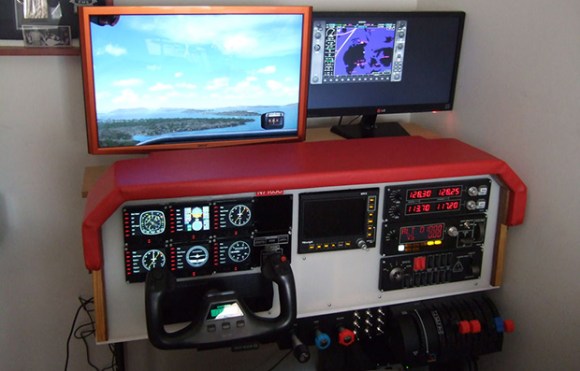
Most of the incredible flight simulator enthusiasts with 737 cockpits in their garage are from the US. What happens when they’re from Slovenia? They built an A320 cockpit. The majority of the build comes from an old Cyprus Airways aircraft, with most of the work being wiring up the switches, lights, and figuring out how to display the simulated world out of the cockpit.
Google Cardboard is the $4 answer to the Oculus Rift – a cardboard box and smartphone you strap to your head. [Frooxius] missed being able to interact with objects in these 3D virtual worlds, so he came up with this thing. He adapted a symbol tracking library for AR, and is now able to hold an object in his hands while looking at a virtual object in 3D.
Heat your house with candles! Yes, it’s the latest Indiegogo campaign that can be debunked with 7th grade math. This “igloo for candles” will heat a room up by 2 or 3 degrees, or a little bit less than a person with an average metabolism will.
Last week, we saw a post that gave the Samsung NX300 the ability to lock the pictures taken by the camera with public key cryptography. [g3gg0] wrote in to tell us he did the same thing with a Canon EOS camera.
The guys at Flite Test put up a video that should be handy for RC enthusiasts and BattleBot contenders alike. They’re tricking out transmitters, putting push buttons where toggle switches should go, on/off switches where pots should go, and generally making a transmitter more useful. It’s also a useful repair guide.
[Frank Zhao] made a mineral oil aquarium and put a computer in it. i7, GTX 970, 16GB RAM, and a 480GB SSD. It’s a little bigger than most of the other aquarium computers we’ve seen thanks to the microATX mobo, and of course there are NeoPixels and a bubbly treasure chest.
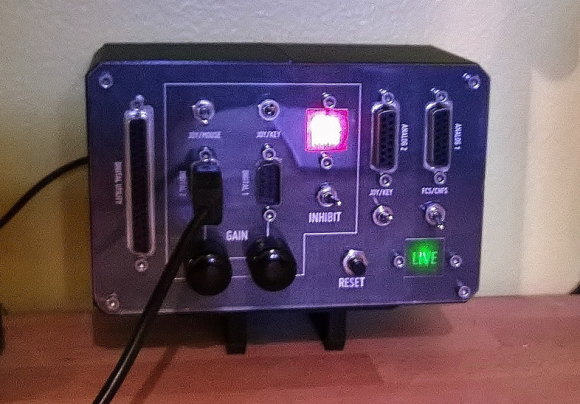
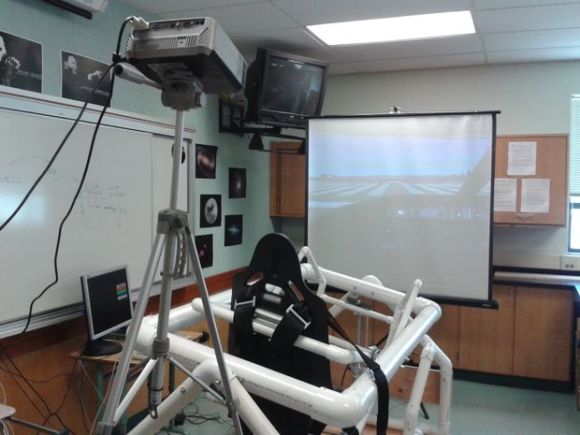
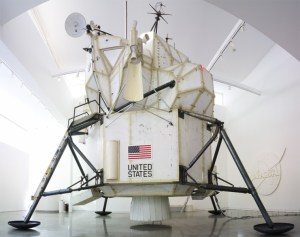 Both [Tom’s]
 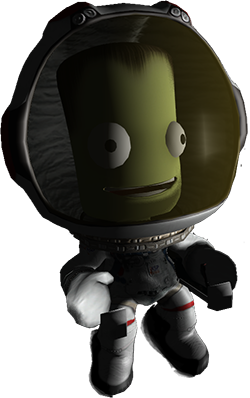 Kerbal Space Program is already a runaway indie video game hit, and if you ask some people, they’ll tell you it is the way to learn all about orbital dynamics, how spaceships actually fly, the challenges of getting to the mün. The controls in KSP are primarily keyboard and mouse, something that really breaks the immersion for a space flight simulator. We’ve seen a few before, but now custom controllers