Never underestimate how far some flight simulator aficionados will go with their builds. No detail is too small, and every aspect of the look and feel has to accurately reflect the real cockpit. As a case in point, check out these very realistic Korry buttons that [Santi Luib III] built for an Airbus A320 simulator.
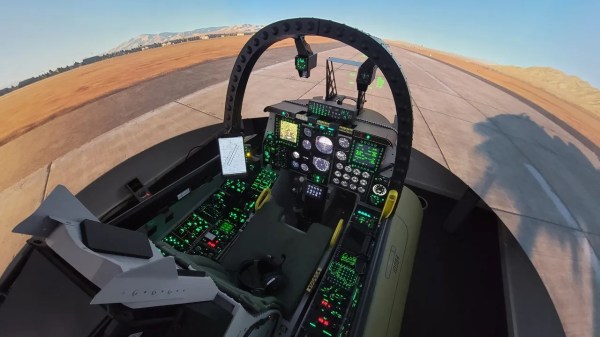
Now, you might never have heard of a “Korry button” before, but chances are you’ve seen them, at least in photos of commercial or military aircraft cockpits. Korry is a manufacturer of switches and annunciators for the avionics industry, and the name has become shorthand for similar switches. They’ve got a very particular look and feel and are built to extremely high standards, as one hopes that anything going into a plane would be. That makes the real switches very expensive, far more so than even the most dedicated homebrew sim builder would be comfortable with.
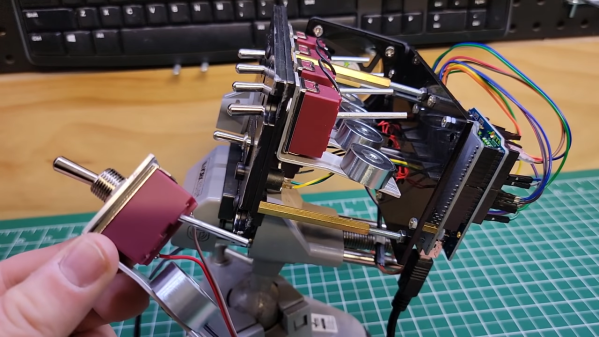
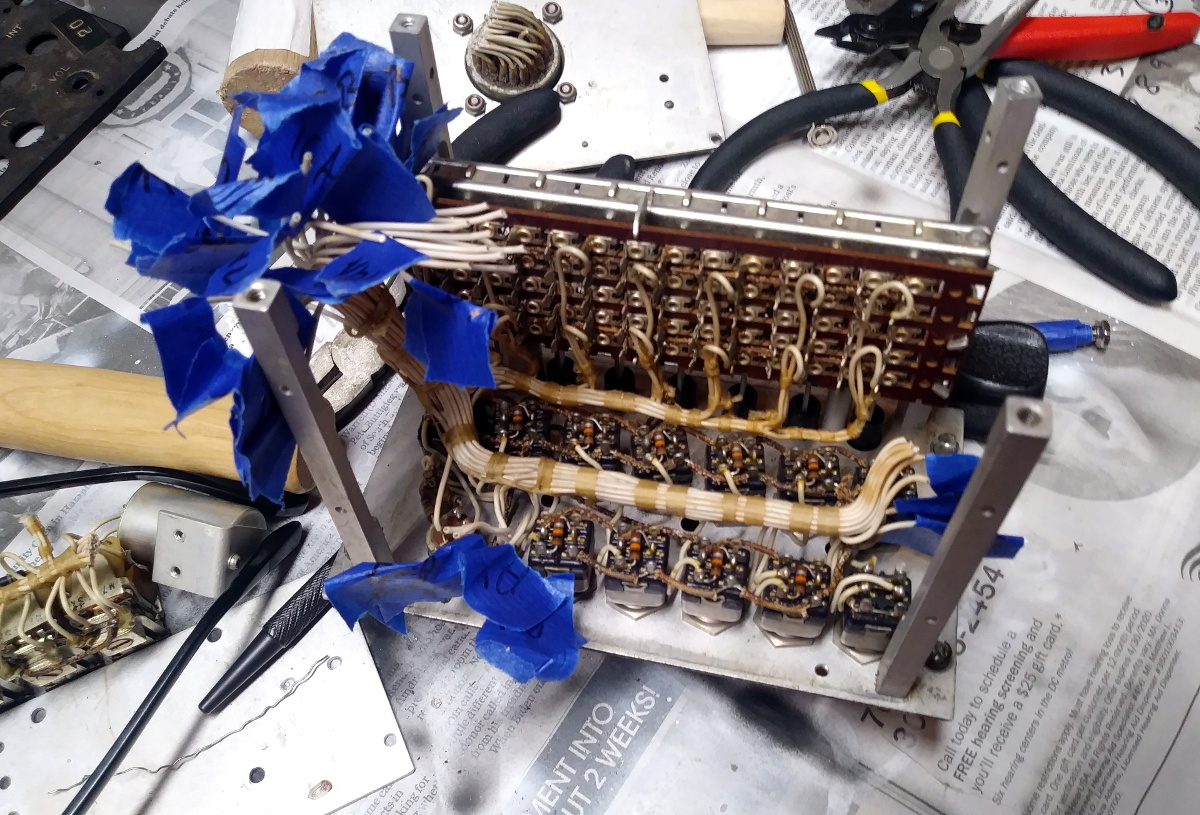
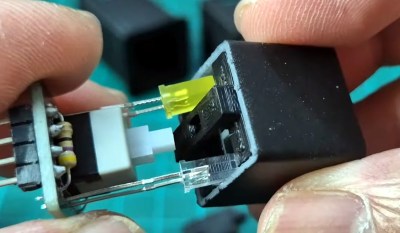 That’s where [Santi] comes in. His replica Korry buttons are built from off-the-shelf parts like LEDs and switches mounted to custom PCBs. The PCB was designed for either momentary or latching switches, and can support multiple LEDs in different colors. The assembled PCBs snap into 3D printed enclosures with dividers to keep light from bleeding through from one legend to the other.
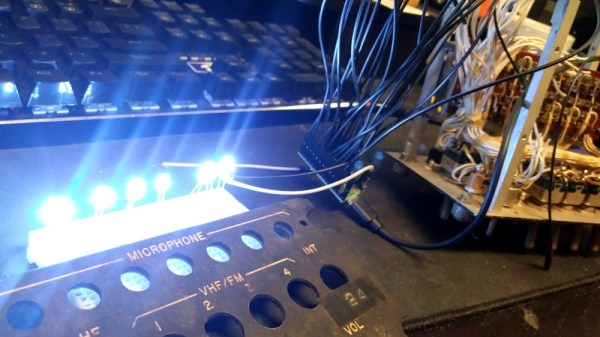
The lenses are laser-cut translucent acrylic painted with urethane paint before the legends are engraved with a laser. The attention to detail on the labels is impressive. [Santi]’s process, which includes multiple coats of sealers, gets them looking just right. Even the LEDs are carefully selected: blue LEDs are too bright and aren’t quite the proper shade, so [Santi] uses white LEDs that are dimmed down with a bigger resistor and a light blue photographic gel to get the tint just right.
These buttons are just beautiful, and seeing a panel full of them with the proper back-lighting must be pretty thrilling. If civil aviation isn’t your thing, check out this A-10 “Warthog” cockpit sim, and the cool switches needed to make it just right.
Continue reading “Put More Korry In Your Flight Sim Switches” →