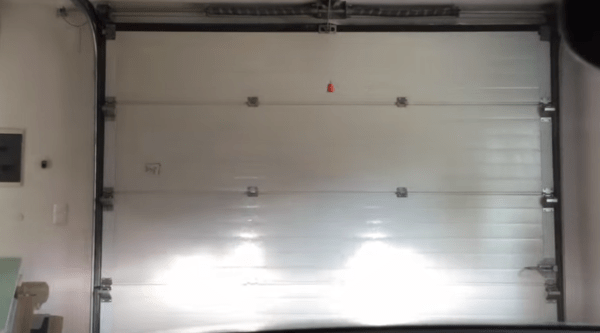
Garage doors can be frustrating things, being a chore to open manually and all. Many people opt to install a motorized opener, but for some, even this isn’t enough. Hooking up a garage door to the Internet of Things has long been a popular project, and [Simon Ludborzs] decided to give it a shot. Naturally, there were some obstacles to be overcome along the way.
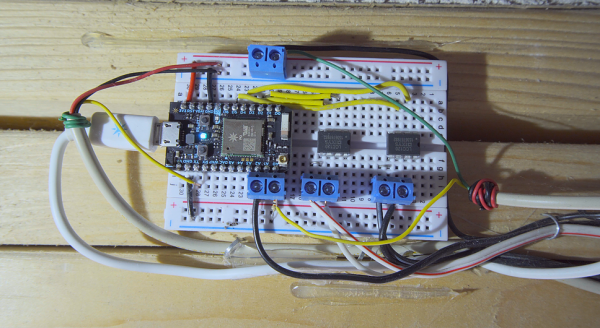
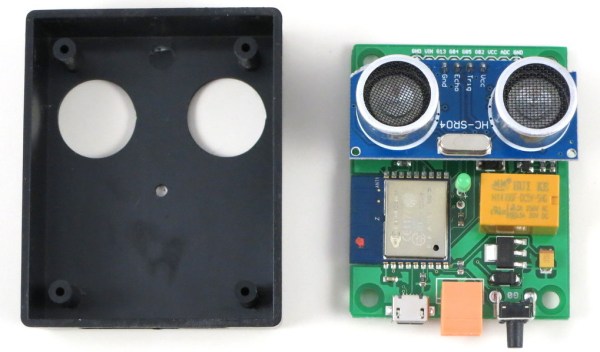
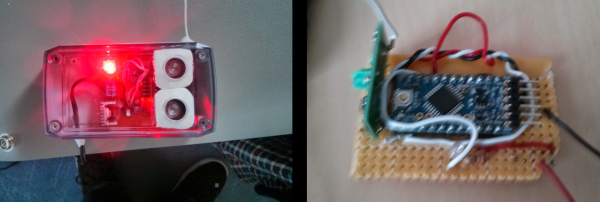
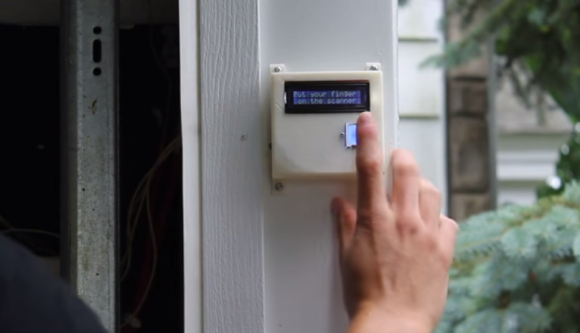
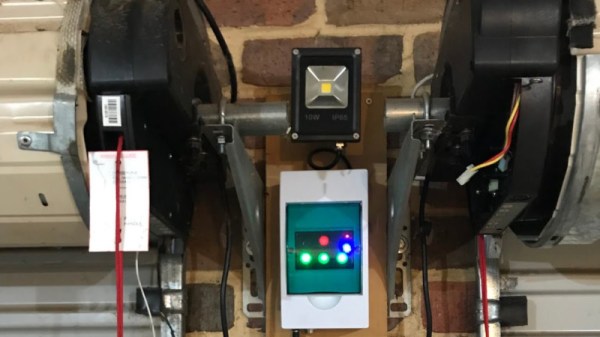
[Simon]’s build is relatively straight down the lines, using an ESP-12 as the brains of the operation, which connects to the internet over WiFi. However, robustness was a major goal of the project, and being reliant on shaky cloud-based services wouldn’t do. This opener is set up to work independently of an internet connection, too. There’s a nifty control panel with glowing buttons to operate the opener, in addition to the webpage served up on the network.
During the development, [Simon] ran into several roadblocks. A set of roller door motors were inadvertently killed, and there were issues in getting the web interface working as expected. None of these were showstoppers, though, and with a little work and some new parts, everything came together in the end. The project was then given a proper commercial-grade case, sourced from AliBaba. This is a great step to take for a project expected to hold up to daily use for years on end. He also took the time to document his tips for easier ESP8266 development, which may prove useful to those just getting started with the platform.
Garage door openers remain a common theme around here, but every project has its own story to tell. If you’ve developed a particularly unique solution to your garage access problems, you know who to call.