Is Your Device Actually USB 3.0, Or Is The Connector Just Blue?

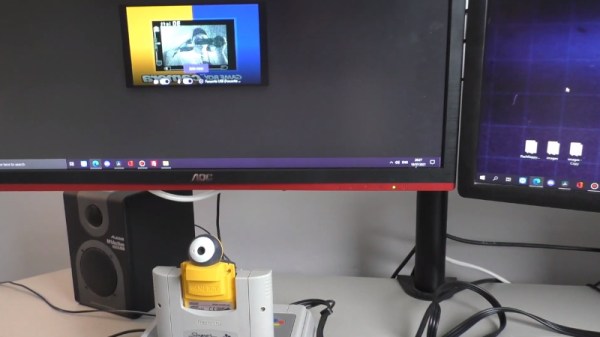
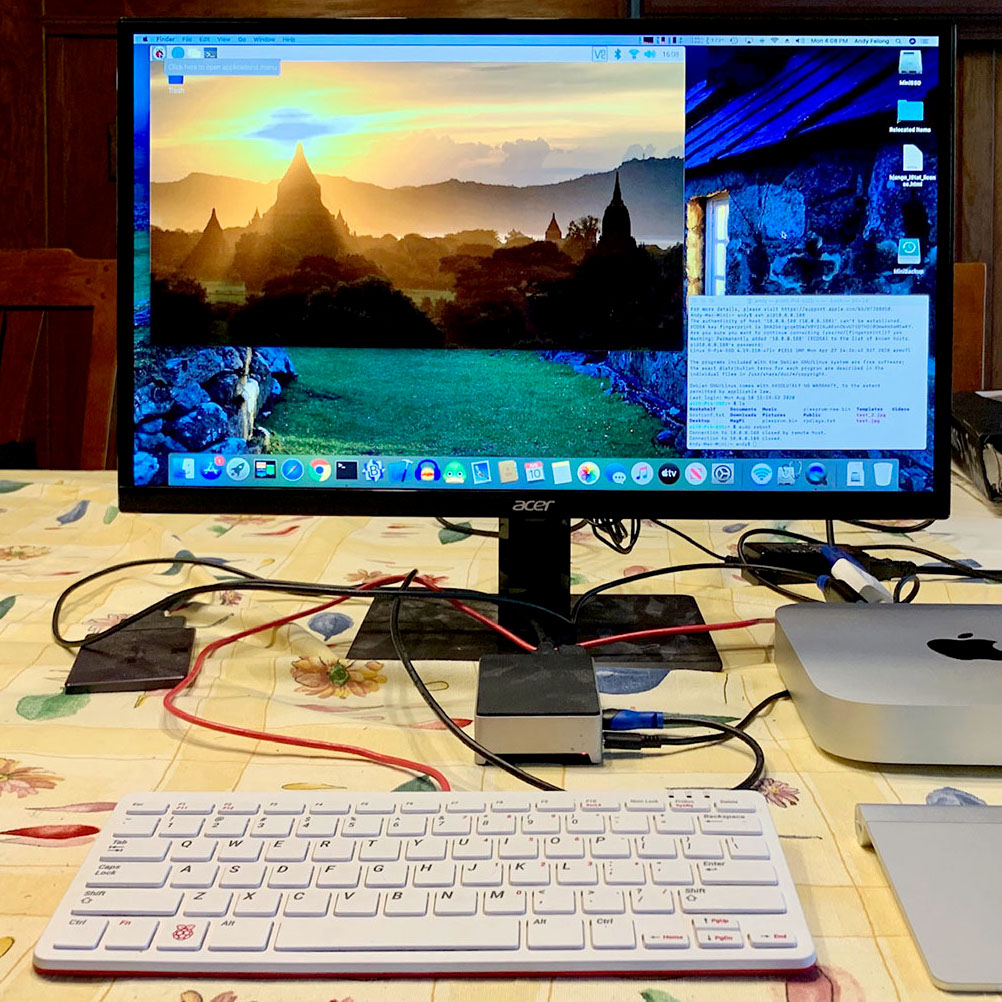
Discount (or even grey market) electronics can be economical ways to get a job done, but one usually pays in other ways. [Majenko] ran into this when a need to capture some HDMI video output ended up with rather less than was expected.

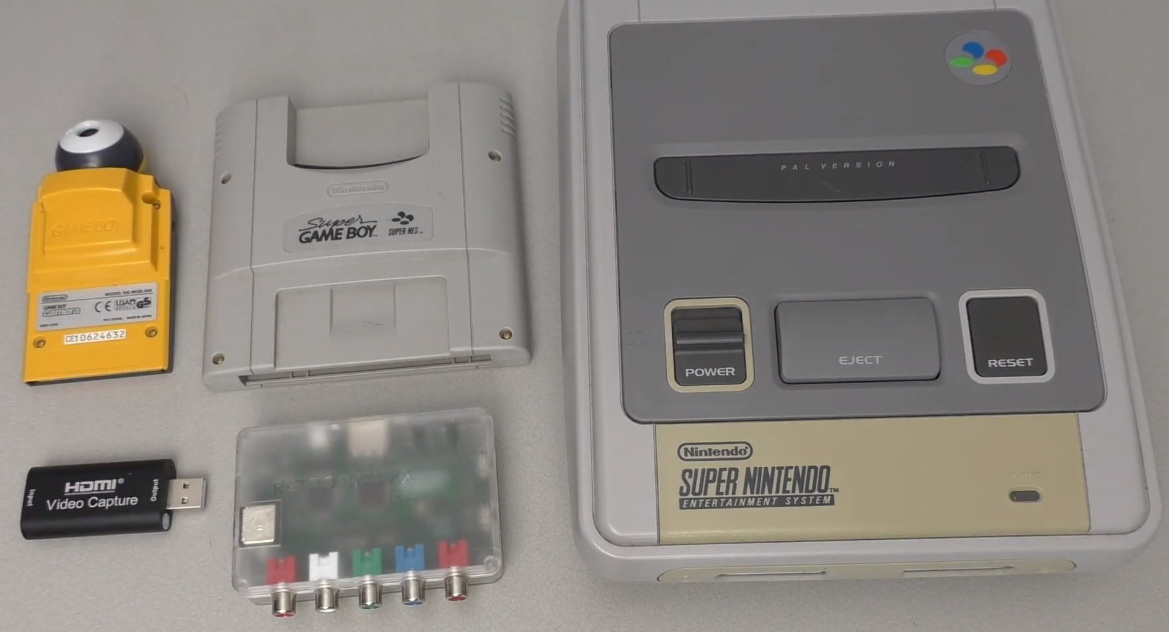
Faced with two similar choices of discount HDMI capture device, [Majenko] opted for the fancier-looking USB 3.0 version over the cheaper USB 2.0 version, reasoning that the higher bandwidth available to a USB 3.0 version would avoiding the kind of compression necessary to shove high resolution HDMI video over a more limited USB 2.0 connection.

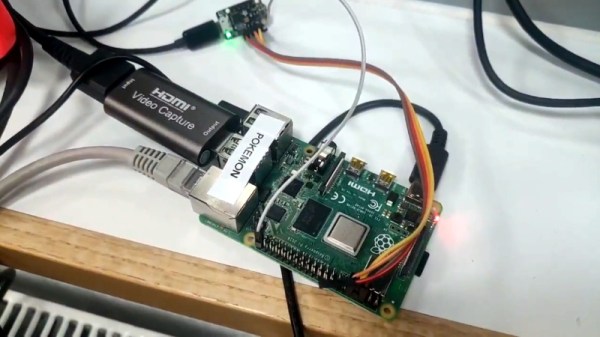
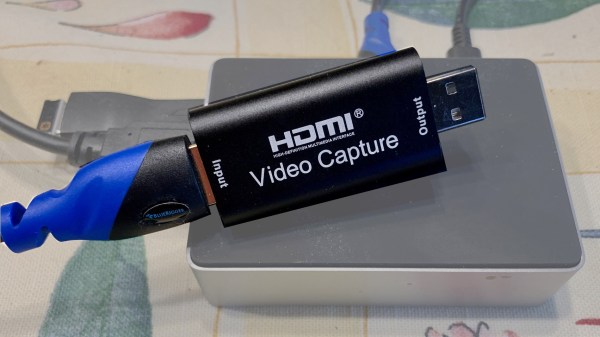
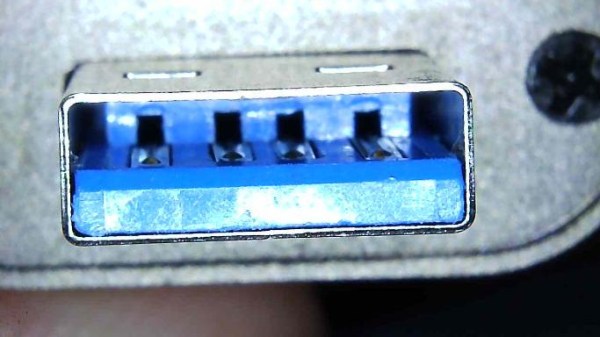
The device worked fine, but [Majenko] quickly noticed compression artifacts, and interrogating the “USB 3.0” device with lsusb -t revealed it was not running at the expected speeds. A peek at the connector itself revealed a sad truth: the device wasn’t USB 3.0 at all — it didn’t even have the right number of pins!

A normal USB 3.0 connector is blue inside, and has both sets of pins for backward compatibility (five in the rear, four in the front) like the one shown here.

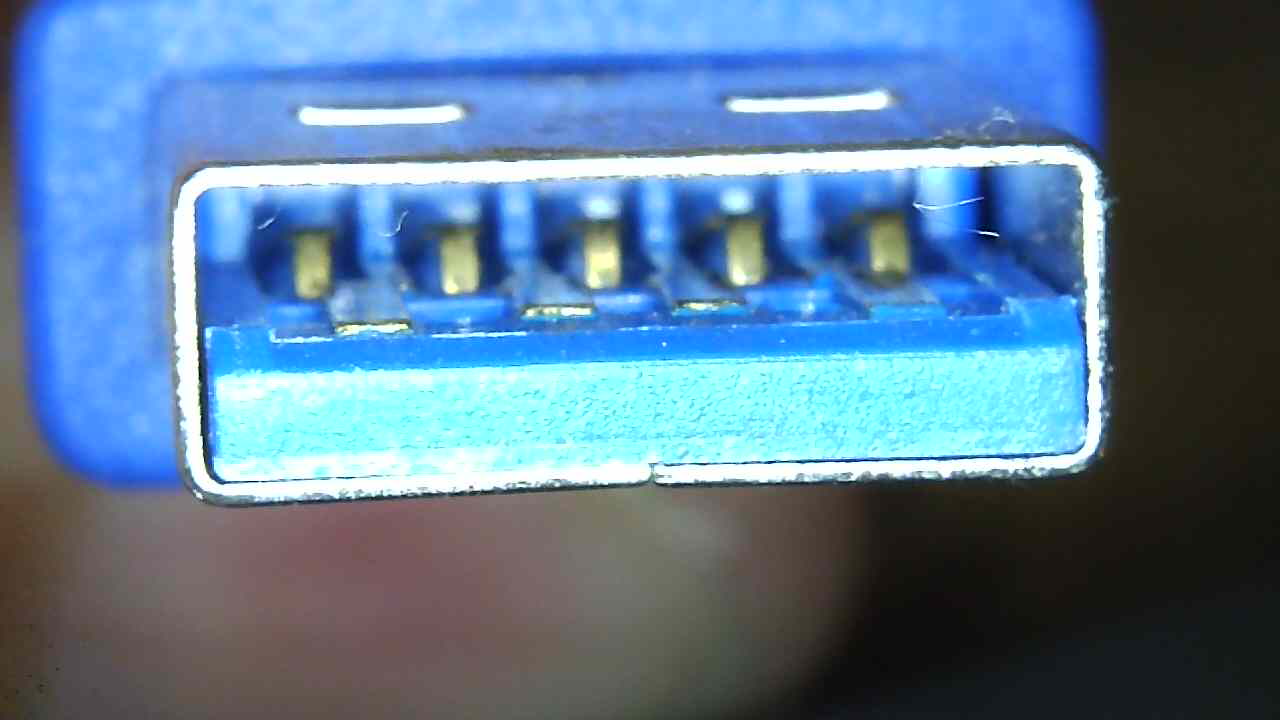
A USB 3.0 connection requires five conductors, and the connectors are blue in color. Backward compatibility is typically provided by including four additional conductors, as shown in the image here. The connector on [Majenko]’s “USB 3.0” HDMI capture device clearly shows it is not USB 3.0, it’s just colored blue.

Most of us are willing to deal with the occasional glitch or dud in exchange for low prices, but when something isn’t (and never could be) what it is sold as, that’s something else. [Majenko] certainly knows that as well as anyone, having picked apart a defective power bank module to uncover a pretty serious flaw.

Dominate Video Calls With Game Boy Camera Webcam

We can’t promise it will all be positive, but there’s no question you’ll be getting plenty of attention when you join a video call using the Game Boy Camera. Assuming they recognize you, anyway. The resolution and video quality of the 1998 toy certainly hasn’t aged very well, and that’s before it gets compressed and sent over the Internet.

From a technical standpoint, this one is actually pretty simple, if rather convoluted. [RetroGameCouch] hasn’t modified the Game Boy Camera in any way, he’s just connected it to the Super Game Boy, which in turn is slotted into a Super Nintendo. From there the video output of the SNES is passed through an HDMI converter, and finally terminates in a cheap HDMI capture device. His particular SNES has been modified with component video, but on the stock hardware you’ll have to be content with composite.

The end result of all these adapters and cables is that the live feed from the Game Boy Camera, complete with the Super Game Boy’s on-screen border, is available on the computer as a standard USB video device that can be used with whatever program you wish. If you’re more interested in recovering still images, we’ve recently seen a project that lets you pull images from the Game Boy Camera over WiFi.

Continue reading “Dominate Video Calls With Game Boy Camera Webcam”

Raspberry Pi 4 Brings Cloud Gaming To Nintendo Switch

Companies like Google and Microsoft have been investing heavily in the concept of cloud gaming, where a player uses their computer or a mobile device to stream the video feed of a game that’s running on powerful machine tucked away in a data center somewhere. With this technology you can play the latest and greatest titles, even if the device you’re using doesn’t have the processing power to run it locally.

Considering the Switch is already a portable system, it’s not too surprising Nintendo doesn’t seem interested in the technology. But that didn’t stop [Stan Dmitriev] from doing a bit of experimentation on his own. With little more than a Raspberry Pi 4 and Trinket M0, he’s demonstrated that users can remotely interact with the Switch well enough to play games in real time.

The setup is fairly straightforward. A cheap HDMI capture device is used to grab the video from the Nintendo Switch dock, which is then streamed out to web with the help of the Pi’s hardware video encoder. Input from the user is sent over the Pi’s UART to the Trinket, which itself is running a firmware specifically developed for mimicking Nintendo Switch controllers. With so many elements involved, naturally some latency comes into play. The roughly 100 millisecond delay [Stan] is reporting isn’t exactly ideal for fast-paced gaming, but is certainly adequate for more relaxed titles.

On the software side of things, the project is using a SDK developed by [Stan]’s employer SurrogateTV. Right now you need to apply if you want to get your game or other interactive gadget up on the service, though he says it will be opened up to the public next year. But even without all the details, we’ve got a clear idea of how both the video capture and user input sides of the equation are being handled. For personal use, all you’d really need to do is put together a simple web interface to tie it all together.

This isn’t the first time we’ve seen a microcontroller used to interface with the Switch. Other consoles are a bit more selective about what kind of hardware they will talk to, but the Microsoft Adaptive Controller could potentially allow you to do something similar on the Xbox.

Heavy Raspberry Pi User? Keep An HDMI-to-USB Capture Device Around

Here’s a simple tip from [Andy], whose Raspberry Pi projects often travel with him outside the workshop: he suggests adding a small HDMI-to-USB video capture device to one’s Raspberry Pi utility belt. As long as there is a computer around, it provides a simple and configuration-free way to view a Raspberry Pi’s display that doesn’t involve the local network, nor does it require carrying around a spare HDMI display and power supply.

Raspberry Pi’s display, viewed on a Mac as if it were a USB webcam. No configuration required.

The usual way to see a Pi’s screen is to either plug in an HDMI display or to connect remotely, but [Andy] found that he didn’t always have details about the network where he was working (assuming a network was even available) and configuring the Pi with a location’s network details was a hassle in any case. Carrying around an HMDI display and power supply was also something he felt he could do without. Throwing a small HDMI-to-USB adapter into his toolkit, on the other hand, has paid off for him big time.

The way it works is simple: the device turns an HDMI video source into something that acts just like a USB webcam’s video stream, which is trivial to view on just about any desktop or laptop. As long as [Andy] has access to some kind of computer, he can be viewing the Pi’s display in no time.

Many of his projects (like this automated cloud camera timelapse) use the Pi camera modules, so a quick way to see the screen is useful to check focus, preview video, and so on. Doing it this way hit a real sweet spot for him. We can’t help but think that one of these little boards could be a tempting thing to embed into a custom cyberdeck build.