Light Pen Draws On LED Matrix

dot-matrix01

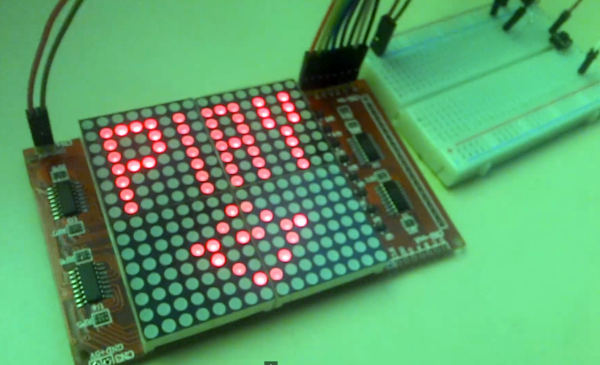
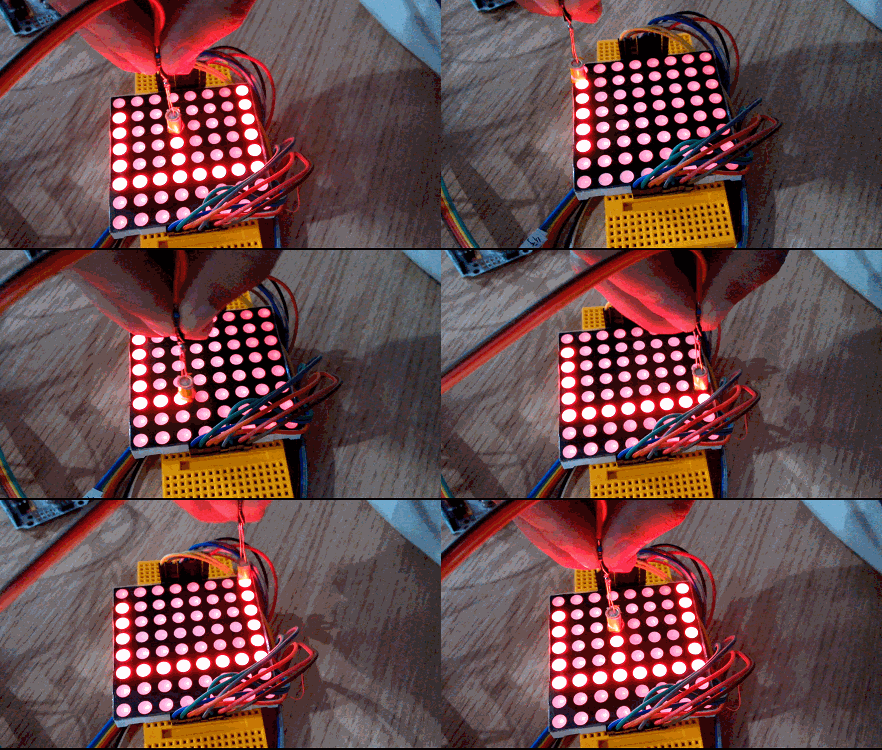
Who needs a 1920×1080 OLED display when you can have an 8×8 matrix of LED goodness? That’s the question [Kathy] asked when she built this LED matrix light pen project. It looks simple enough – a 64-LED matrix illuminates as the pen draws shapes. But how does the circuit know which LED is under the pen? Good old fashioned matrix scanning is the answer. Only one LED is lit up at any time.

[Kathy] used a pair of 74LS138 3-to-8 line decoders to scan the matrix. The active low outputs on the ‘138 would be perfect for a common cathode matrix. Of course [Kathy] only had a common anode matrix, so 8 PNP transistors were pressed into service as inverters.

The pen itself is a phototransistor. [Kathy] originally tried a CdS photoresistor, but found it was a bit too slow for matrix scanning. An LM358 op-amp is used to get the signal up to a reasonable level for an Arduino Uno to detect.

The result is impressive for such a simple design. We’d love to see someone use this platform as the start of an epic snake game.

Network Controlled Decorative LED Matrix Frame

LED-Pixel-FrameThere is nothing better than a project that you can put on display for all to see. [Tristan’s] most recent project, a Decorative LED Matrix Frame, containing 12×10 big square pixels that can display any color, is really cool.

Having been built around a cheap IKEA photo frame this project is very doable, at least for those of you with a 3D printer. The 3D printer is needed to create the pixel grid, which ends up looking very clean in the final frame. From an electronics perspective, the main components are a set of Adafruit Neopixel LED strips, and an Arduino Uno with an Ethernet shield. The main controller even contains a battery backup for the real time clock (RTC) when the frame is unplugged; a nice touch. Given that the frame is connected to the local network, [Tristan] designed the frame to be controlled by a simple HTML5 interface (code available on GitHub). This allows any locally connected device to control the frame.

Be sure to check out the build details, they are very well done. If you are still not convinced how cool this project is, be sure to check out a video of it in action after the break! It makes us wish that you could play Tetris on this frame. Very nice job [Tristan]!

Continue reading “Network Controlled Decorative LED Matrix Frame”

The Megascroller, For Video Games In The Round

megascroller

The folks at NYC Resistor have a thing for circular displays, it seems. Their earlier Hexascroller was a ceiling mounted display with six 30×7 displays – good enough to display the time and a few textual message in six directions. The Octoscroller bumped up the display capability with eight 16×32 RGB LED panels. Now the Megascroller, a 32-sided 512×64 display is hanging in the hackerspace, complete with 360° Mario and Pong.

The Megascroller is one of [Trammell Hudson]’s projects, constructed out of sixty-four 32×16 RGB LED matrices. That’s an impressive amount of controllable LEDs, that required a lot of processing power: namely, the BeagleBone-powered LEDscape board used in their earlier Octoscroller

As far as applications go, they naturally have Pong, but a more interesting application is the side-scrolling Mario that requires you to move around the display as you play. You can check out a video of that below.

If you’d like to see the Megascroller in person, as well as a whole bunch of other crazy blinking interactive projects, NYC Resistor is holding a an interactive show this weekend, beer provided.

Continue reading “The Megascroller, For Video Games In The Round”

Update: Tetris Handheld Get PCB And Case

update-handheld-tetris

Check out this sweet-piece of homemade handheld gaming! [Jianan Li] has been hard at work on the project and published the updates in two parts, one that shows off the PCB he had fabbed for the project, and another which details the 3D printed case. This is, of course, is the culmination of the Tetris project we first saw as an incredbily packed, yet thouroughly tidy breadboarded circuit.

We really enjoy the 8-sided PCB design which hosts all the parts and gives you a place to hold and control the unit, all without seeming to waste much real estate. The case itself is quite impressive. The openings for the square-pixel LED matrices (the original design had round pixels) and the bar graphs all have nice bevel features around them. The control area has a pleasant swooping cutout, with blue buttons which stand out nicely against the red. Check out the slider switch by his left thumb. He printed matching covers for this slider, and the two that stick out the bottom. Also on the bottom are female pin headers so that you don’t need to disassemble the case to interface with the electronics.

All of this and more are shown off in the clip after the break.

Continue reading “Update: Tetris Handheld Get PCB And Case”

8X8X8 Cube Invaders

F98YM6YHQQLNHN7.LARGE

Believe it or not, [Anred Zynch] had no soldering skills before starting this project! What we’re looking at here is an 8x8x8 LED cube set up as a Space Invaders style game with a Playstation 1 controller.

He was inspired by several other cubes like [Chr’s], and the Borg cube by [Das-Labour]. The project makes use of an Arduino Mega 2560 R3 to drive the 512-LED array, and an Arduino Uno to take care of the sound effects during game play. It’s kind of like Space Invaders — but in 3D!

Complexity of building and wiring it aside, [Anred] has provided great instructions and the code for the entire project, so if you’re looking to recreate it or something like it, you can! It’s also entered in an Instructable’s contest right now, so if you like it, we’re sure he’d appreciate the votes.

Continue reading “8X8X8 Cube Invaders”

Move Over, Google Nest: Open Source Thermostat Is Heating Up The Internet Of Things

In the wake of Google’s purchase of connected devices interest Nest, the gents at [Spark] set about to making one in roughly a day and for a fraction of the cost it took Nest to build their initial offering. [Spark]’s aim is to put connected devices within reach of the average consumer, and The Next Big Thing within the reach of the average entrepreneur.

The brain is, of course, [Spark]’s own Spark Core wi-fi dev board. The display is made of three adafruit 8×8 LED matrices driven over I²C. Also on the bus is a combination temperature and humidity sensor, the Honeywell HumidIcon. They added some status LEDs for the furnace and the fan, and a Panasonic PIR motion detector to judge whether you are home. The attractive enclosure is made of two CNC-milled wood rings. The face plate, mounting plate, and connection from the twistable wood ring to the potentiometer is laser-cut acrylic.

[Spark]’s intent is for this, like the Nest, to be a learning thermostat for the purpose of increasing energy efficiency over time, so they’ve built a web interface with a very simple UI. The interface also displays historical data, which is always nice. This project is entirely open source and totally awesome.

If you have an old Android phone lying around, you could make this open source Android thermostat.

Continue reading “Move Over, Google Nest: Open Source Thermostat Is Heating Up The Internet Of Things”

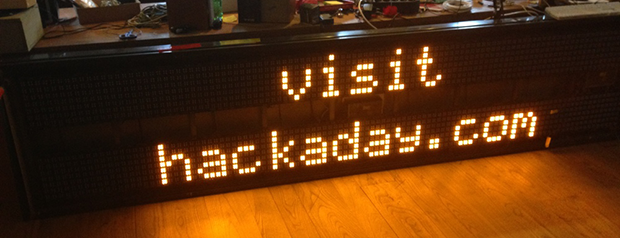
An Impressively Large LED Matrix

One of the more impressive projects a home-bound tinkerer can pull off is some sort of display. Not only does the final project result in a lot of blinky, glowey things, but driving hundreds of LEDs is an achievement in itself. [Fabien] decided he wanted to build his own LED display and ended up with something great (French, Google translation).

Instead of going off the deep end and making his own boards for this giant LED display, [Fabien] found a very cheap 16×32 LED display board on DealExtreme. Once these kits were pieced together, [Fabian] mounted them in a wooden frame and started connecting the displays together.

The original plan was to drive these with an Arduino, but with so many pixels he quickly ran out of RAM. Replacing the Arduino with a larger ATMega1284p, [Fabian] found the RAM he needed and started work on some interesting visualizations.

Of course, Conway’s Game of Life made a showing in the final build, but [Fabian] also managed to whip up a spectrograph using FFT. It’s a very nicely put together display that makes us want to buy a few of these displays ourselves.