Putting A MiSTer Marquee On A Better Display

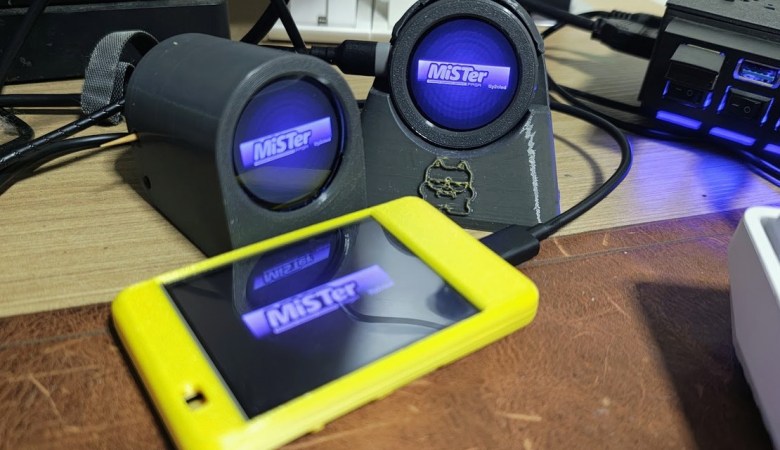
Some MiSTer users put a small secondary “marquee” display on the FPGA board that can show information about the system such as the currently loaded core and what game it happens to be running. Generally these take the form of a small monochrome OLED display, likely the one most of us have sitting in a parts bin somewhere.

But [Erico Mendonca] wanted a something with a bit more style, so he’s come up with a firmware for the ESP32-C3 that connects to MiSTer’s existing secondary display protocol but works with slightly more visually impressive panels such as the round GC9A01 that so many hackers have been playing with as of late. If the whole circular display thing isn’t your…thing, you can even run the firmware on the Cheap Yellow Display for a turn-key rectangular experience.
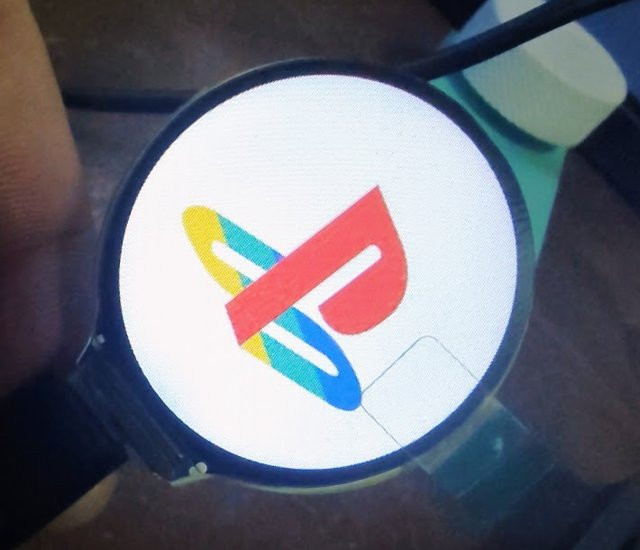
Because [Erico] didn’t want to fiddle with anything on the MiSTer side of the equation, his firmware has to do the heavy lifting when it comes to the art that shows on the display. So there’s a web-based editor that lets you put together your own artwork to show on the marquee based on what command the MiSTer has actually sent out. Flashing the firmware on the ESP32 can be done through the browser as well, as is becoming increasingly common these days, making it relatively easy to get this project up and running.

With this project it’s also possible to control multiple client displays over WiFi from one system, just in case you wanted to show off what console you were booting up in multiple places.

We’re fans of the round display here at Hackaday, so it’s been great to see more folks putting them to use as of late.

Continue reading “Putting A MiSTer Marquee On A Better Display” →
ESP32 Rotary Display Makes Ideal Timer

We’re big fans of pushing hardware into situations it wasn’t designed for here at Hackaday, but sometimes you’ve got to appreciate a nicely designed gadget doing more or less exactly what it was intended for — especially when it’s courtesy of code that’s freely available for you to run and hack on however you like.

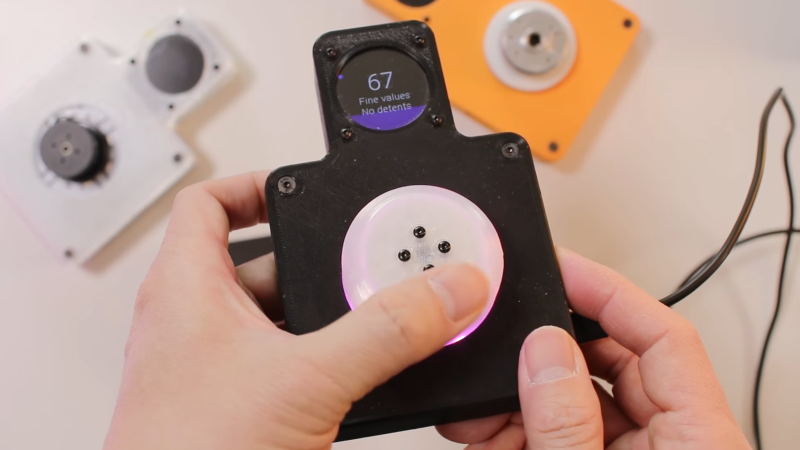
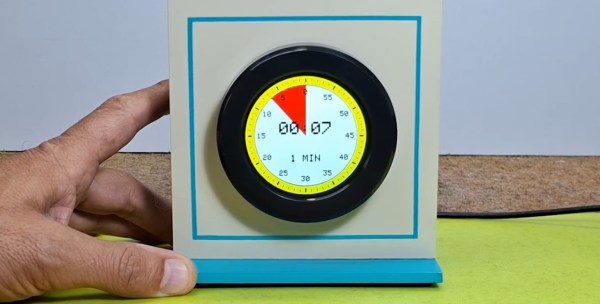
That’s precisely what [mircemk] has done with their “Universal Timer” project. The 2.1 inch CrowPanel “Rotary Display” at the heart of the build combines an ESP32-S3 with a 480×480 round touch screen display and a rotary encoder.

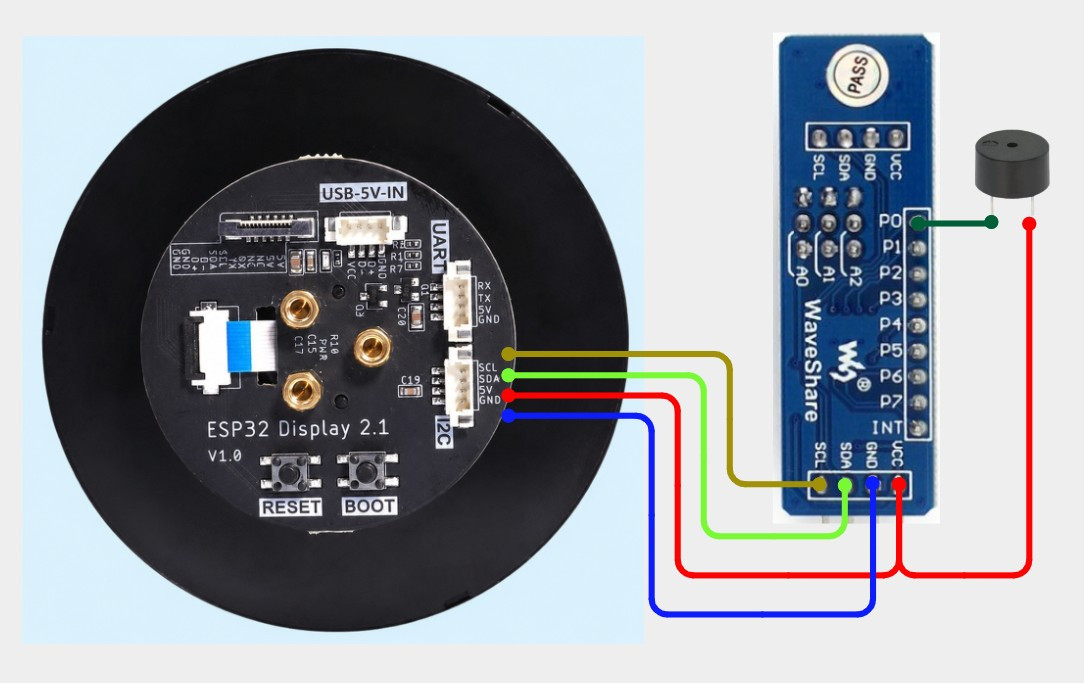
The all-in-one device — clearly meant to be reminiscent of the Nest thermostat and similar commercial offerings — is technically all you need, but in this case it’s been joined by a PCF8574 I2C I/O expander which in turn is used to drive a buzzer that provides a bit of audio feedback at the end of the countdown.

With the code [mircemk] has provided flashed onto the board, the rotary encoder ring built into the housing makes for an exceptionally intuitive input for setting the desired time. It’s a bit like a high-tech version of the classic kitchen timer, as shown in the video below, you simply twist the ring and the graphics on the display rotate accordingly. Unlike grandma’s clockwork timer of old however, this one can change color as it nears zero, which makes it easier to estimate how much time remains from across the room.

As the popularity of smartwatches has brought the cost of these circular displays down, we’ve started to see some very slick projects utilizing them. The various efforts to turn them into desktop “radar” displays for nearby flights are a particular favorite.

Continue reading “ESP32 Rotary Display Makes Ideal Timer” →

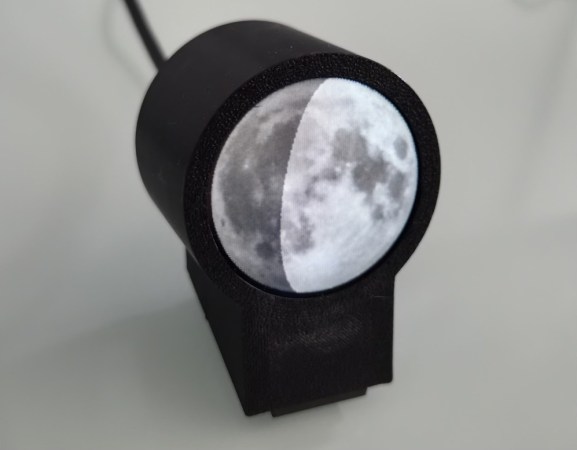
A render of the moon, on a circular display.

Put The Moon On Your Desk

Most people take the Moon for granted, not considering its slow cycle where the sun gradually illuminates different parts of it. A recent project from [Karsten Mueller] helps you keep our nearest celestial neighbor in mind by putting a tiny version on your desk. (German)

The device itself is made with a circular display, an ESP32-S3, and a simple 3D printed case. But the interesting part is the software — it’s not just a moon phase display, it actually takes your local time, latitude and longitude into account. The resulting image is an approximation of what the moon looks like if you were to look at it, even if you wouldn’t actually be able to see it, such as when it is obscured by the Earth or barely visible during the daylight sky. Initially the project actually used a photograph of the Moon that [Karsten] personally snapped, but there’s also an option to pull the imagery from NASA.

The original write-up is in German, but there’s also an English page for the project on Hackaday.io, and the source is available on GitHub if you’d like to put one together yourself.

Is That A Large Smartwatch? Or A Tiny Cray?

While we aren’t typically put off by a large wristwatch, we were taken a bit aback by [Chris Fenton]’s latest timepiece — if you can call it that. It’s actually a 1/25th-scale Cray C90 worn as a wristwatch. The whole thing started with [Chris] trying to build a Cray in Verilog. He started with a Cray-1 but then moved to a Cray X-MP, which is essentially a Cray-1 with two extra address bits. Then he expanded it to 32 bits, which makes it a Cray Y-MP/C90/J90 core. As he puts it, “If you wanted something practical, go read someone else’s blog.”

The watch emulates a Cray C916 and uses a round OLED display on the top. While the move from 22 to 32 address bits sounds outdated, keep in mind the Cray addresses 64-bit words exclusively, so we’re talking access to 32 gigabytes of memory. The hardware consists of an off-the-shelf FPGA board and a Teensy microcontroller to handle mundane tasks like driving the OLED display and booting the main CPU. Interestingly, the actual Cray 1A used Data General computers for a similar task.

Of course, any supercomputer needs a super program, so [Chris] uses the screen to display a full simulation of Jupiter and 63 of its moons. The Cray excels at programs like this because of its vector processing abilities. The whole program is 127 words long and sustains 40 MFLOPs. Of course, that means to read the current time, you need to know where Jupiter’s moons are at all times so you can match it with the display. He did warn us this would not be practical.

While the Cray wouldn’t qualify as a supercomputer today, we love learning about what was state-of-the-art not that long ago. Cray was named, of course, after [Seymour Cray] who had earlier designed the Univac 1103, several iconic CDC computers, and the Cray computers, of course.

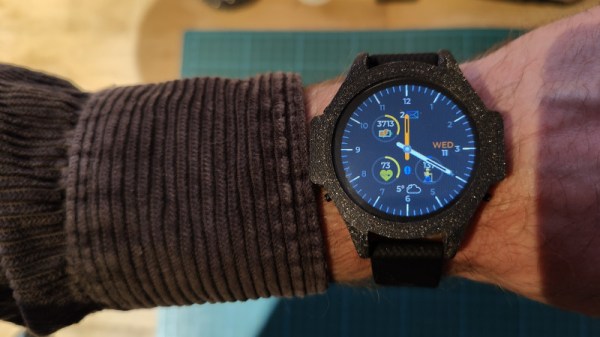
ZSWatch: This OSHW Smart Watch Is As DIY As It Gets

We say it often, but it’s worth repeating: this is the Golden Age of making and hacking. Between powerful free and open source software, low-cost PCB production, and high resolution 3D printers that can fit on your desk, a dedicated individual has everything they need to make their dream gadget a reality. If you ever needed a reminder of this fact, just take a look at the ZSWatch.

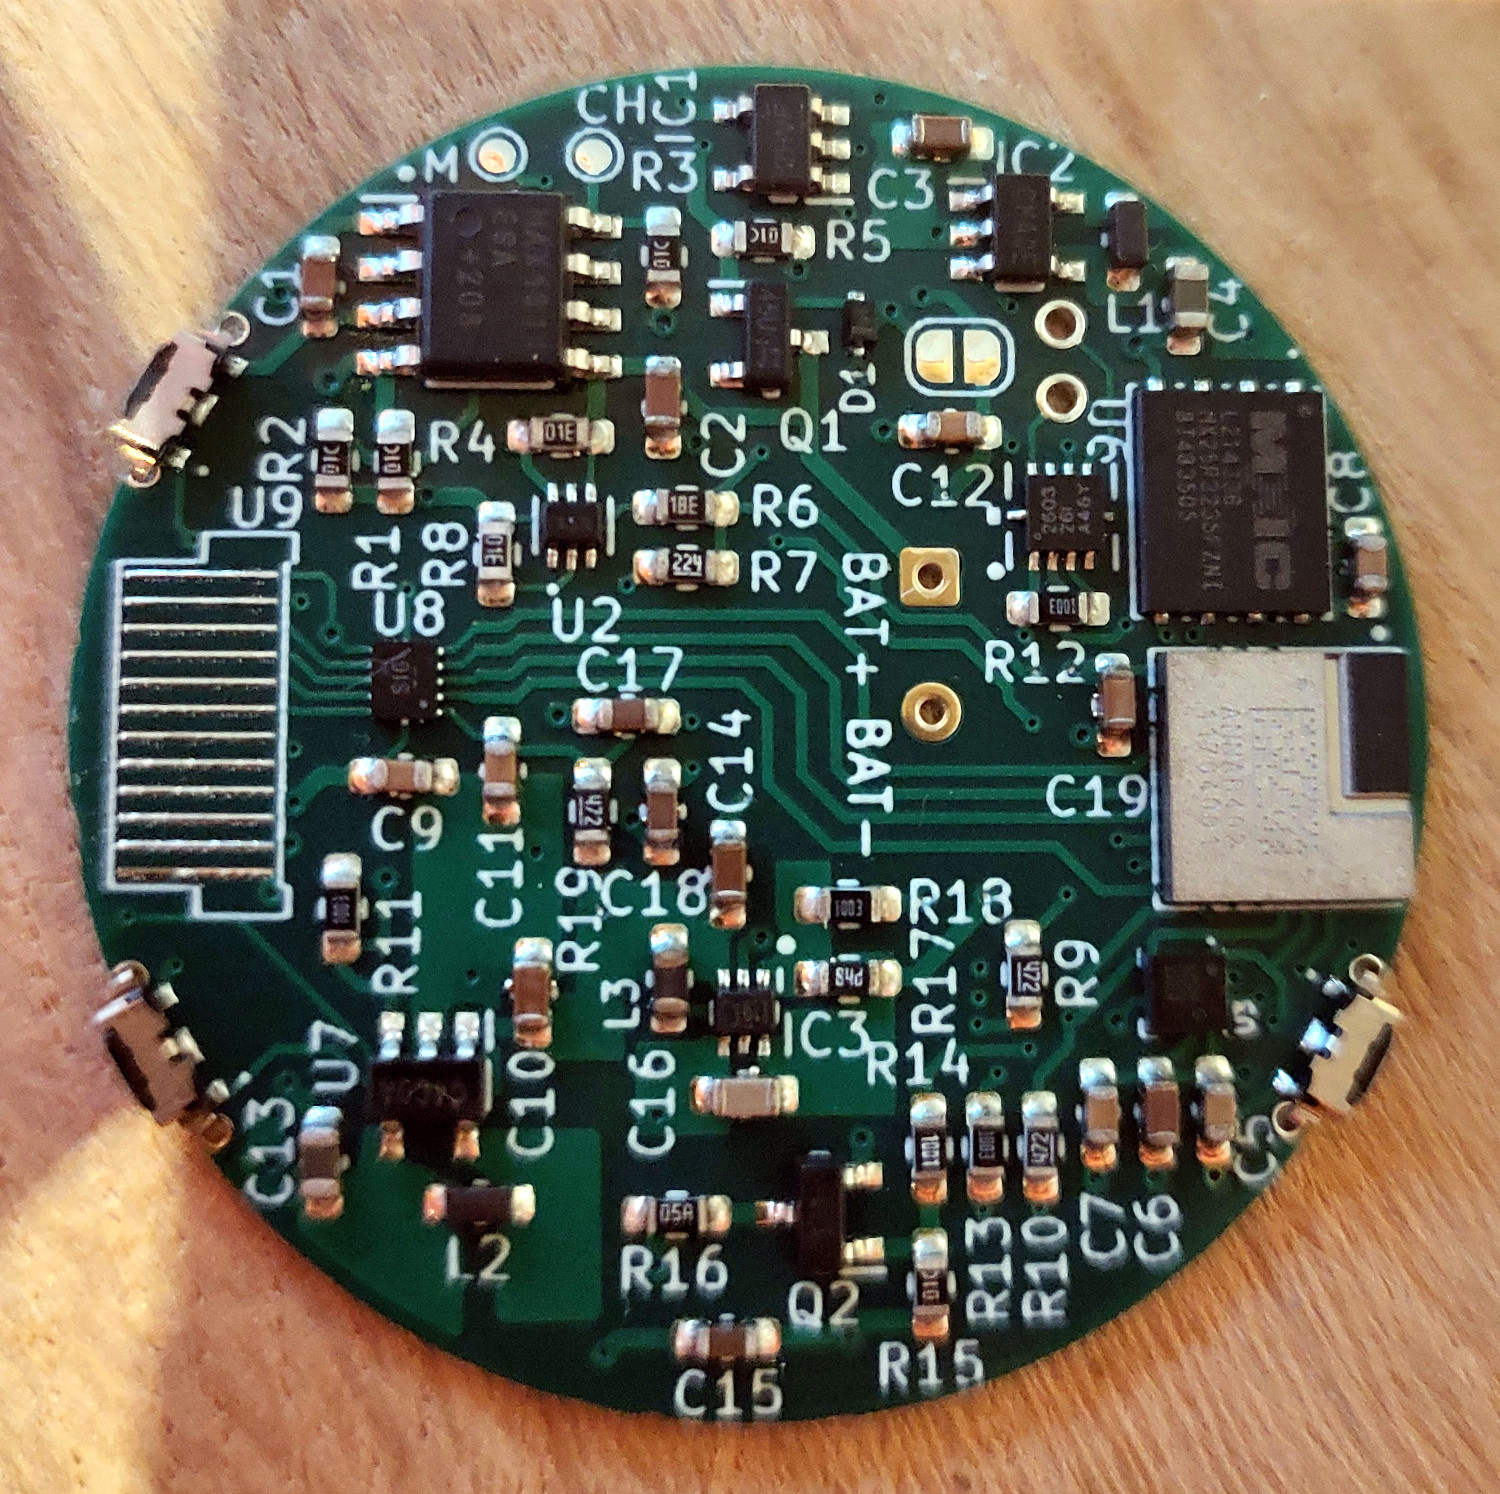
When creator [Jakob Krantz] says he built this MIT-licensed smart watch from scratch, he means it. He designed the 4-layer main board, measuring just 36 mm across, entirely in KiCad. He wrote every line of the firmware, and even designed the 3D printable case himself. This isn’t some wearable development kit he got off of AliExpress and modified — it’s all built from the ground up, and all made available to anyone who might want to spin up their own version.

The star of the show is the nRF52833 SoC, which is paired with a circular 1.28″ 240×240 IPS TFT display. The screen doesn’t support touch, so there’s three physical buttons on the watch for navigation. Onboard sensors include a LIS2DS12 MEMS accelerometer and a MAX30101EFD capable of measuring heartrate and blood oxygen levels, and there’s even a tiny vibration motor for haptic feedback. Everything’s powered by a 220 mAh Li-Po battery that [Jakob] says is good for about two days — afterwards you can drop the watch into its matching docking station to get charged back up.

As for the software side of things, the watch tethers to a Android application over Bluetooth for Internet access and provides the expected functions such as displaying the weather, showing notifications, and controlling music playback. Oh, and it can tell the time as well. The firmware was made with extensibility in mind, and [Jakob] has provided both a sample application and some basic documentation for would-be ZSWatch developers.

While an unquestionably impressive accomplishment in its current form, [Jakob] says he’s already started work on a second version of the watch. The new V2 hardware will implement an updated SoC, touch screen, and an improved charging/programming connector. He’s also looking to replace the 3D printed case for something CNC milled for a more professional look.

The ZSWatch actually reminds us quite a bit of the Open-SmartWatch project we covered back in 2021, in that the final result looks so polished that the average person would never even take it for being DIY. We can’t say that about all the smartwatches we’ve seen over the years, but there’s no question that the state-of-the-art is moving forward for this kind of thing in the hobbyist space.

Getting Familiar With Round Displays

Once upon a time, maker projects were limited to using simple character displays or those salvaged from popular Nokias, largely due to cost. These days, a small OLED or LCD is available for just a few bucks. However, you can go fancier, and [Mr. Volt] does just that with an exploration of nice round displays.

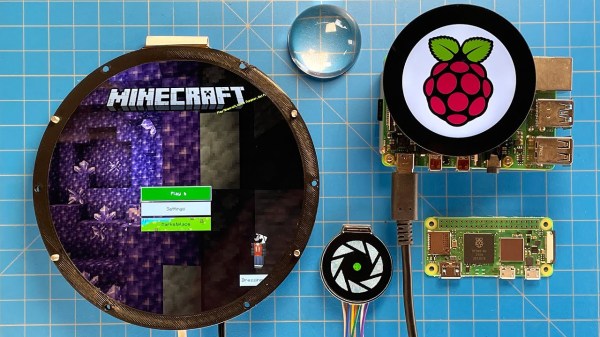
Using round displays doesn’t have to be hard, with plenty of great products on the market. [Mr. Volt] goes through various options, from the cheap bare screens you can hook up to a microcontroller, to larger models designed for direct use with the Raspberry Pi or even straight HDMI inputs. Many are quite high resolution, and look particularly beautiful when driven with appropriate artwork.

However, there are a few tricks that come in handy when you’re going away from traditional rectangular screens. Screen mounts on some models may not be directly aligned with the center of the circular display, which can lead to results that look off if not accounted for.

It’s also important to remember that round displays are still driven like square displays, using Cartesian coordinates. Trying to use software with interface elements around the edges can be trying, as many end up rendered off-screen. Instead, circular displays are best used to display purpose-made content, rather than used with traditional software expecting a rectangular screen.

Fundamentally, round displays are a neat thing to have, as they allow for the construction of elegant projects that don’t have to abstract a circle with cheats like obscuring bezels or housings. Video after the break.

Continue reading “Getting Familiar With Round Displays” →