LEGO trains are fun to play with, but as with any model train, you so seldom have enough track to fulfill your greatest desires. YouTuber [brick_on_the_tracks] has come up with some creative ideas of his own to make track compatible with Lego trains using other techniques.
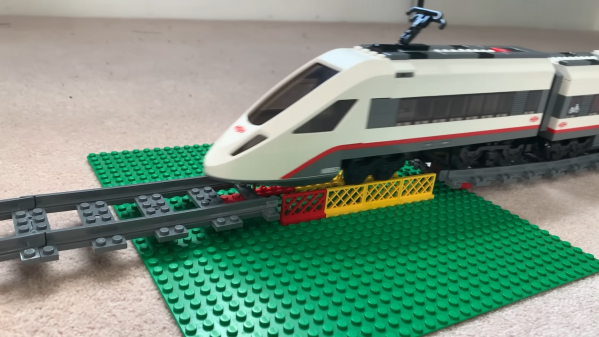
The most straightforward is to use the LEGO fence piece, first released in 1967. They can be laid in two rows, four studs apart, and they’ll serve as perfectly functional train track. It’s a 100% legal building technique as per the official LEGO rules, too. Official track pieces can be linked up by placing them on a 1-stud-high booster. [brick_on_the_tracks] argues that it’s up to nine times cheaper than using official track, but it depends on how you’re building your layout, and you need to take into account the need for a base plate.
On the sillier side of things, it’s actually possible to use mini-figures as track, too. Again, it’s a 100% legal technique, though the trains don’t run as smoothly compared to the fence track. It’s very amusing, though, and could be a fun addition to a build you’re taking to a local LEGO convention.
If you’re really strapped for cash though, you can go as far as using cardboard. It’s not legal in the LEGO world, and it’s pretty basic, but you could literally make up a layout using nothing but a craft knife and pizza boxes. We’ve actually featured other LEGO train hacks before, like this neat automatic decoupler design.
Continue reading “Simple Hacks To Make LEGO Train Track Out Of Other Pieces”